

9 Floor Plan Design Hacks You Need To Know: An Interior Designer’s Essential Guide
Arguably, the most important first step of your renovation or home design is optimising your floor plan layout. It’s a seemingly straightforward task… but can feel like a complex jigsaw of design options and decisions, each of which dramatically influences the functionality and aesthetics of your home.
Taking the time to master each space and room layout allows you to really capitalise on the potential of your home, and should be done before choosing any colours, finishes and cabinetry, or buying furniture.
But how do you do that?? I’ve put together this essential guide of practical and actionable floor plan design hacks to make mastering your new home layout easy! From hallway dimensions to furniture arrangement, my interior design tricks will ensure you don’t miss a thing! #letsgo
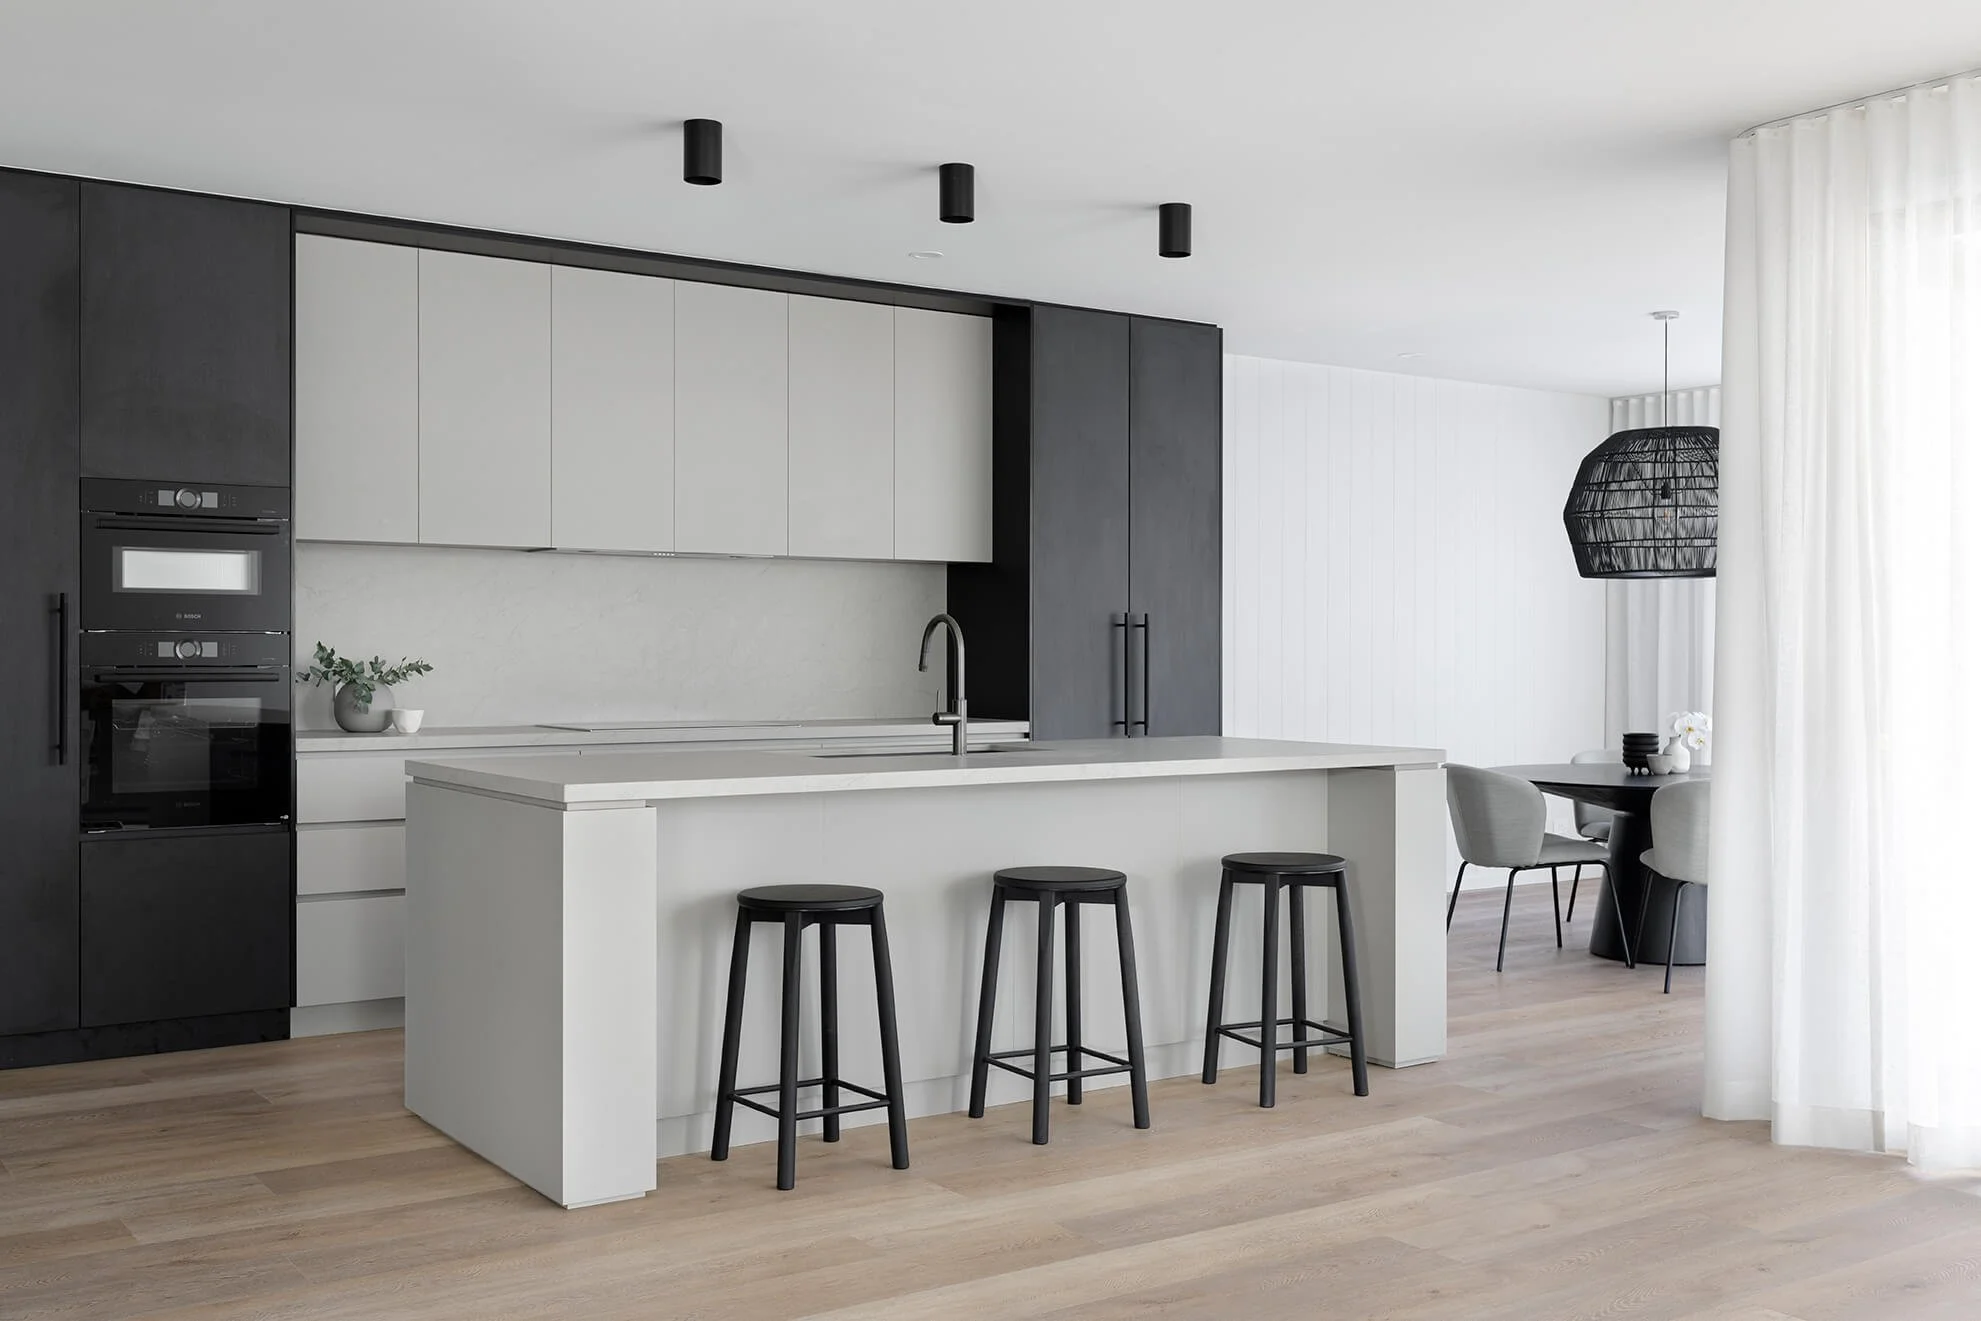
Zephyr and Stone • Fifty Shades Kitchen Open Plan Design
Standard Australian Room Sizes At A Glance
Before you touch a single hack, here are the numbers worth knowing. In Australia, a hallway should be a minimum of 900mm wide, though 1200mm is far more comfortable to live with. A master or main bedroom works from around 3600 x 3600mm, and you'll want at least 750mm of walking space around a bed. Everything below is in millimetres — the way your builder and cabinet maker will read it.
| Space | Minimum | Comfortable | Generous |
|---|---|---|---|
| Hallway | 900mm | 1200mm | 1800mm+ |
| Entry hall | 1200mm | 1500mm | 2000mm+ |
| Internal doorway | 720mm | 820mm | 870mm+ |
| Secondary / kids bedroom | 3000 x 3200mm | 3300 x 3600mm | 3500 x 3600mm+ |
| Main bedroom | 3400 x 3600mm | 3900 x 4200mm | 4200 x 4500mm+ |
| Built-in wardrobe depth | 500mm | 550-600mm | 650mm+ |
| Walkway around a bed | 600mm | 750mm | 900mm+ |
| Walkway between furniture | 600mm | 900mm | 1100mm+ |
| Walkway around a dining table | 900mm | 1100mm | 1300mm+ |
All bedroom dimensions include a built-in wardrobe.
Z+S Tip • Print this table and hold it against your floor plan before your next builder meeting. Ten minutes with a scale ruler now will save you a decade of squeezing past your own furniture.
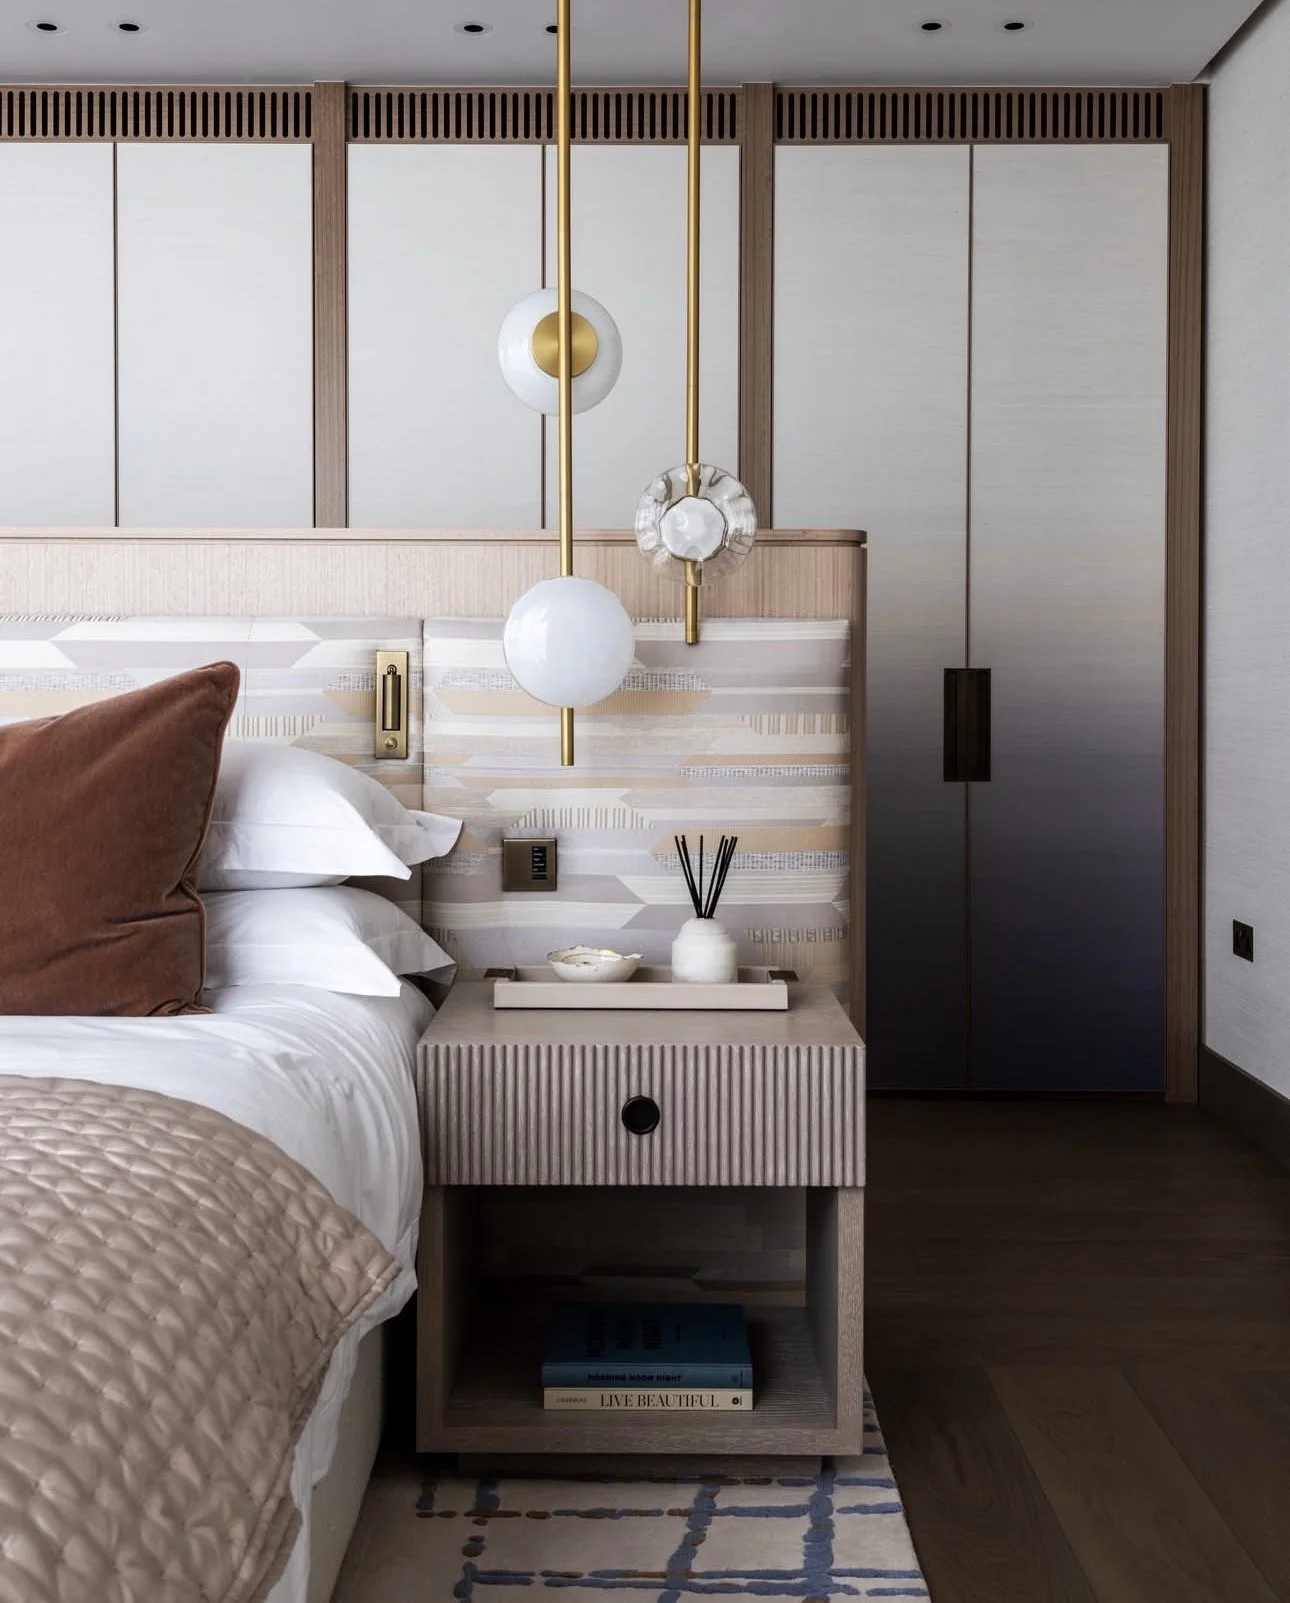
Taylor Howes • Pendant lighting above bedside tables
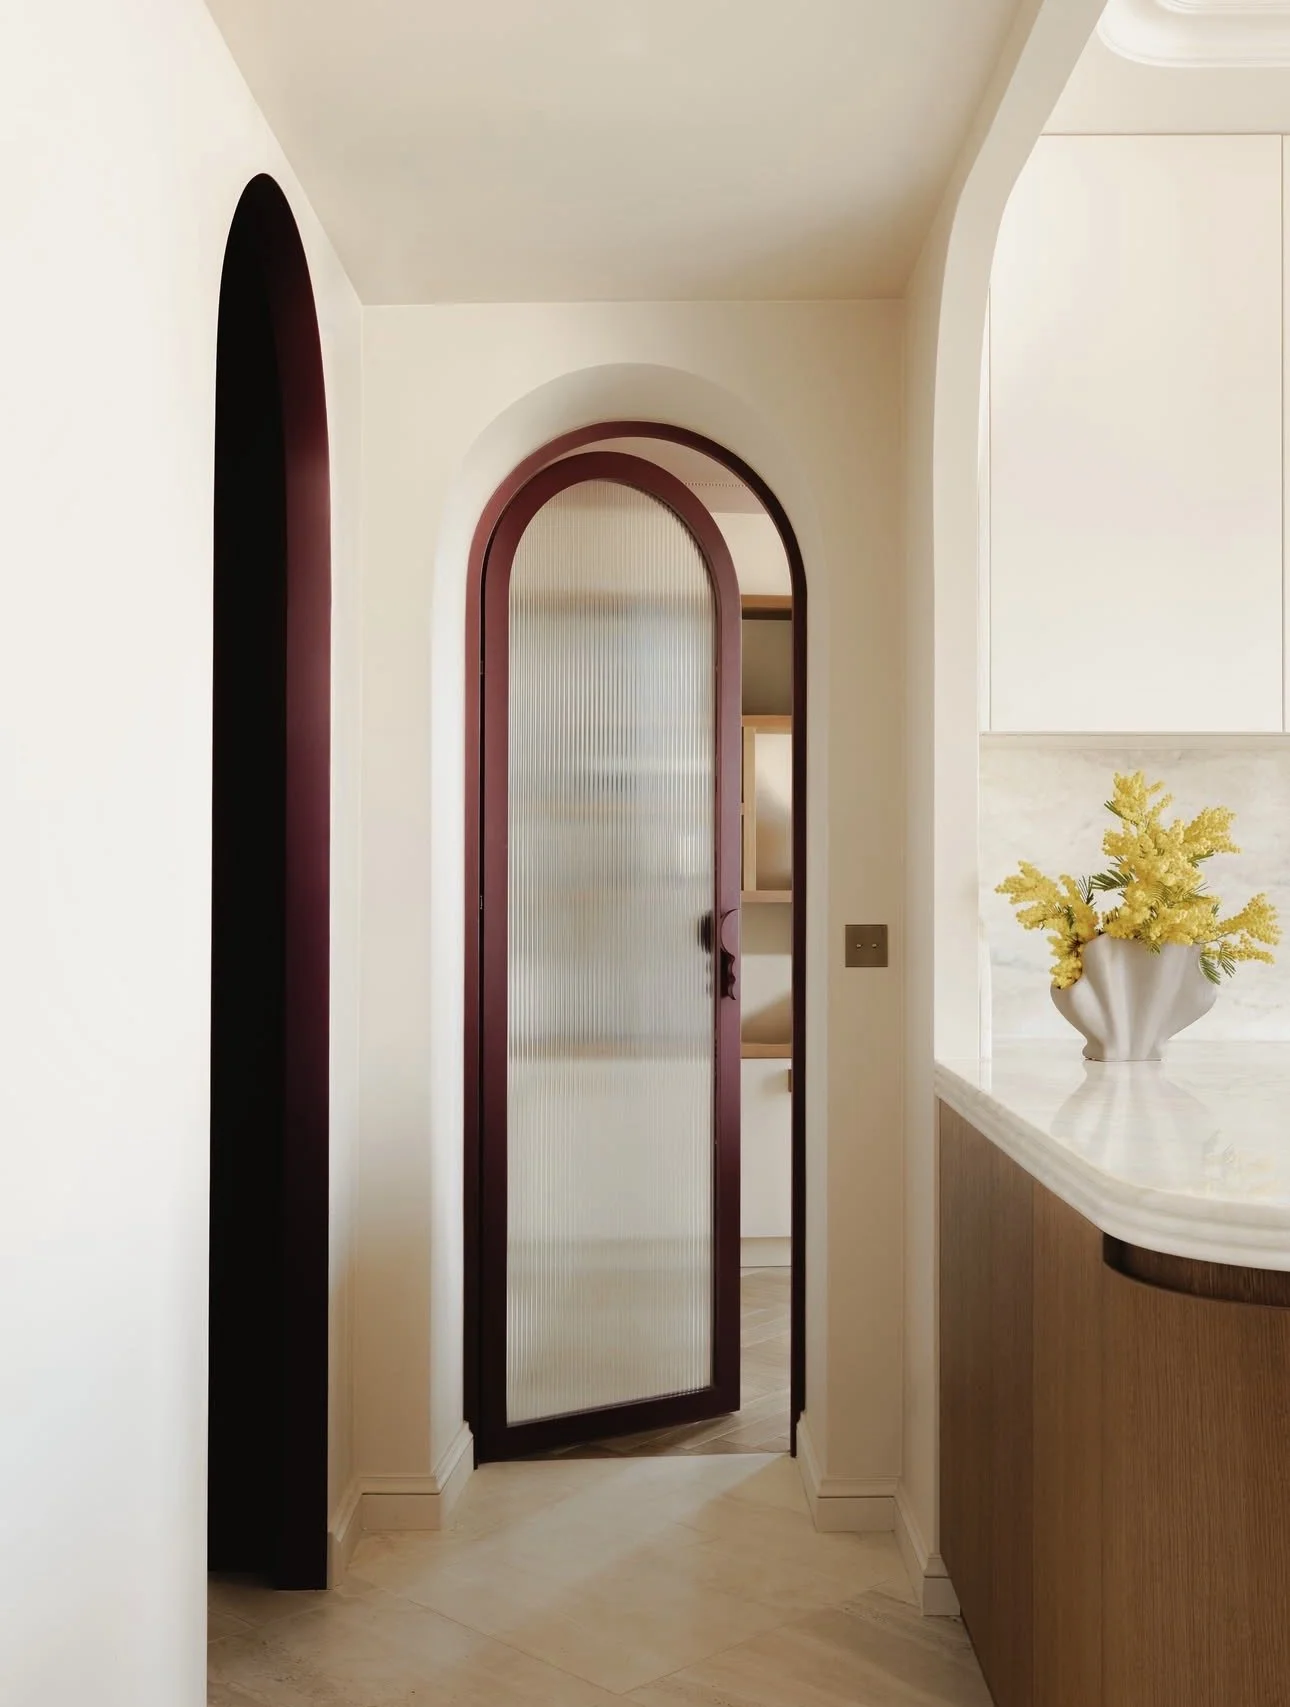
Agence Charlotte Fequet • Arched glass pantry door
Standard Bedroom Sizes In Australia
There's no single legal minimum bedroom size in Australia — and here's what almost nobody tells you: most published bedroom dimensions don't include the wardrobe. That's how a room that measured fine on the plan ends up with nowhere for a bedside table.
Every number in my table includes a built-in wardrobe.
A secondary or kids' bedroom works from 3000 x 3200mm minimum — I have one at 3000 x 3000mm with a robe and a queen bed, and it works, but there's not much room around the bed. Give it 3300 x 3600mm and it stops feeling tight. A main bedroom needs 3400 x 3600mm minimum, and 3900 x 4200mm is where it starts feeling like a room you want to be in.
Bedroom Mastery Tip • Before you accept a bedroom dimension on a plan, ask your builder one question: does that measurement include the wardrobe? If it does, take 600mm off before you work out what fits.
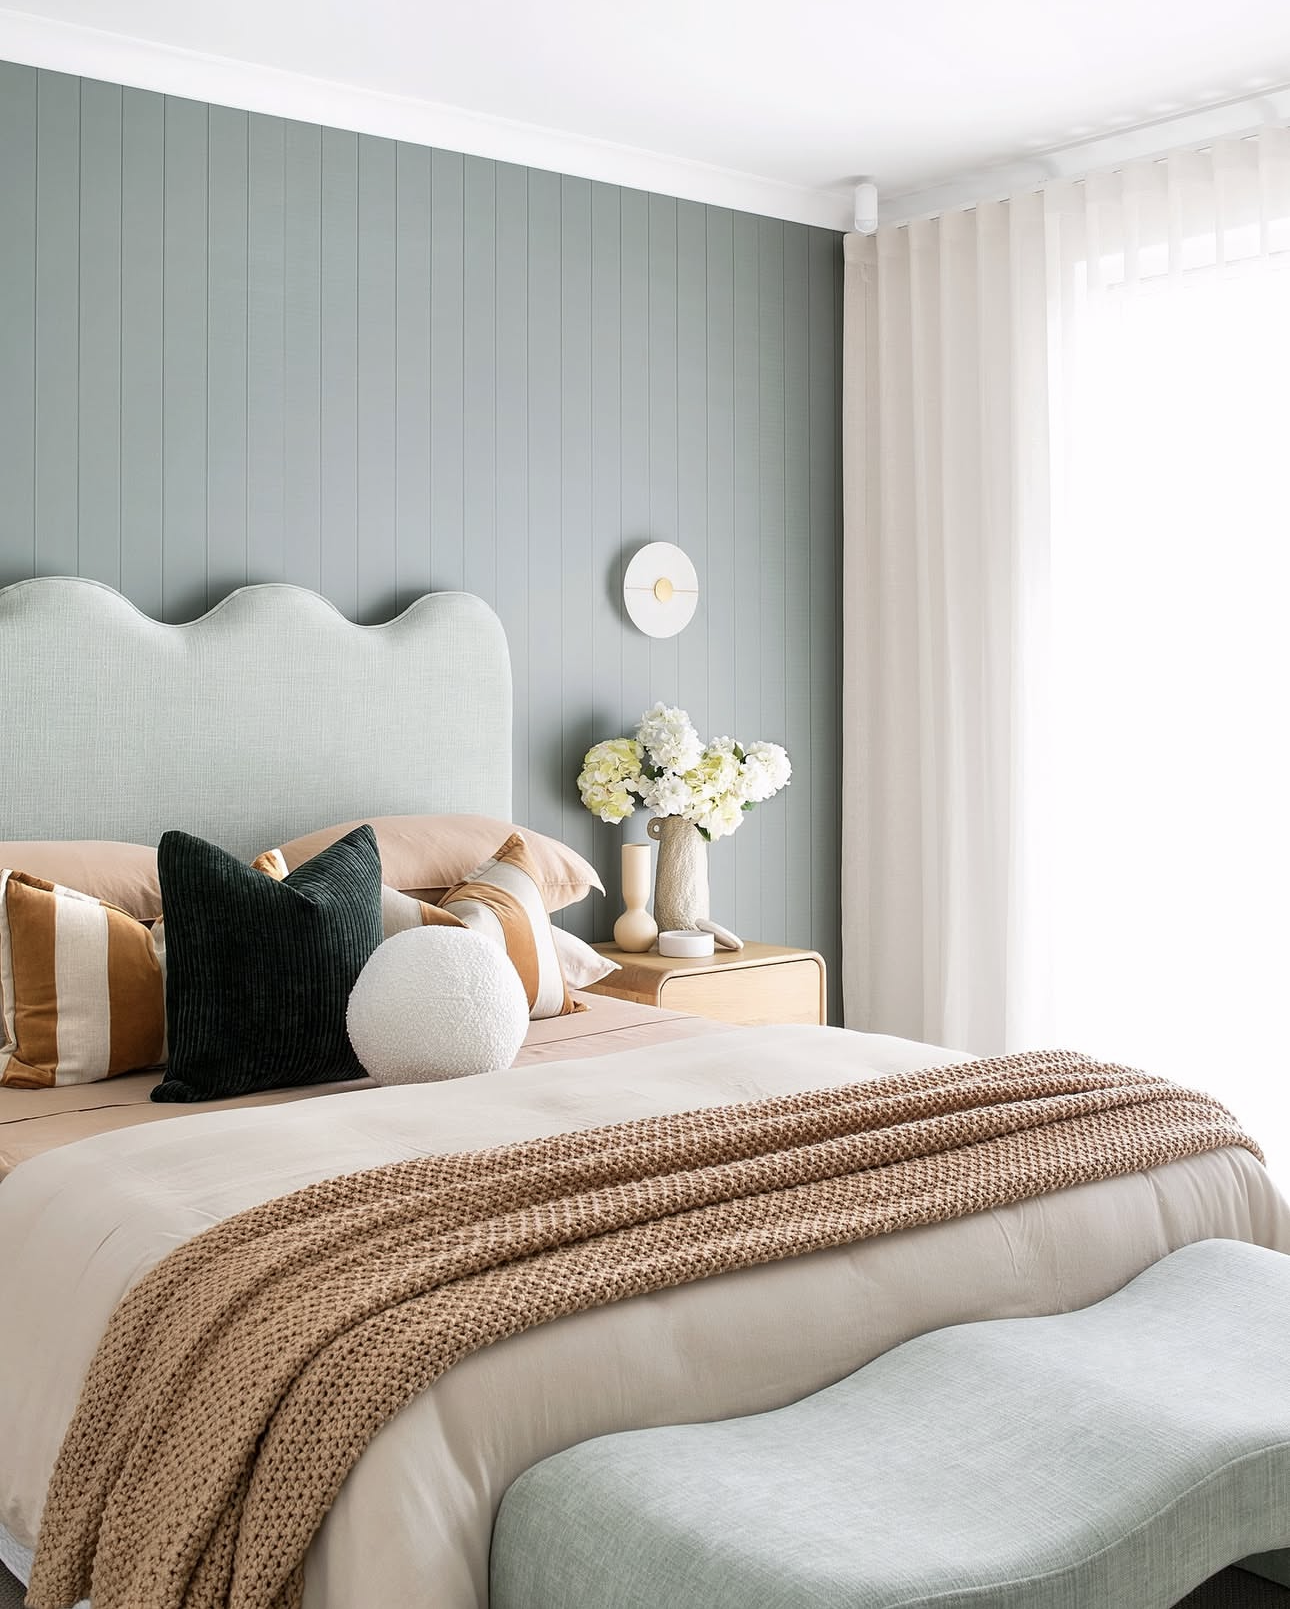
Tarina Wood • Main bedroom with queen bed
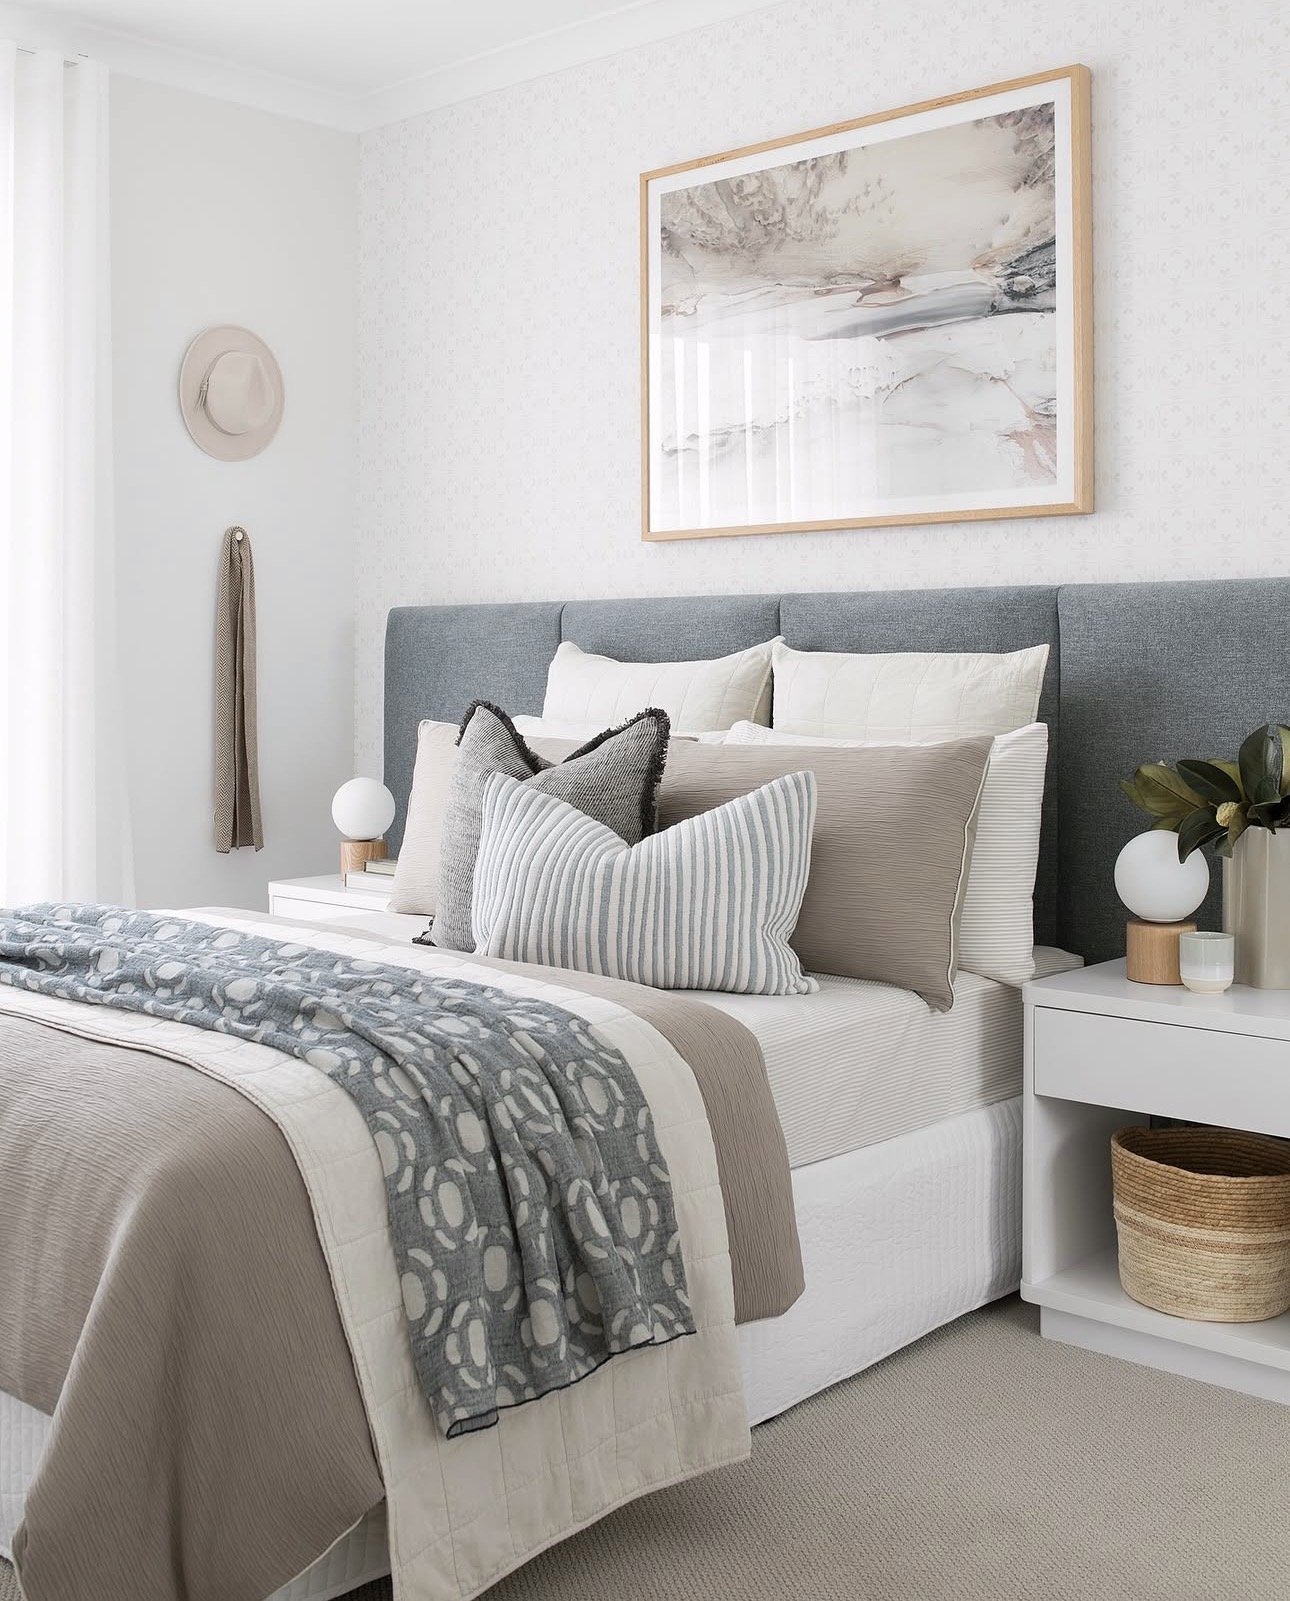
Tarina Wood • Bedside clearance of 750mm keeps a bedroom comfortable to move through
1. Standard Hallway Width In Australia
Hallways are often overlooked when it comes to floor plan optimisation, but they're KEY to creating easy movement and connection in your home and between rooms. The width of a hallway — especially in your home entry, provides a first impression of what's to come, and as street appeal does, can really elevate your home design.
It's generally recommended for hallway widths to be a minimum of 900mm wide, but if you ask me, that's very light on! A hallway that's 1000mm wide minimum is much more practical, although still not nearly enough to make a statement. Although a wide hallway could be described as a waste of space by some, take it from me, a wide hall or passageway creates the feeling of space, and light and optimises your home aesthetics — and then some. It's also practical as it ensures it's easy to manoeuvre and move from space to space when carrying bulky items or moving past other family members.
Hallway Mastery Tip • Check the width of all hallways on your floor plan or measure them onsite. Consider making key hallways at least 1200–1300mm wide, and up to around 2000mm+ for larger homes. Remember, the skies the limit when it comes to hallway widths, and the wider you go, the more WOW FACTOR you'll add to your floor plan and home. #youbetcha
Width isn't the only dimension doing this job either — ceiling height works on a hallway the same way, and the two together are what make an entry feel generous rather than merely adequate.
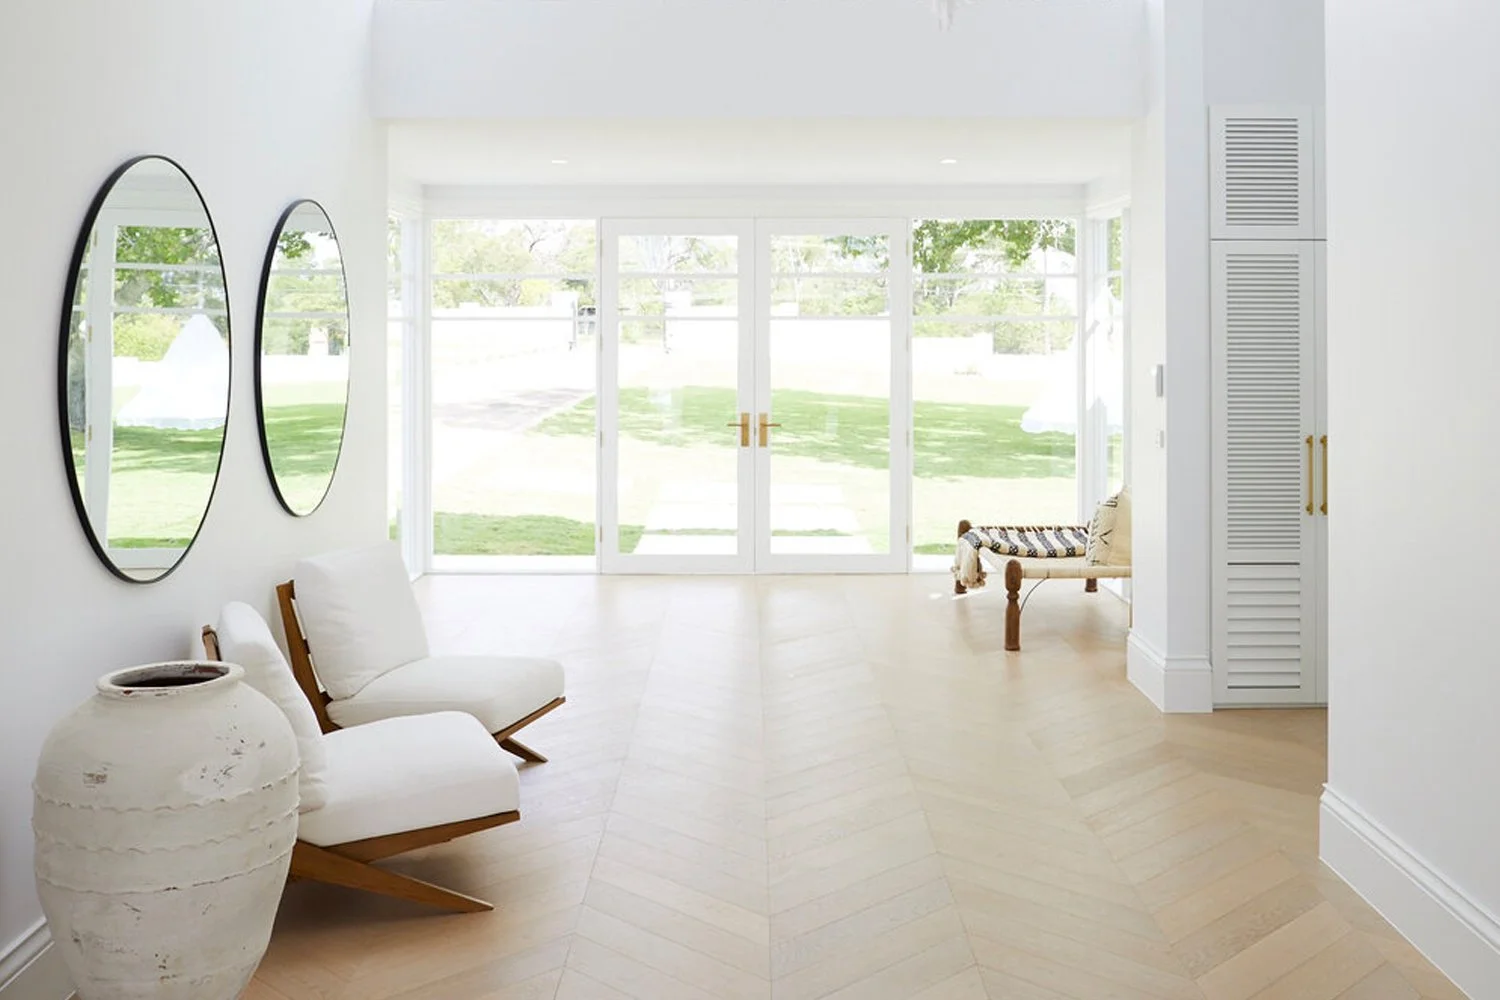
Three Birds Renovations • Floor Plan Design Featuring Wide Entry Hall
2. Optimizing Room Flow In Each Space
Improving the flow in a home doesn't end with hallways. A well-considered floor plan takes into account flow and movement — in, around and through each room.
To optimise people traffic in any space, ensure any furniture is easy to access and use, and positioned so it's not obstructing or protruding into walkways. You'll also want to ensure there's easy and direct access to any external doors and windows.
Room Flow Mastery Tip • Clear paths for movement and flow not only enhance your daily routine, they also prevent wear and tear on your furniture and flooring. When planning your floor plan for room flow, consider where a door or window opening should be positioned, and on which side it should be hinged to maximise practicality and use. Then plan furniture positioning so you can walk in straight and direct lines rather than having to zig-zag or run a lap of the room to get from A to B. #thinkfunctionality
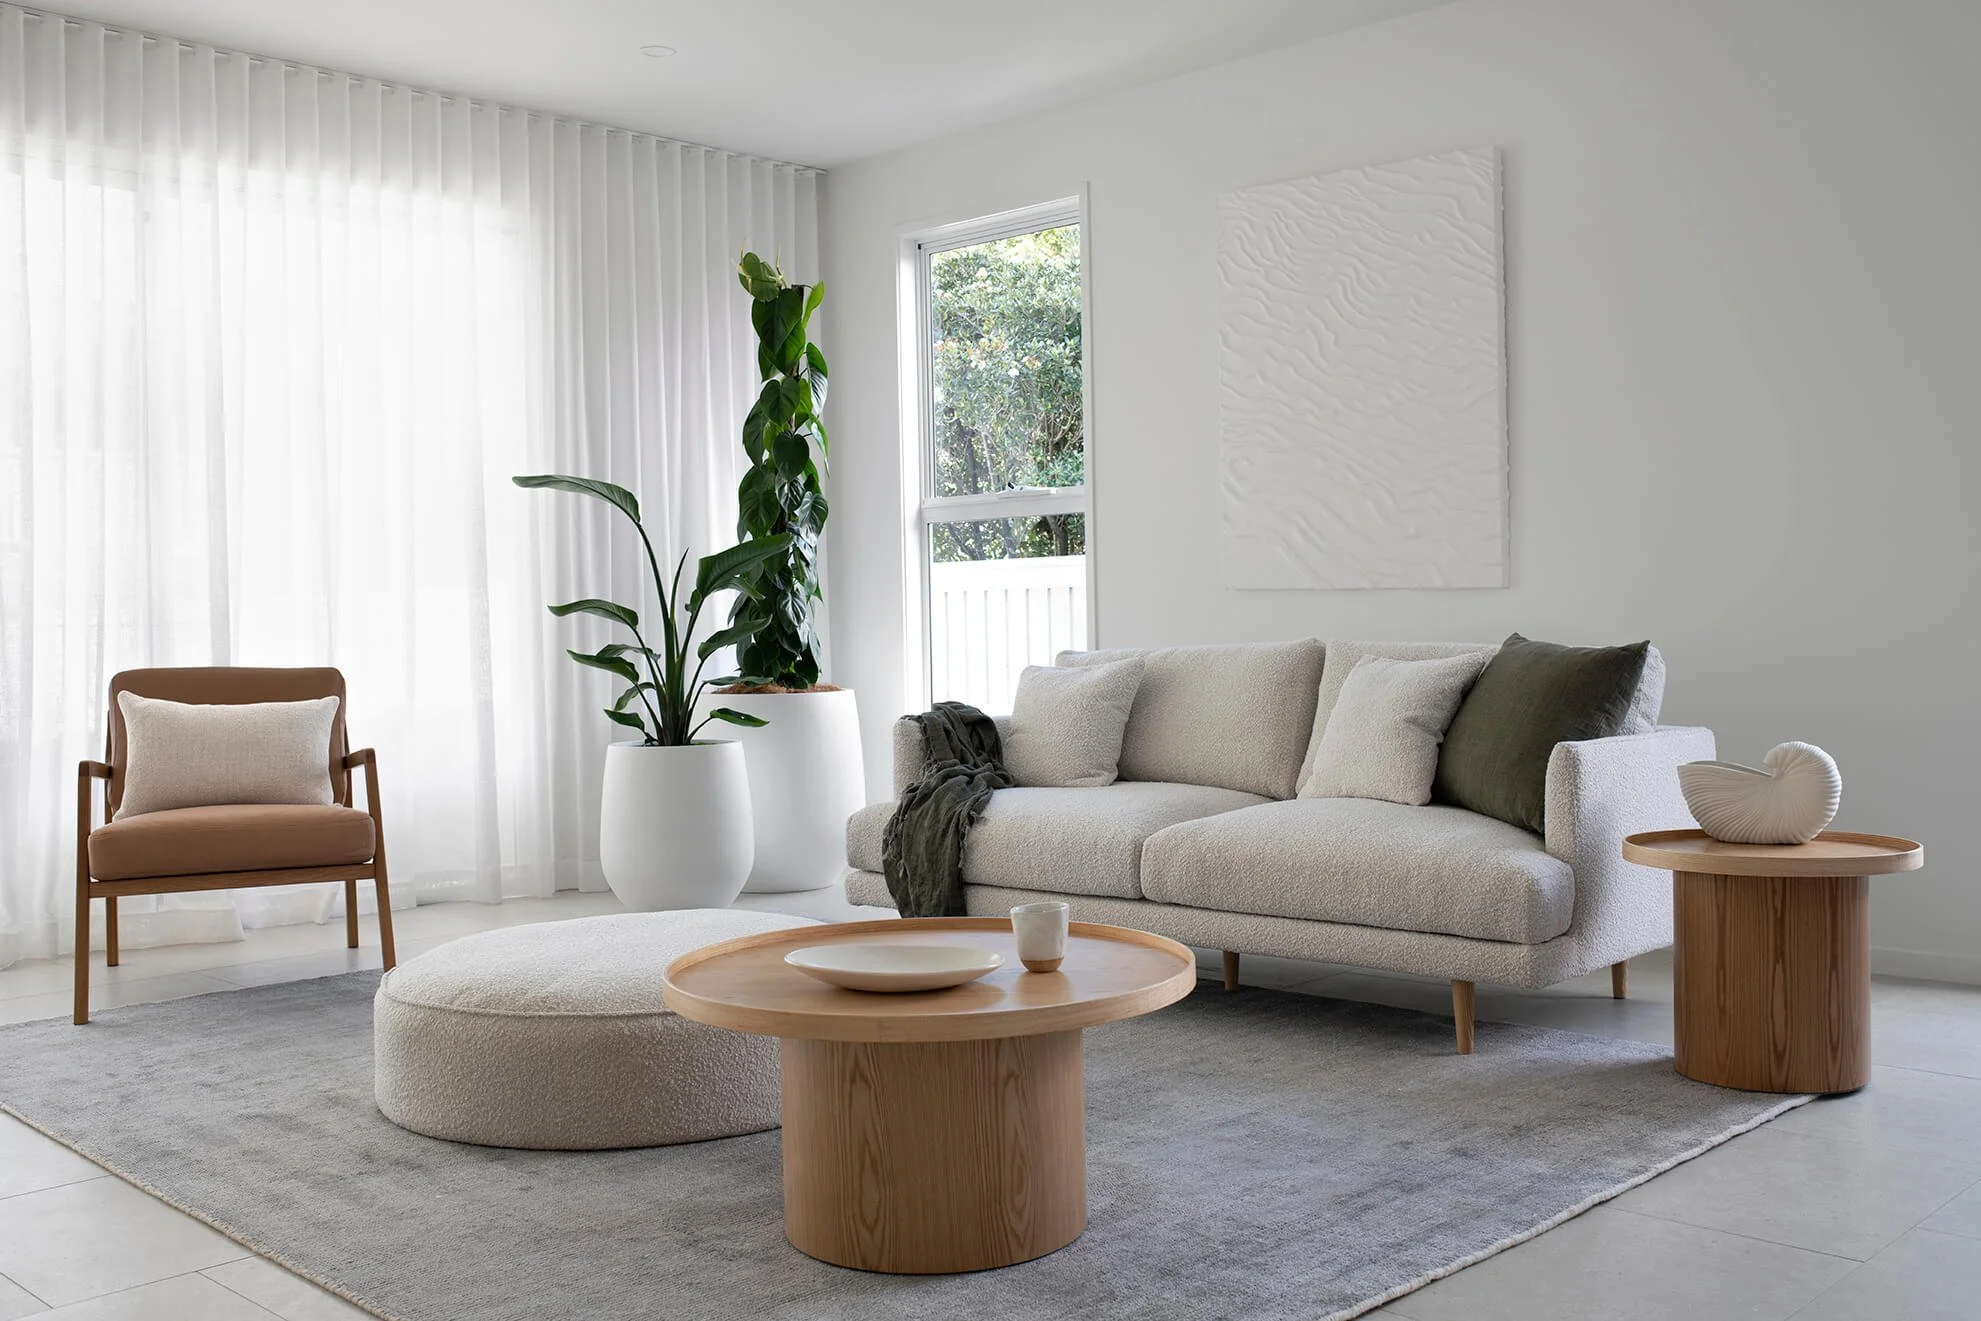
Zephyr and Stone • Coral House Living Room with Furniture Positioned To Optimise Movement And Window Access
3. Furniture Planning During Floor Planning
It's often neglected, but did you know that furniture arrangement and planning is a cornerstone of floor plan design… and a floor plan cannot be planned EFFECTIVELY without having considered which key furniture pieces will go where?
Implementing furniture planning during a floor plan design or review is how I maximise every space — and ensure every room is perfectly proportioned for the intended furniture and vice versa. This will prevent disasters like a king-size bed that doesn't fit, having insufficient room for bedside tables or nightstands, or a new sofa that's too big, too small or looks out of place in your living room.
Furniture Placement Mastery Tip • When planning or reviewing your floor plan and room layouts, consider both your existing furniture as well as any new furniture pieces you'll be adding to each space. Use scaled drawings or floor plan software tools to assist in visualising how different furnishings will fit in your room design or use masking tape to mark furniture pieces directly on your floor or walls!
You'll also need to ensure there's ample room for effective flow around furniture and enough space to slide out items like chairs. Furniture planning is a critical step in your floor plan design and its importance shouldn't be underestimated — my living room layout guide shows exactly how it plays out in the busiest room in the house.
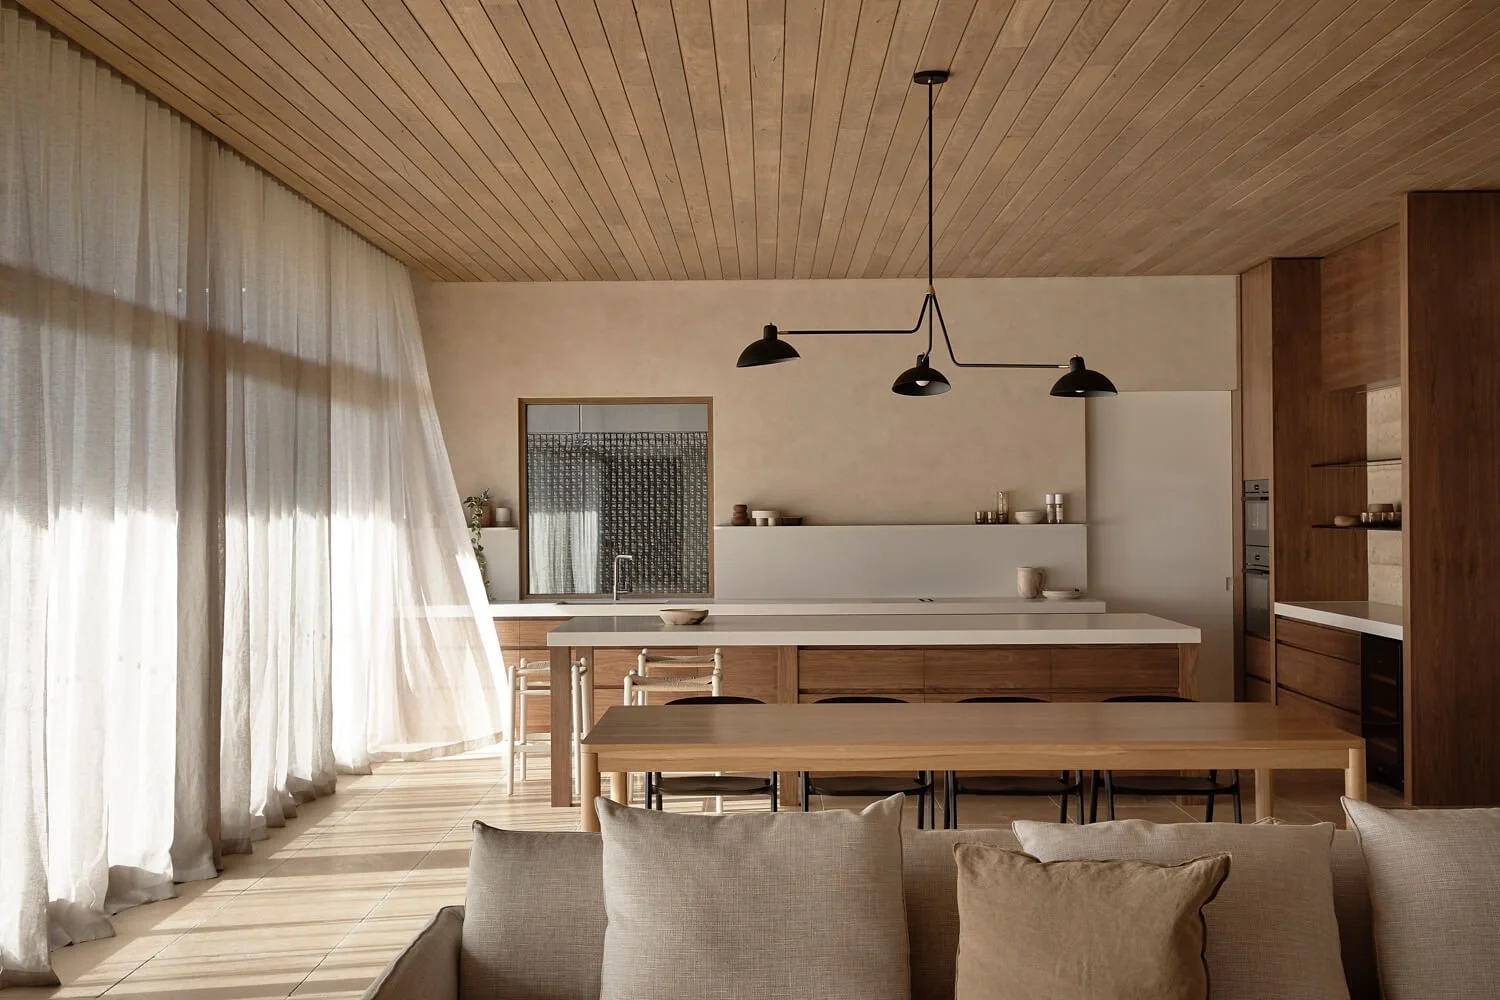
Wolveridge Architects • Furniture Dimensions And Locations Should Be Planned On A Floor Plan
4. Incorporating White Space Into Your Floor Plan
While it may be tempting to assign a purpose to every inch of your floor area, it's actually vital to ensure there's ample spacing between furniture and distinct living zones to create balance or 'white space' in your design. In fact, white space, also called negative space, is an essential ingredient for creating balance and harmony between furniture or design elements in your space and home and enhances the feel of a room to give it that airy, spacious appeal.
White Space Mastery Tip • To successfully achieve the right balance of white space, consider furniture dimensions and hallways carefully and don't over-clutter rooms and walkways. Choose large key furniture pieces for space, rather than filling it with multiple smaller furnishings, and avoid undefined empty corners or areas that serve no functional or aesthetic purpose.
Nowhere is this tested harder than around a kitchen island, where clearance decides whether two people can cook together — I've broken down every kitchen island measurement that matters.
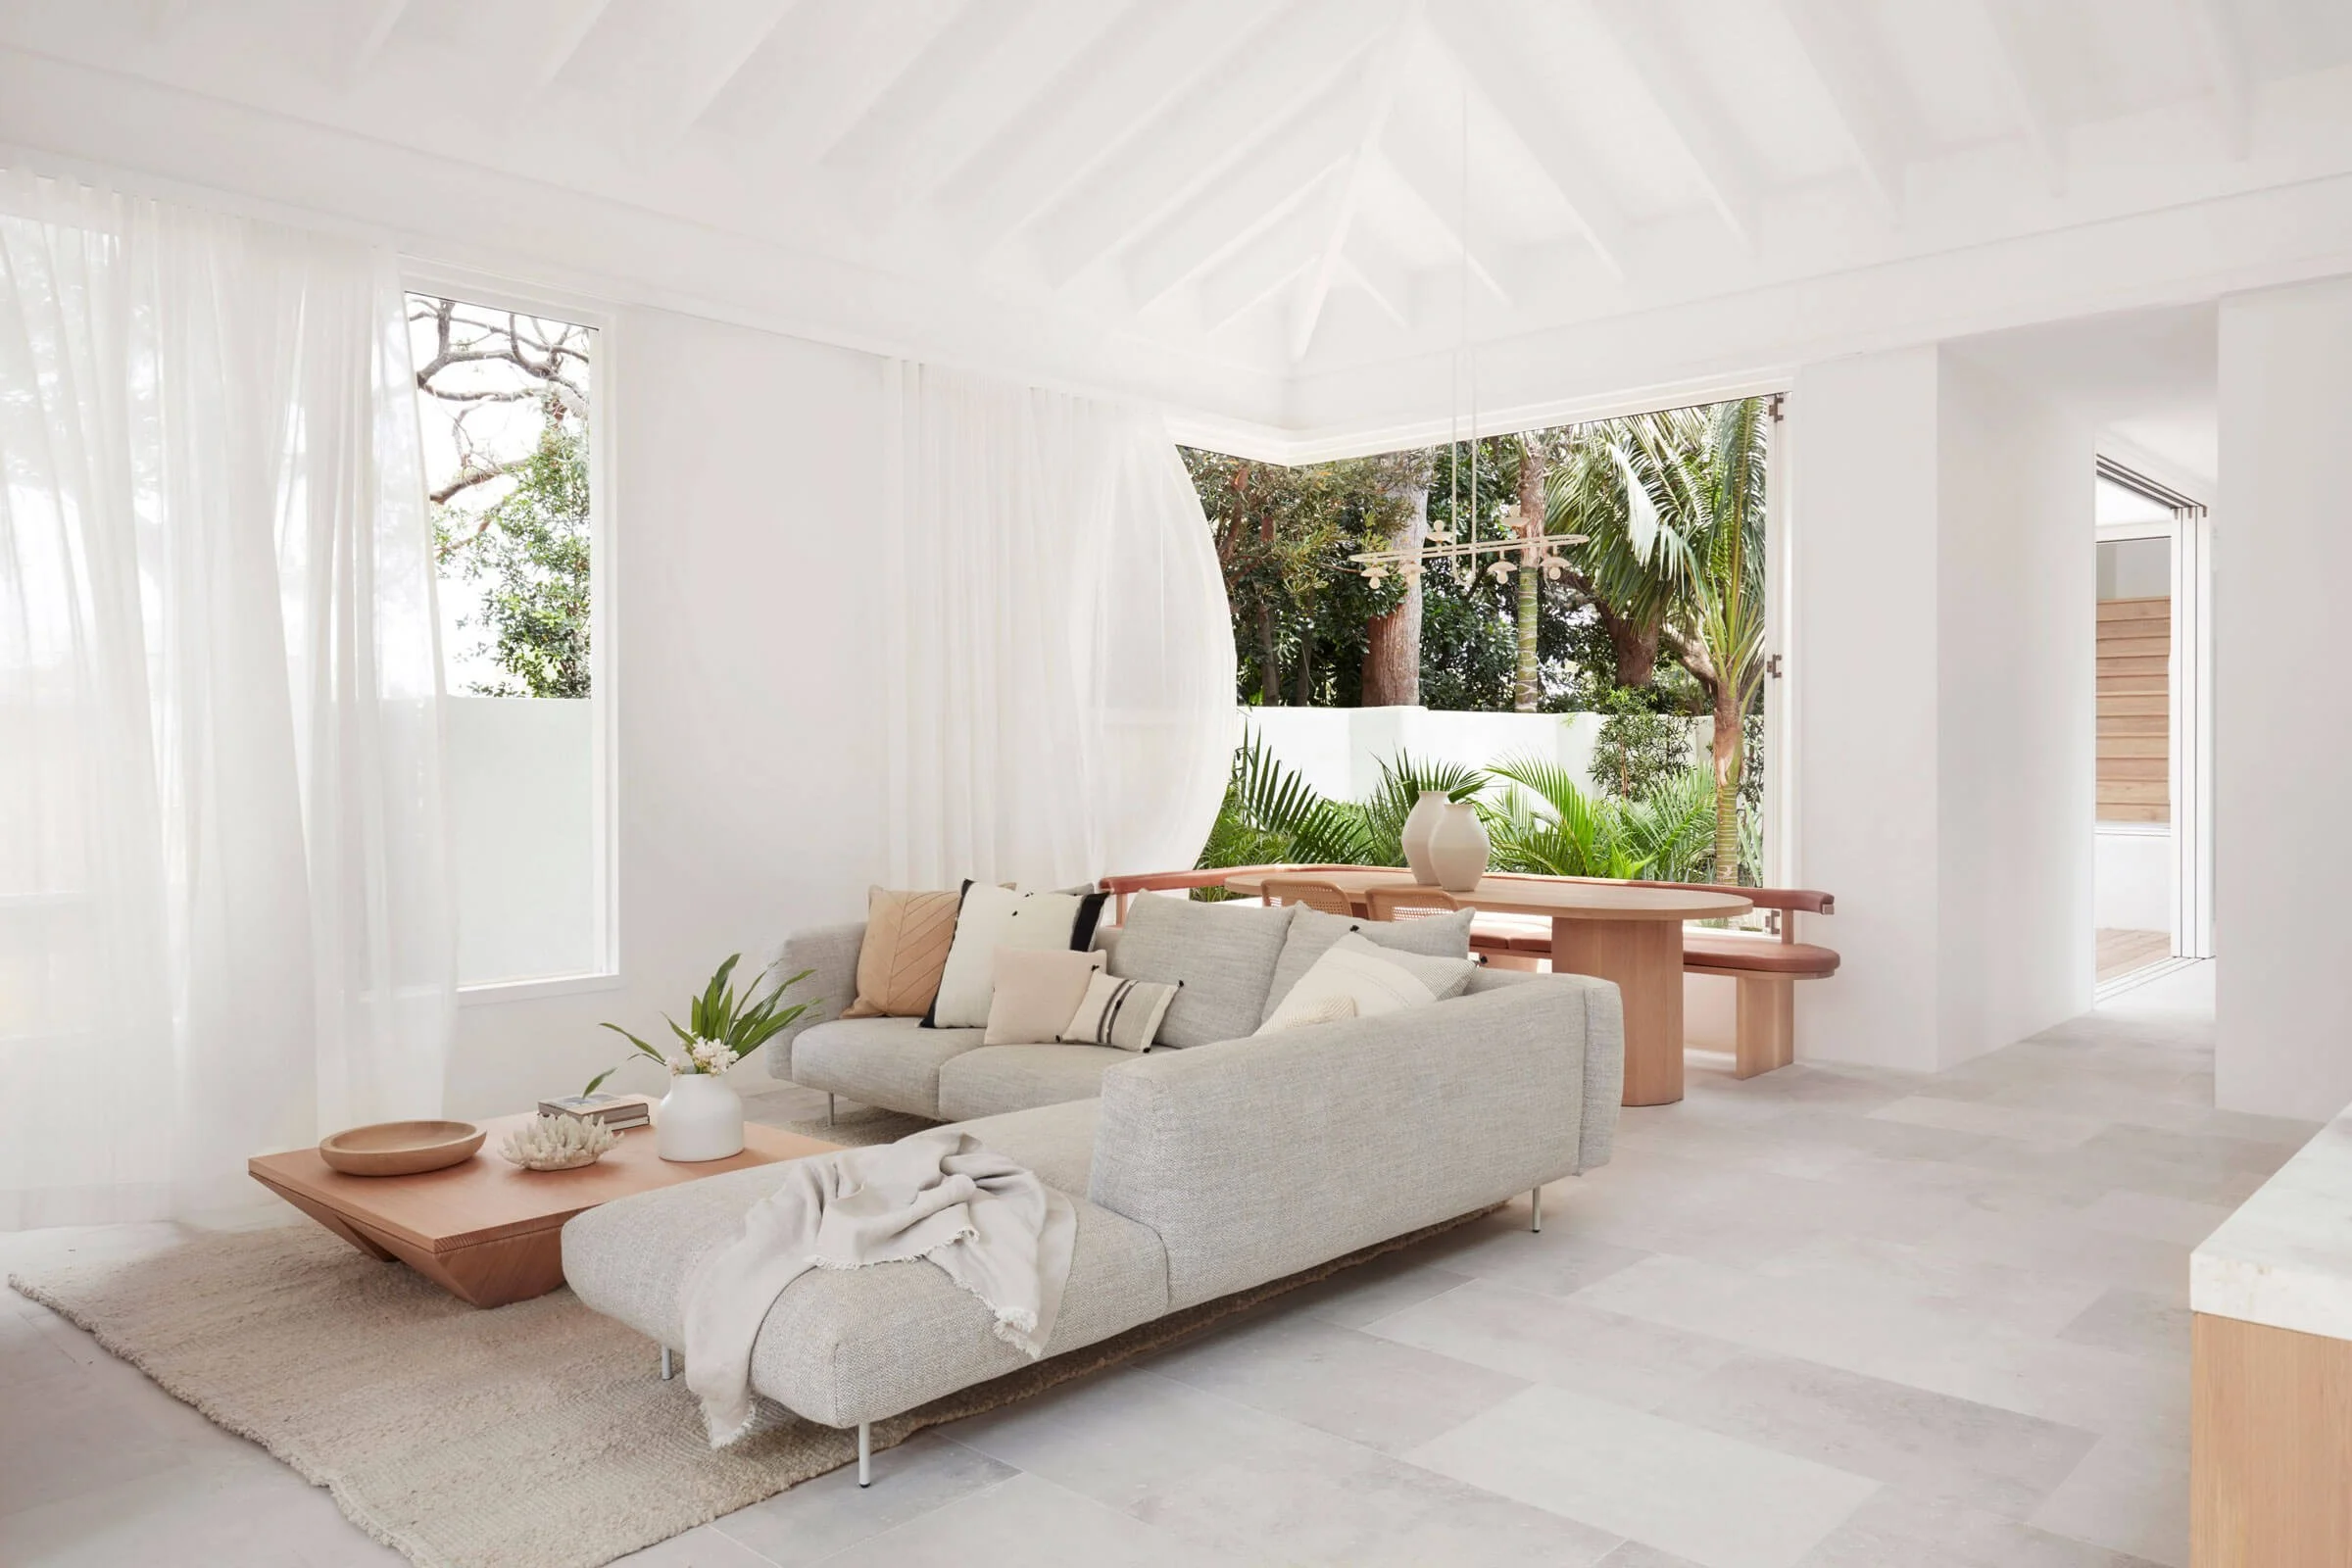
CM Studio • Incorporating Negative Space In Floor Plan Design
5. Plan For Effective Storage
A functional floor plan integrates ample storage solutions and spaces. That includes thoughtful placement of everything from cupboards, closets, built-in shelves, home office storage and storage nooks, to create a clutter-free home that's easy to keep organised. Home storage elements should be considered early in your floor plan design, as they will influence your room layouts and home decor planning.
Storage Mastery Tip • Great storage really makes a home… Matching the finish of any integrated storage cabinets and built-ins to other home joinery, like kitchen cabinetry, will work to create cohesion in your home design. And don't sweat if built-in storage isn't in the budget right now! You should still plan and allocate space for any storage you'll need into your floor plan so you can add it down the track… then use some existing freestanding pieces in the space in the short term!
If you're still working out where it all goes, these clever built-in storage ideas are the ones worth planning for at floor plan stage.
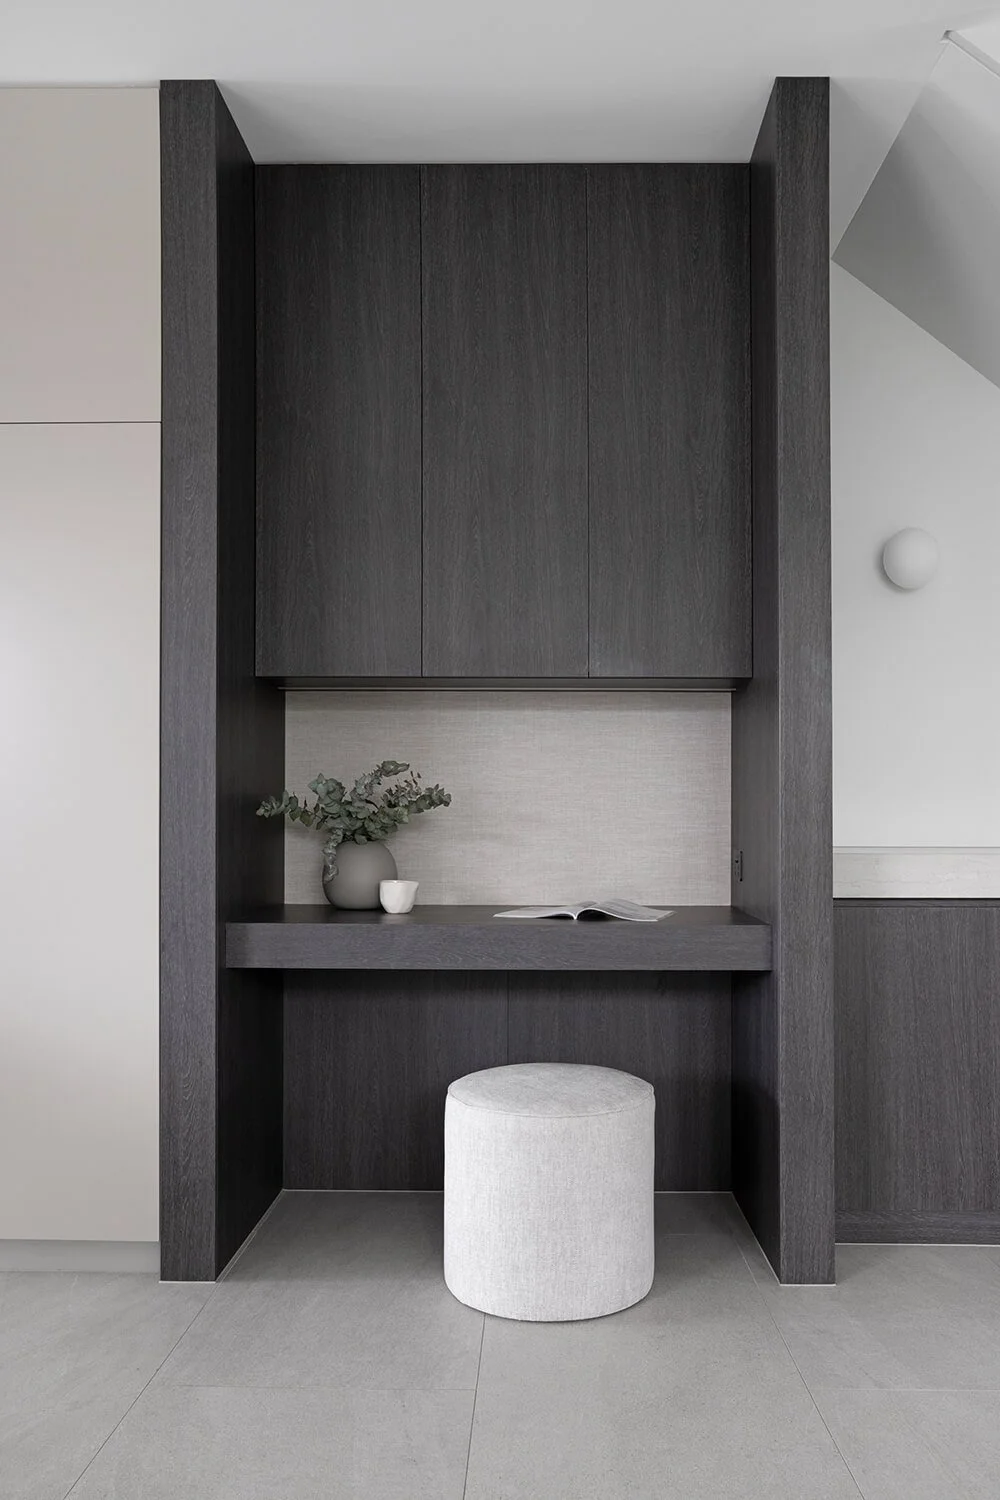
Zephyr and Stone • Resort Study Nook Integrated Desk And Storage
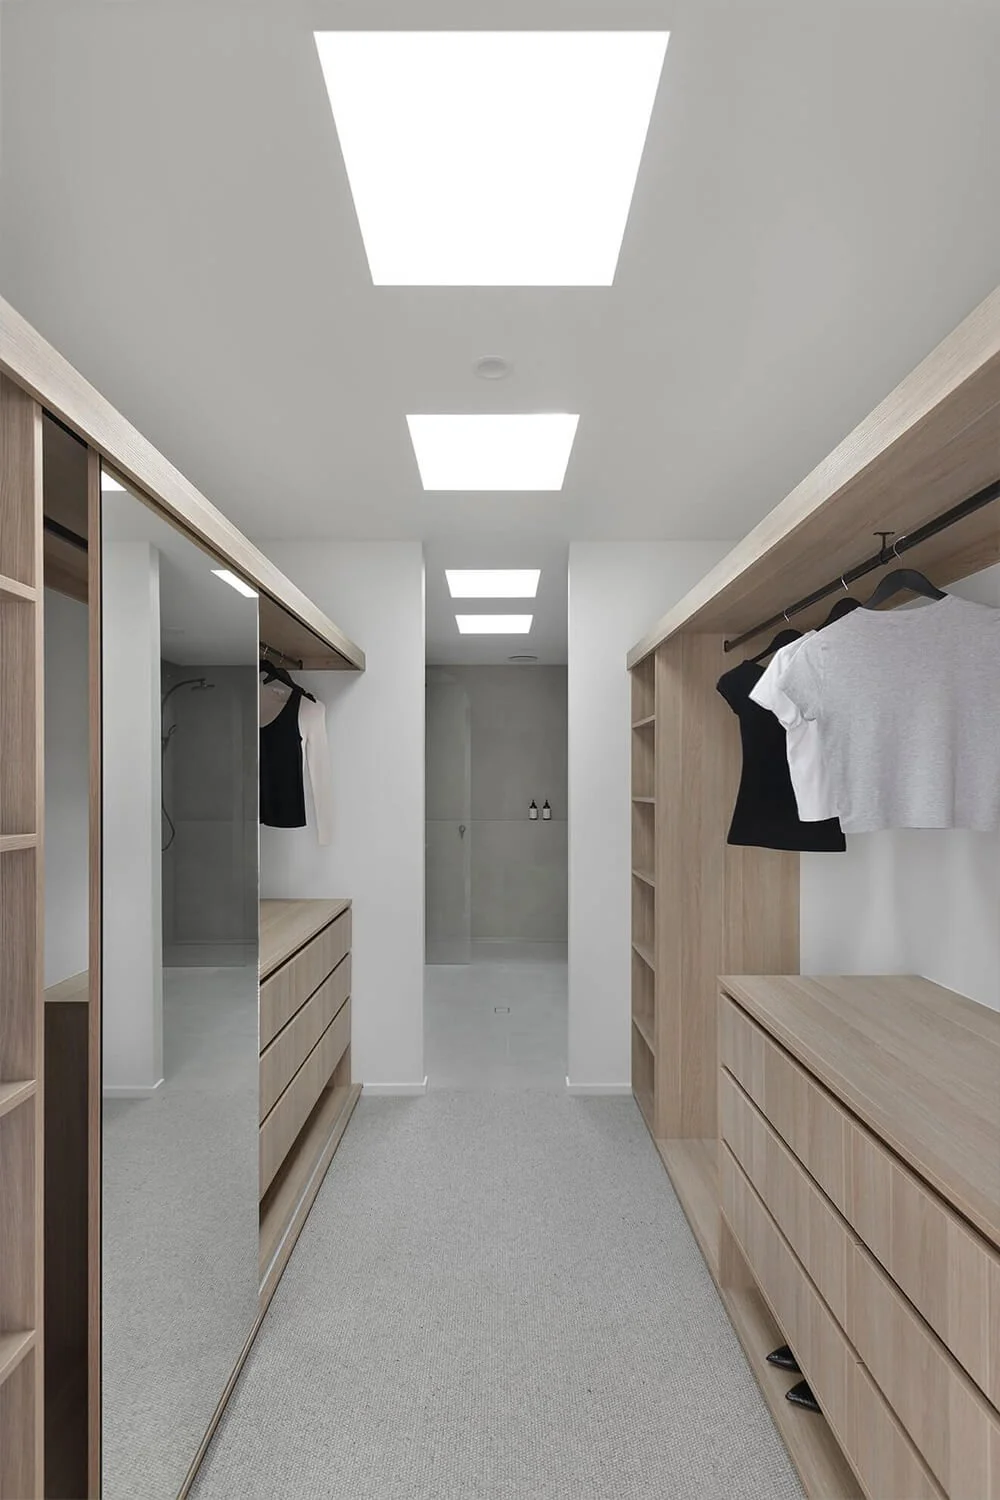
Zephyr and Stone • Fifty Shades WIR Built-In Cabinets
6. Lighting Placement in Your Layout
The importance of light and lighting in a home cannot be underestimated. Good lighting placement will amplify the ambience, accentuate the home's design elements and maximise the usability of any space. When developing your floor plan or home layout, take into account both natural light sources such as windows and allocate ample artificial lighting fixtures for after-dark.
Lighting Mastery Tip •A layered lighting scheme is the ultimate solution for any space and includes a combination of lighting solutions that can be used independently or together, depending on what level of lighting is needed and which tasks are taking place. In a bathroom this could look like — downlights for when you need to light up the whole space, integrated LED strip lighting to provide softer ambient lighting, and wall lights or a back-lit mirror for mirror close-ups.
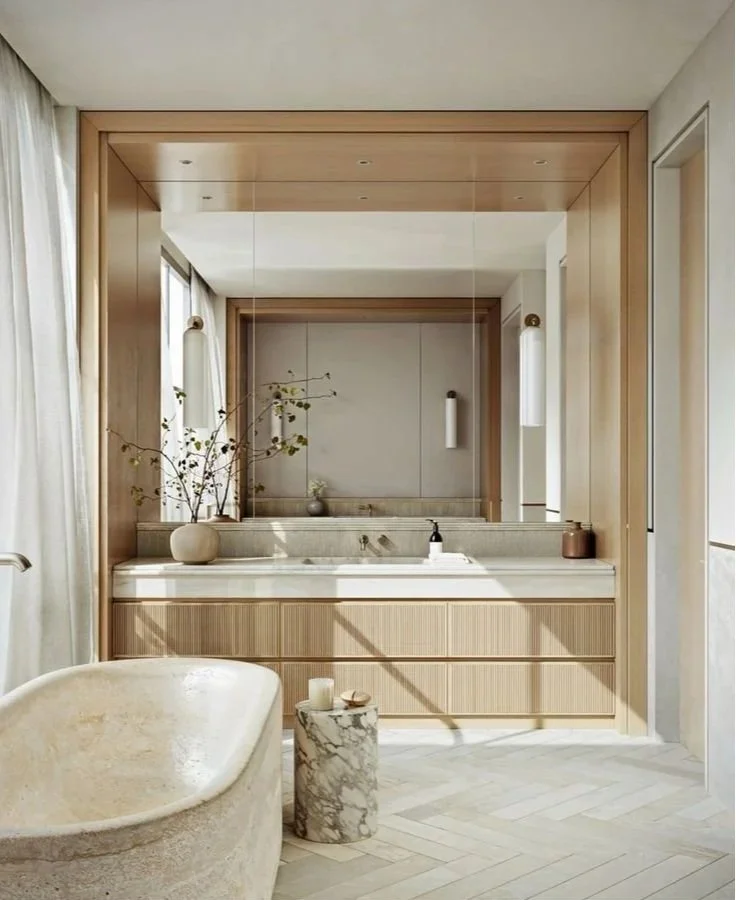
Pinterest • Wall lights either side of the mirror give even light on the face — plan their position at floor plan stage, not after the walls are up
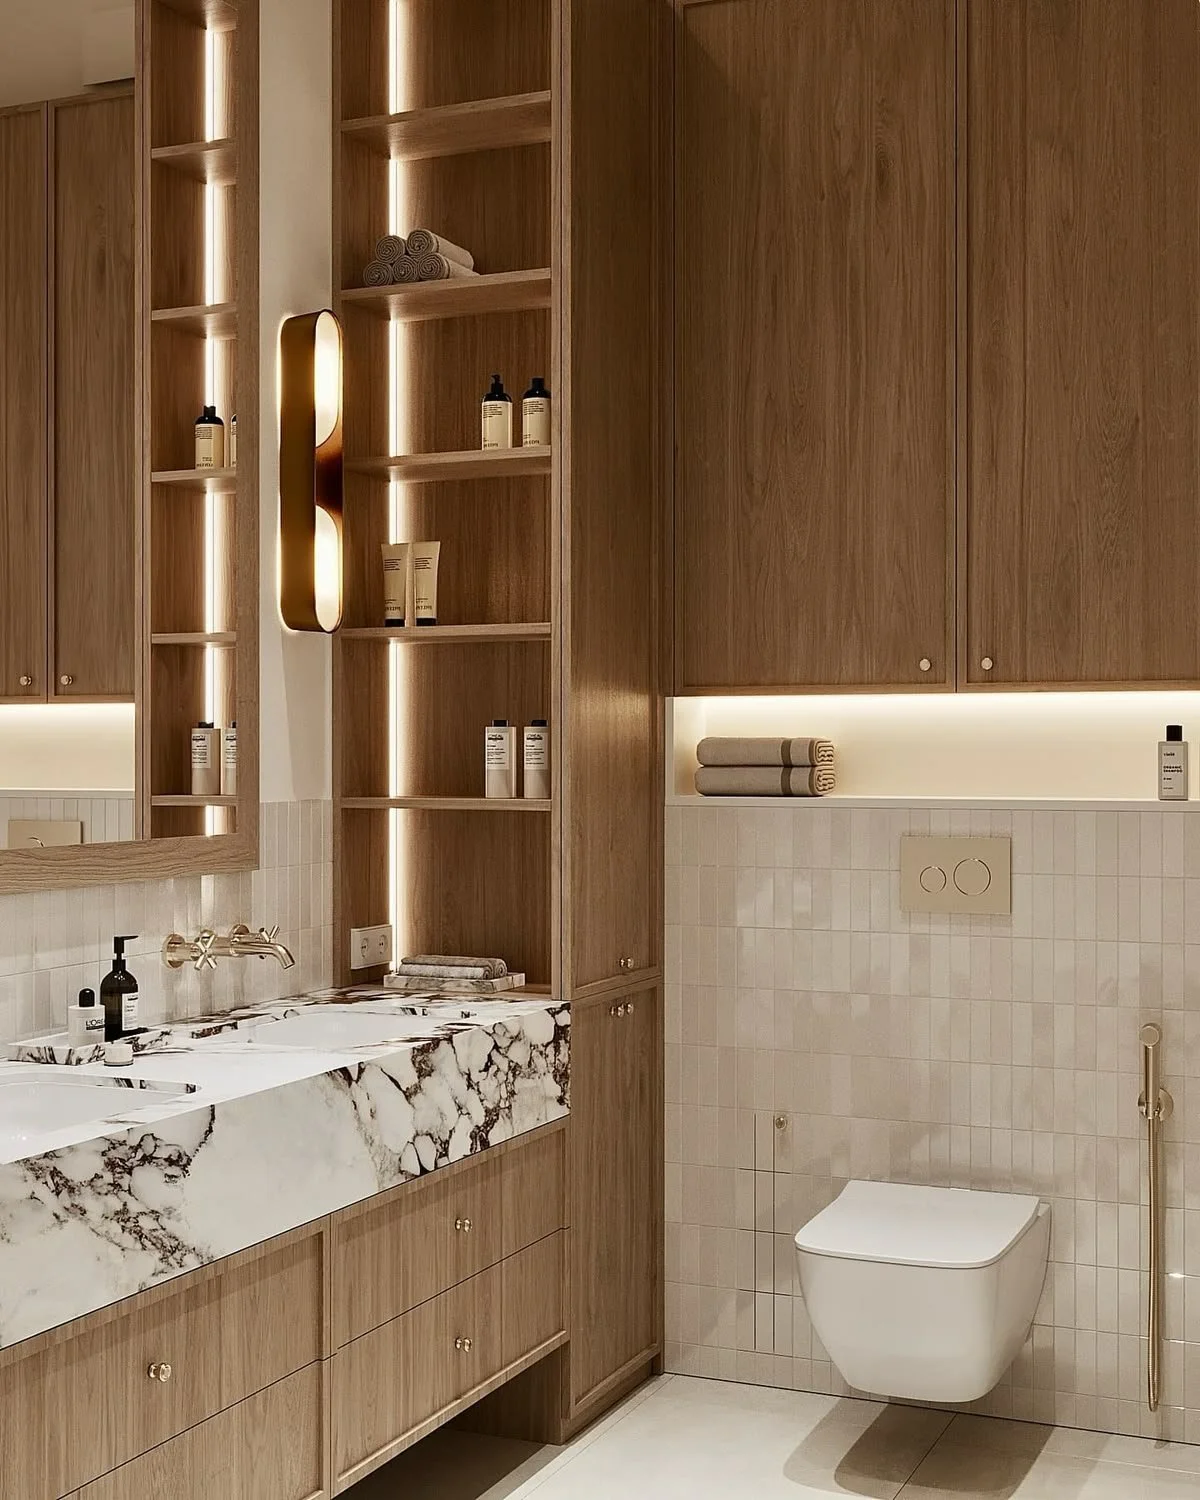
Pinterest • Three layers in one room — wall light, LED strip and shelving light, each doing a different job
7. Balancing Your Floor Plan Design
Achieving a sense of visual balance in your floor plan design largely comes down to two elements — room proportions and interior design.
Any room design can be balanced by incorporating symmetry into the space, or by balancing the distribution of visual weight and colour in the room. By visual weight, I mean making the space feel grounded and balanced, and this can be achieved with the thoughtful planning of your windows, built-in cabinetry, wall finishes, furniture and lighting. When it comes to balancing room proportions, it's vital every room is fit for purpose and will accommodate any tasks and furniture you have planned for the space.
Balance Mastery Tip • If you're working with a small house size or tight home site footprint, don't fall into the trap of including too many rooms that are too small for comfort! Strategise your floor plan carefully and instead opt for larger multitasking rooms that can adapt and transform to your needs. For example, a second living room could be used by the kids at night and at weekends, include a concealed, integrated study space for a family member who works from home by day, and could be furnished with a sofa bed so the room can transform into a guest room for the occasional overnighter.
This is the difference between a big home and a home that works. Every square metre you pay for should be doing a job — and a room that exists because the plan had space left over is a room you pay for twice: once to build it, and every year after that to heat, cool and clean it.
Working with a smaller footprint? These small house design ideas are all about living big without building big.
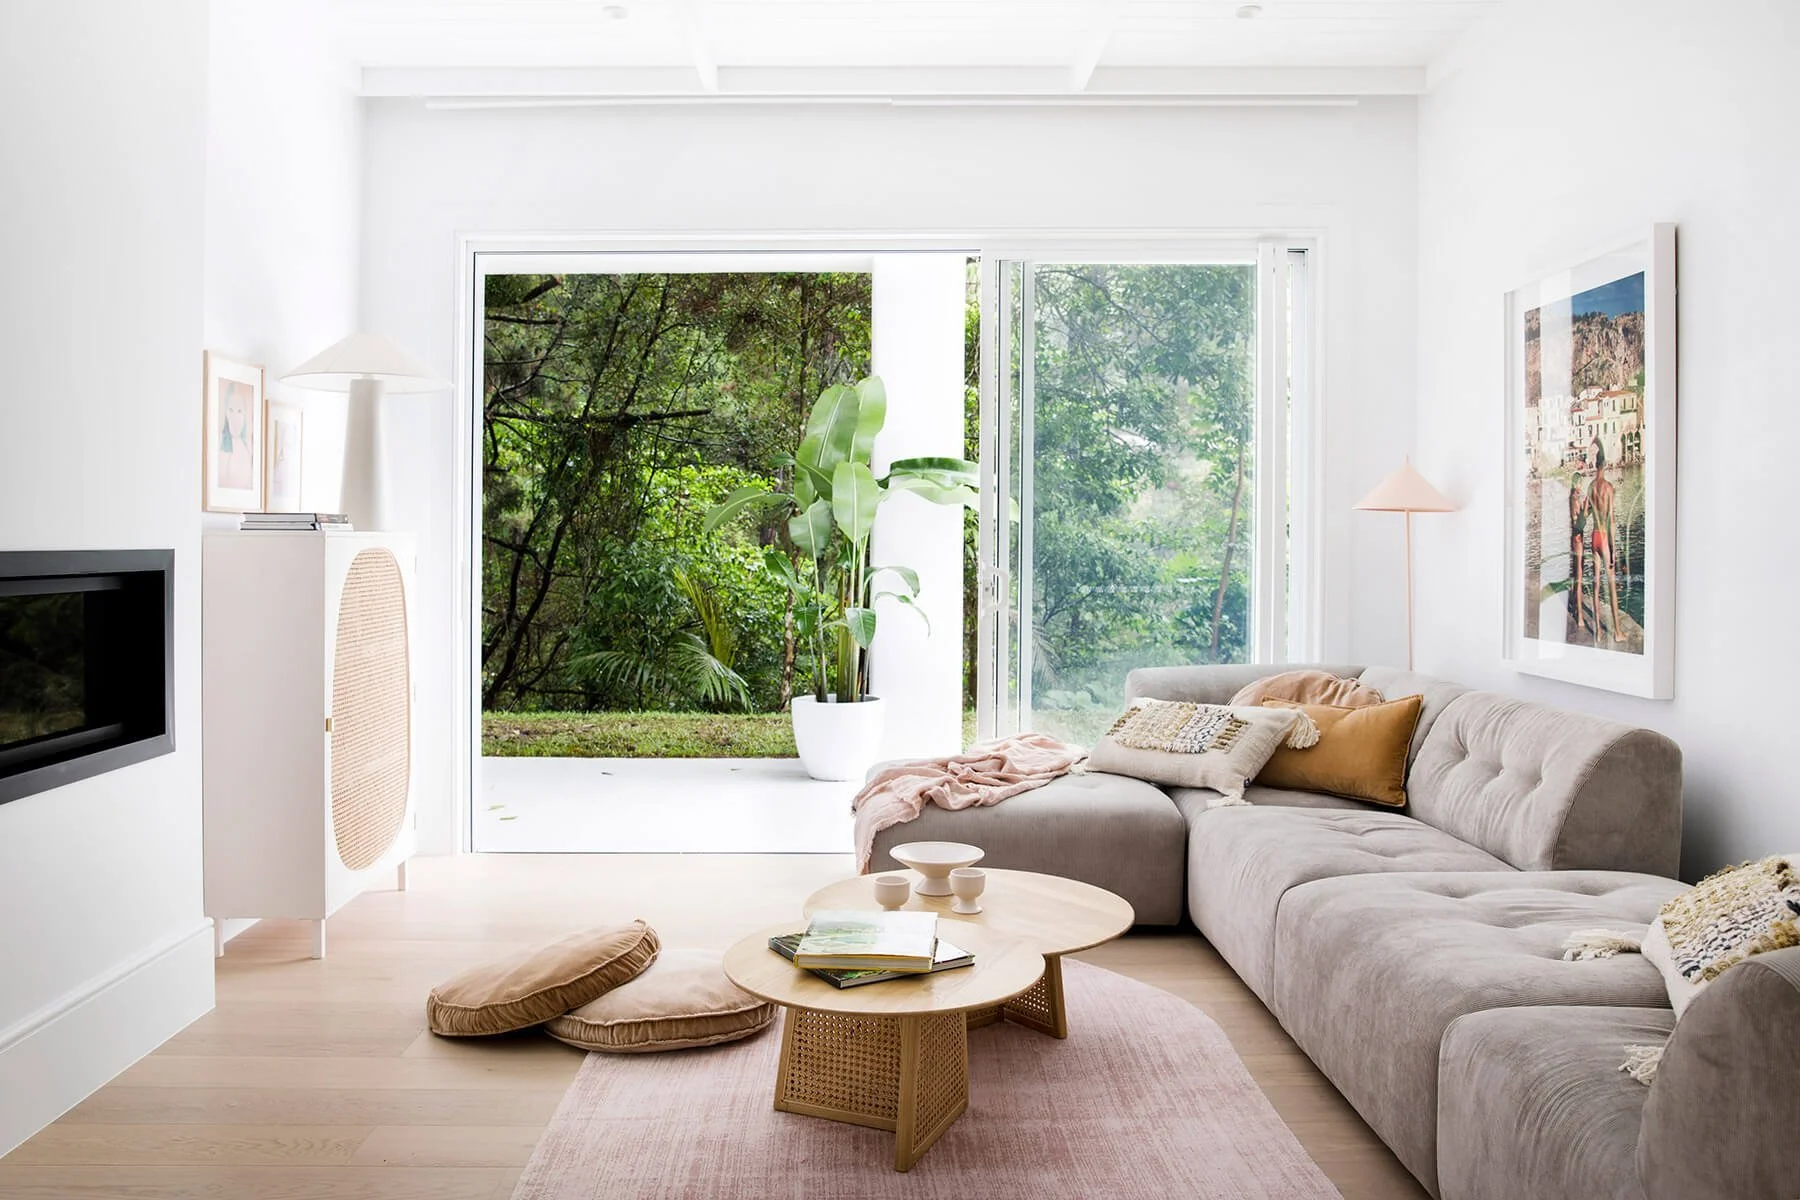
Three Birds Renovations • Large Glass Doors Maximise Natural Light In Living Room Design
8. Grouping Rooms According To Noise Level
A good floor plan layout should take into account acoustics or noise levels, and position rooms and spaces accordingly. Quieter rooms, such as bedrooms and studies, should be positioned away from high-traffic areas to promote a harmonious home environment; while noisy, busier spaces like the kitchen, dining and living room should be grouped together for entertaining and relaxing at home.
Acoustics Mastery Tip • When considering sound transfer in your home, don't forget to factor in noise transfer through walls! A living room TV wall that backs onto a bedroom can transfer TV sound into the bedroom, and bathroom plumbing or noise from a running shower may also be heard in the room next door. Including quality wall insulation will dramatically decrease noise transfer and keep noise contained to each room — maximising comfort for all home users.
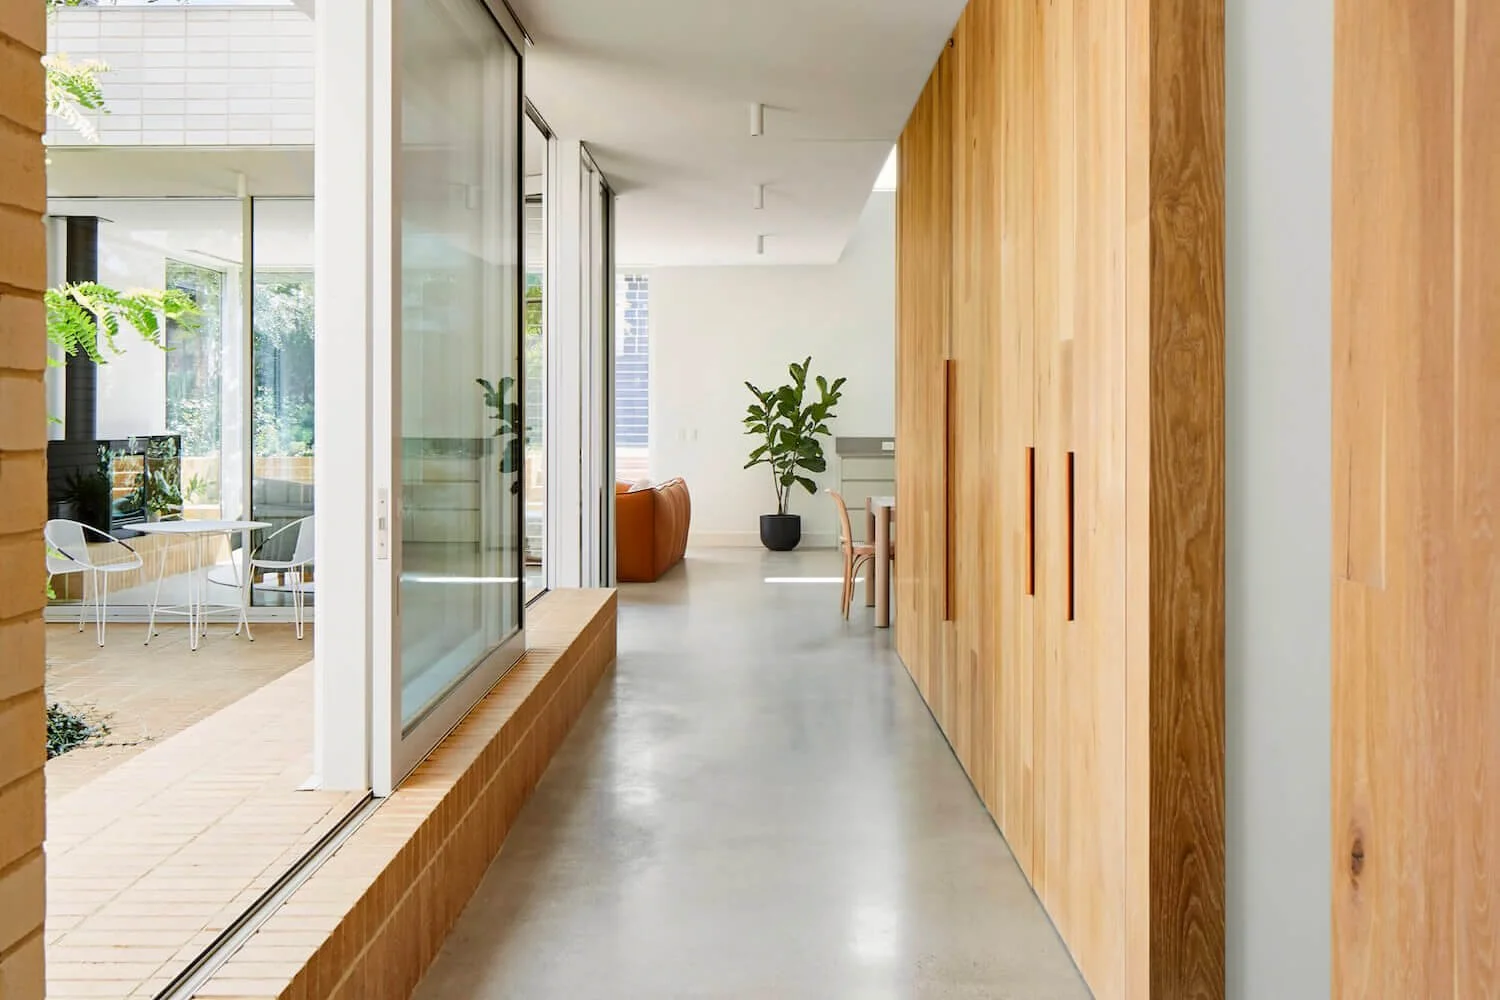
Clare Cousins Architects • Separate Living Spaces From Bedrooms To Optimise Home Comfort
9. Planning For Windows, Natural Light, And Ventilation
When designing your home, maximising natural light in every room needs to be high on your agenda! That's because natural light transforms spaces, making them feel bigger than they are and ensuring all your carefully selected colours and finishes look their best. When choosing windows and doors, consider what will be most functional and provide the best ventilation in each space, and where a window isn't viable, consider installing a skylight instead.
Window Positioning Mastery Tip • Plan windows in each room to maximise daylight, and consider your home's orientation so you can capture the Winter Sun. Position windows and doors opposite each other to take advantage of cross ventilation and enhance air quality indoors.
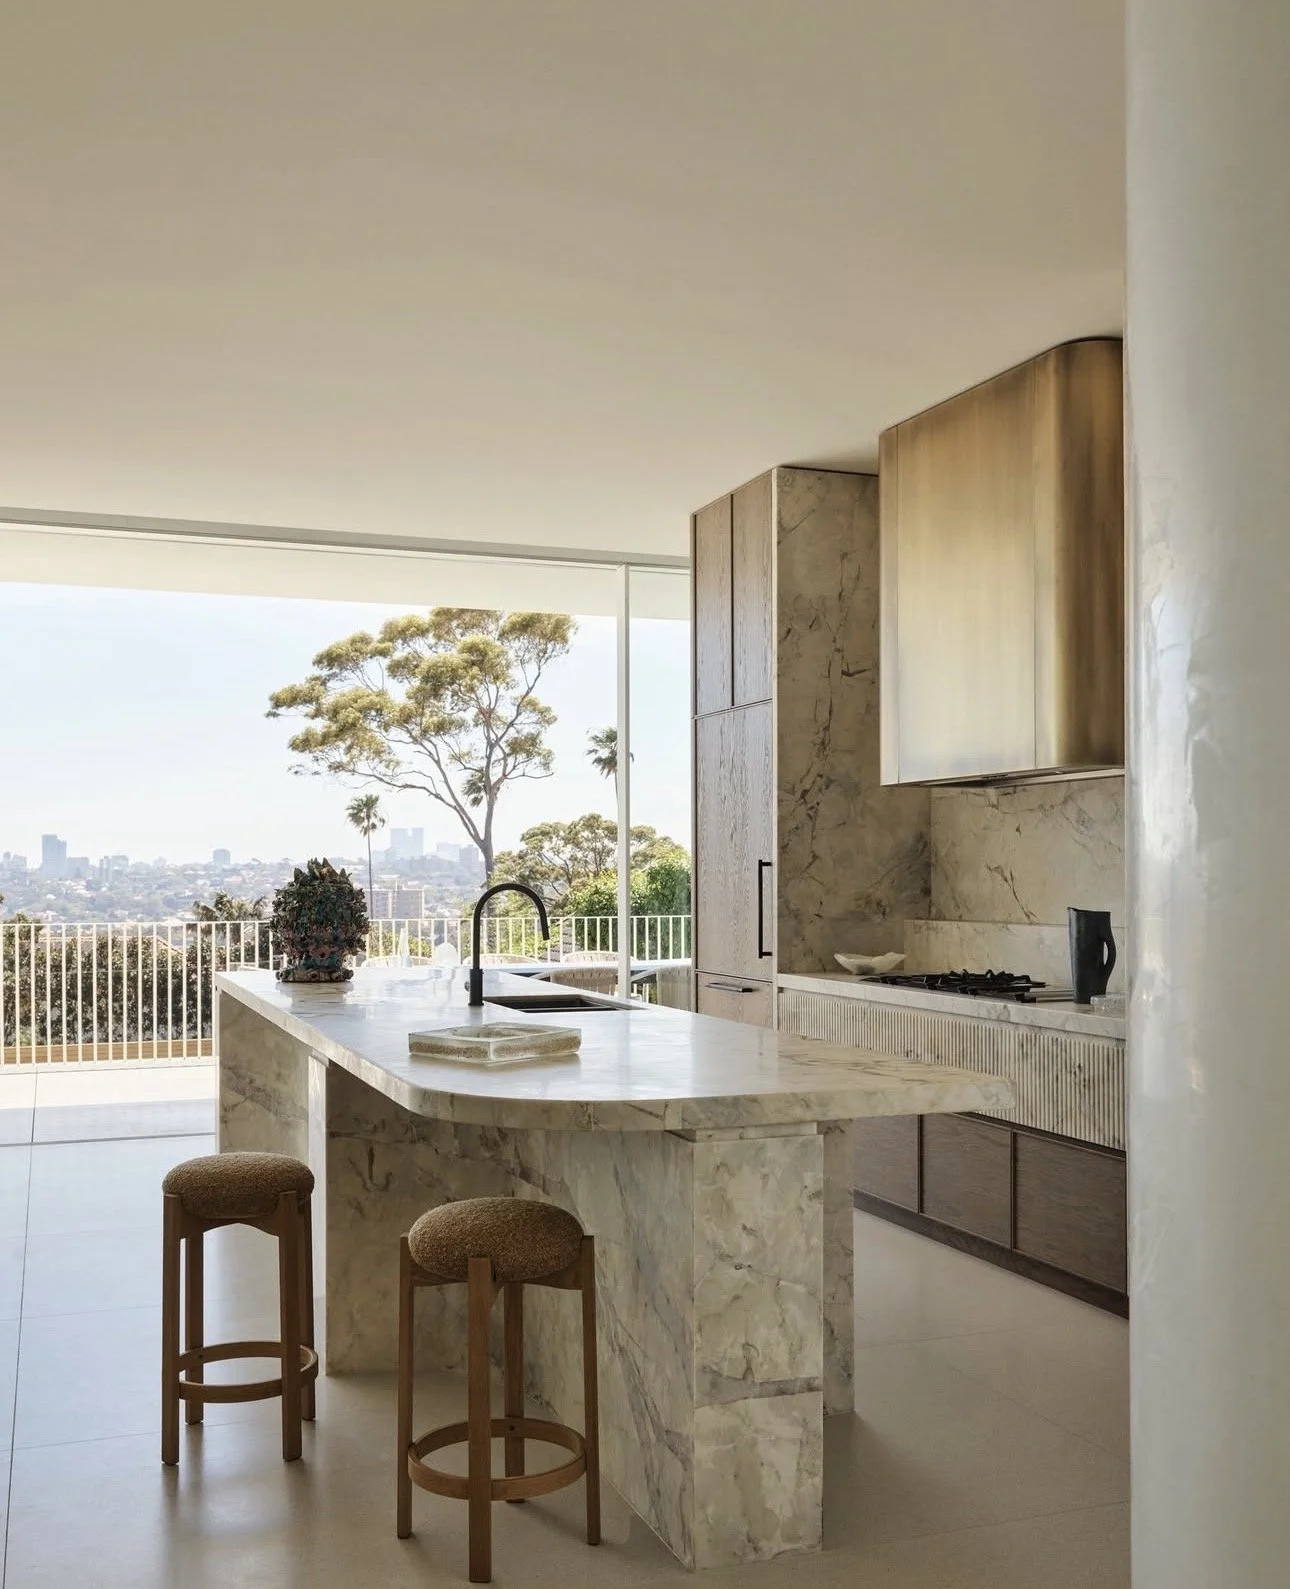
Mim Design • Island seating with floor to ceiling sliding doors maximise ventilation
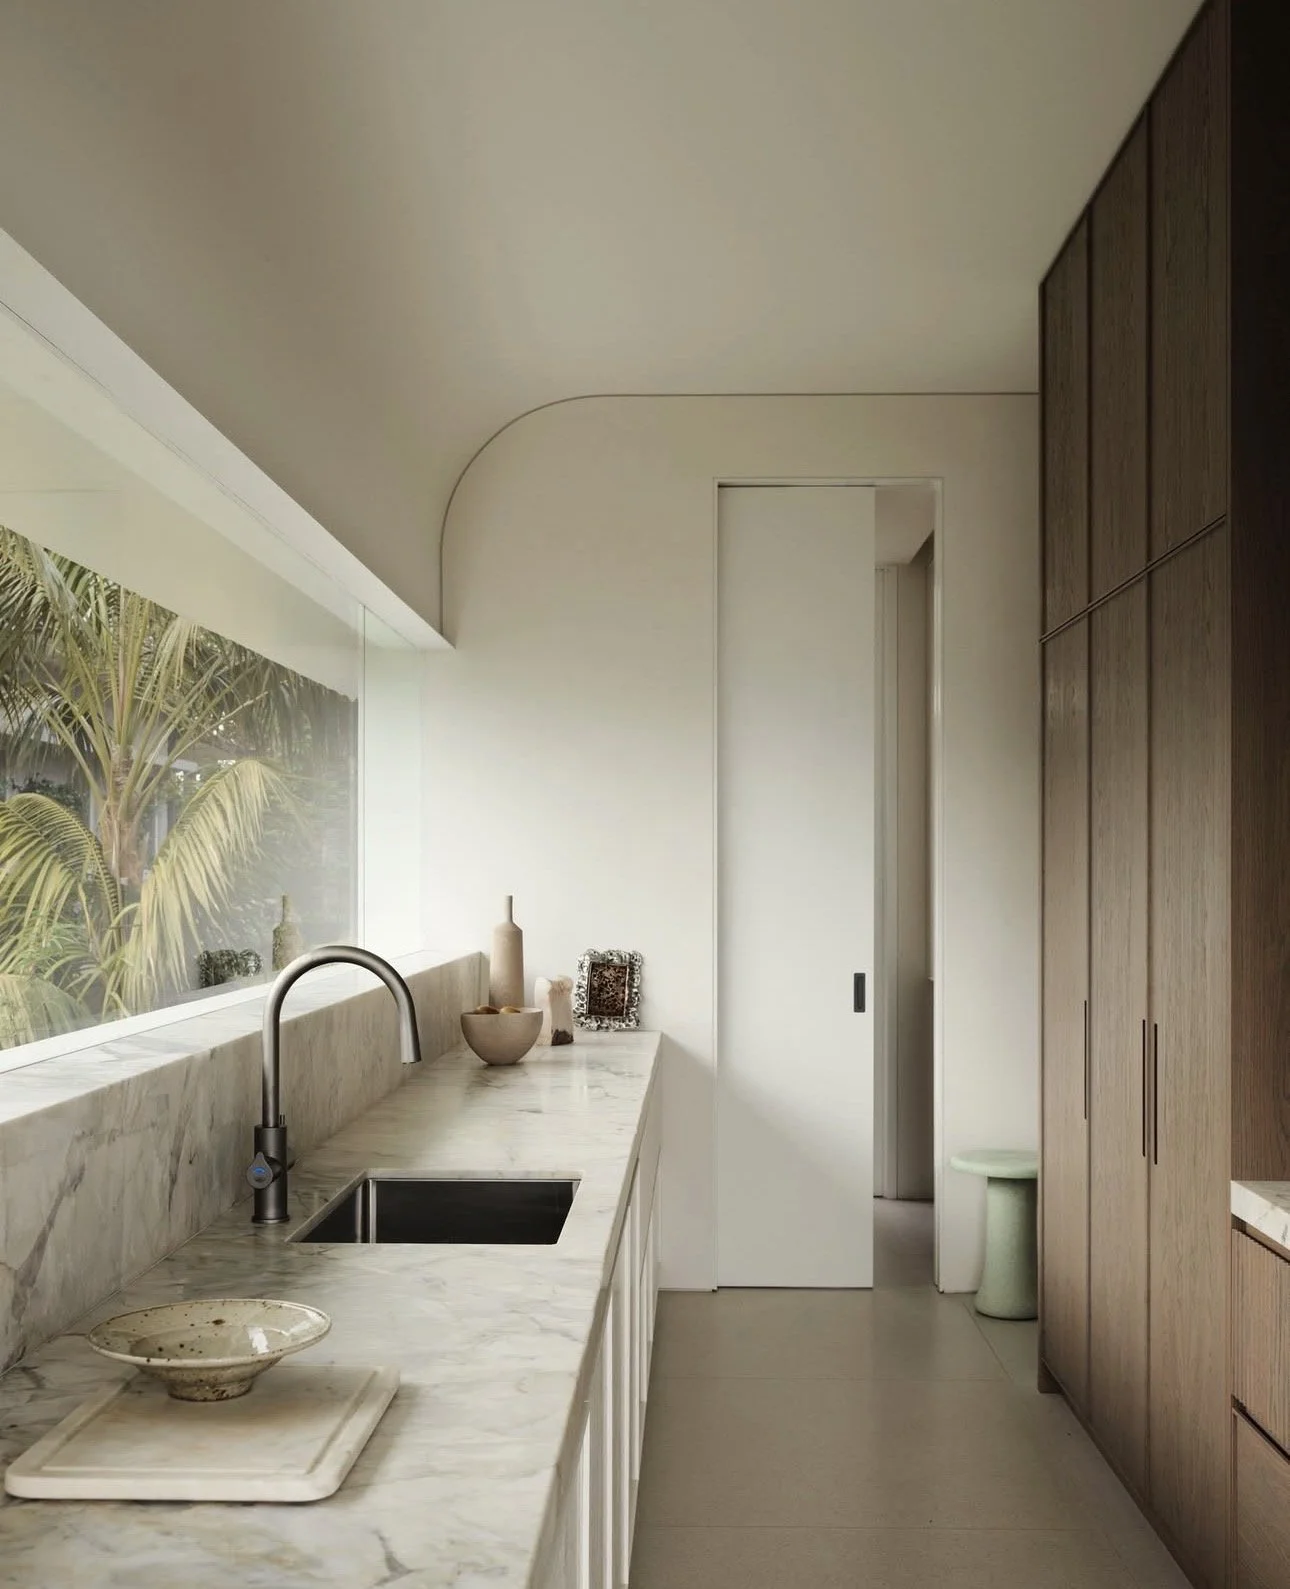
Mim Design • Window splashback provides ample natural light in scullery pantry
Why Your Floor Plan Is The One Decision That Unlocks It All
Here's the thing about everything you've just read. None of it can be fixed later.
You can repaint. You can replace a benchtop. You can swap out every light in the house down the track. But a hallway you have to turn sideways in, a bedroom that won't take a bedside table, a living room you zig-zag through to reach the back door — those stay. You live with them every single day, for as long as you live in that home.
That's why I say fix your floor plan first. Not because layout is more exciting than tapware — it isn't — but because it's the one decision that determines whether every other dollar you spend was worth spending. Get the plan right and everything after it gets easier. Get it wrong and no finish, no colour and no beautiful piece of furniture will save it.
Go back to your plan today with this list beside you. Check your hallway widths. Check your bedroom dimensions. Walk the path from your car to your kitchen bench and count the corners. You'll be amazed what you spot in twenty minutes — and you'd be amazed what it costs to spot it after the slab is poured. #letsgo
Ania Mikina, Home Design Strategist
Ania is an interior designer and co-founder of Zephyr and Stone. For over twenty years, she's watched people pour their savings, hopes and dreams into building and renovating, only to run out of money for the things they really wanted.
It's almost always avoidable, and it's why she created Fix Your Floor Plan First™, the framework at the heart of her home design course, home. BY ZEPHYR AND STONE. It shows you where to spend your money, so you get the home you want, in budget. Subscribe below for Ania's expert advice, straight to your inbox.