

Painting 101 - What Paint To Use Where
Organise + design your Reno with these resources
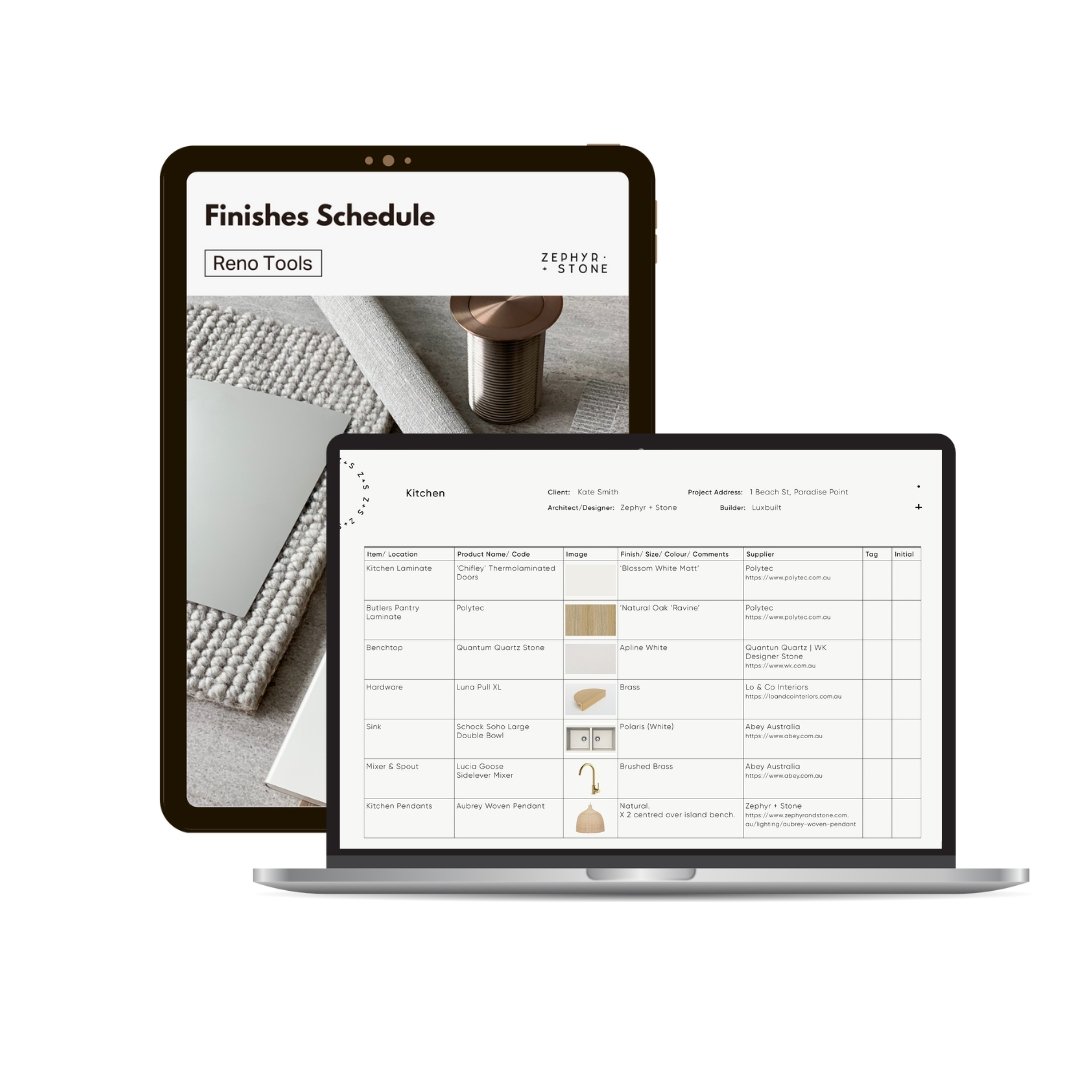
◾ #1 template for organising and managing your home renovation or building project
◾ Your Finishes Schedule is the QUICK + EASY way to store + keep track of all building products, fixtures + fittings, finishes + colours
◾Store the following home product details in your Schedule of Finishes to reference at any time during the planning stage and throughout your project —
✔️ Product names
✔️ Building product + product codes
✔️ Brand names
✔️ Colours, including material and paint colours
✔️ Product sizes, length and width dimensions
✔️ Supplier and manufacturer details, including websites and contact details
✔️ Any comments, installation notes or details for trades
✔️ Upload images of the product to visualise for trades and your building team
◾ Share your Digital Finishes Schedule with your builder, trades, architect… and other half or print it for handy reference onsite
◾ Store + edit your Finishes Schedule on your computer, phone or tablet to keep project details at hand, and quickly and easily reference or check product specifications during site visits and hardware shop runs
◾ Share your Finishing Schedule with your building team instantly at any time, and refer back to your schedule template for paint touch-ups or home improvements years from now
◾ Everyone always has access to the crucial details of your project, so nothing is missed.
◾ Use your finish schedule template for renovating one room or building your new home. Enter finishes + selections while you design and plan your project.
◾ It’s the tool that professionals like interior designers, builders + architects use, and now it’s yours!
◾ Includes a Prompt Sheet so you know exactly what products to include
◾ Template is used in the free version of Canva and can be used for this project and the next
MUST-HAVE project management tool for any home or DIY project — kitchen renovation, bathroom renovation, laundry renovation and everything in between — to save time, money and costly mistakes!

Designing your dream home couldn’t be easier with our all-in-one Classic Coastal Home Design Bundle.
Equip yourself with our expert interior design tips, house layout, colour schemes, floor plans and products to recreate your own designer home.
This easy to follow, value-packed bundle provides 8 of our best-selling downloadable products that will take out the guesswork, and save you time and money. Many designs include detailed cabinetry plans and elevations, plus all designs include a full list of colours used, clickable products and more!
With a combined value of $496, start your project off like an expert with a massive 65% off!
Included room designs in the Classic Coastal Home Design Bundle are:
Classic Coastal Bathroom Design Guide
Classical Coastal Ensuite Design Guide
Classic Coastal Kitchen Design Guide
Classic Coastal Walk-Design Guide
Classic Coastal Laundry Design Guide
Classic Coastal Powder Room Design Guide
Classic Coastal Master Bedroom Design Guide
Classic Coastal Facade Colour Scheme
Within these downloadable design guides you will find:
Plans detailing measurements and spacing so you’ll know where to position everything (within Plans + Colour Schemes only).
Full list of products – including tiles, cabinetry, mirror, lighting, tapware and paint colours. There are even details of which grout and silicone colour to use!
Design tips and tricks for you, your tradesman or your builder.
Cabinetry details with dimensions for your cabinet maker (within Plans + Colour Schemes only).
Clickable links to products and suppliers, so you can instantly explore any product online with the click of a button.
Follow the home layout design exactly or customise it with your own colours or products. Your interior-designed home is one click away. Start your home remodeling today!
You’ve found the perfect white or feature colour for your walls — but which type of paint should you use for different surfaces? From flat to low sheen, gloss and semi-gloss, choosing the right paint for the job can be as overwhelming as the countless colour swatch options!
With that in mind, we’ve compiled this simple guide which covers all the standard paint finishes and where to use them - to ensure your walls, doors, ceilings and skirting boards look the part, and your paint goes the distance!

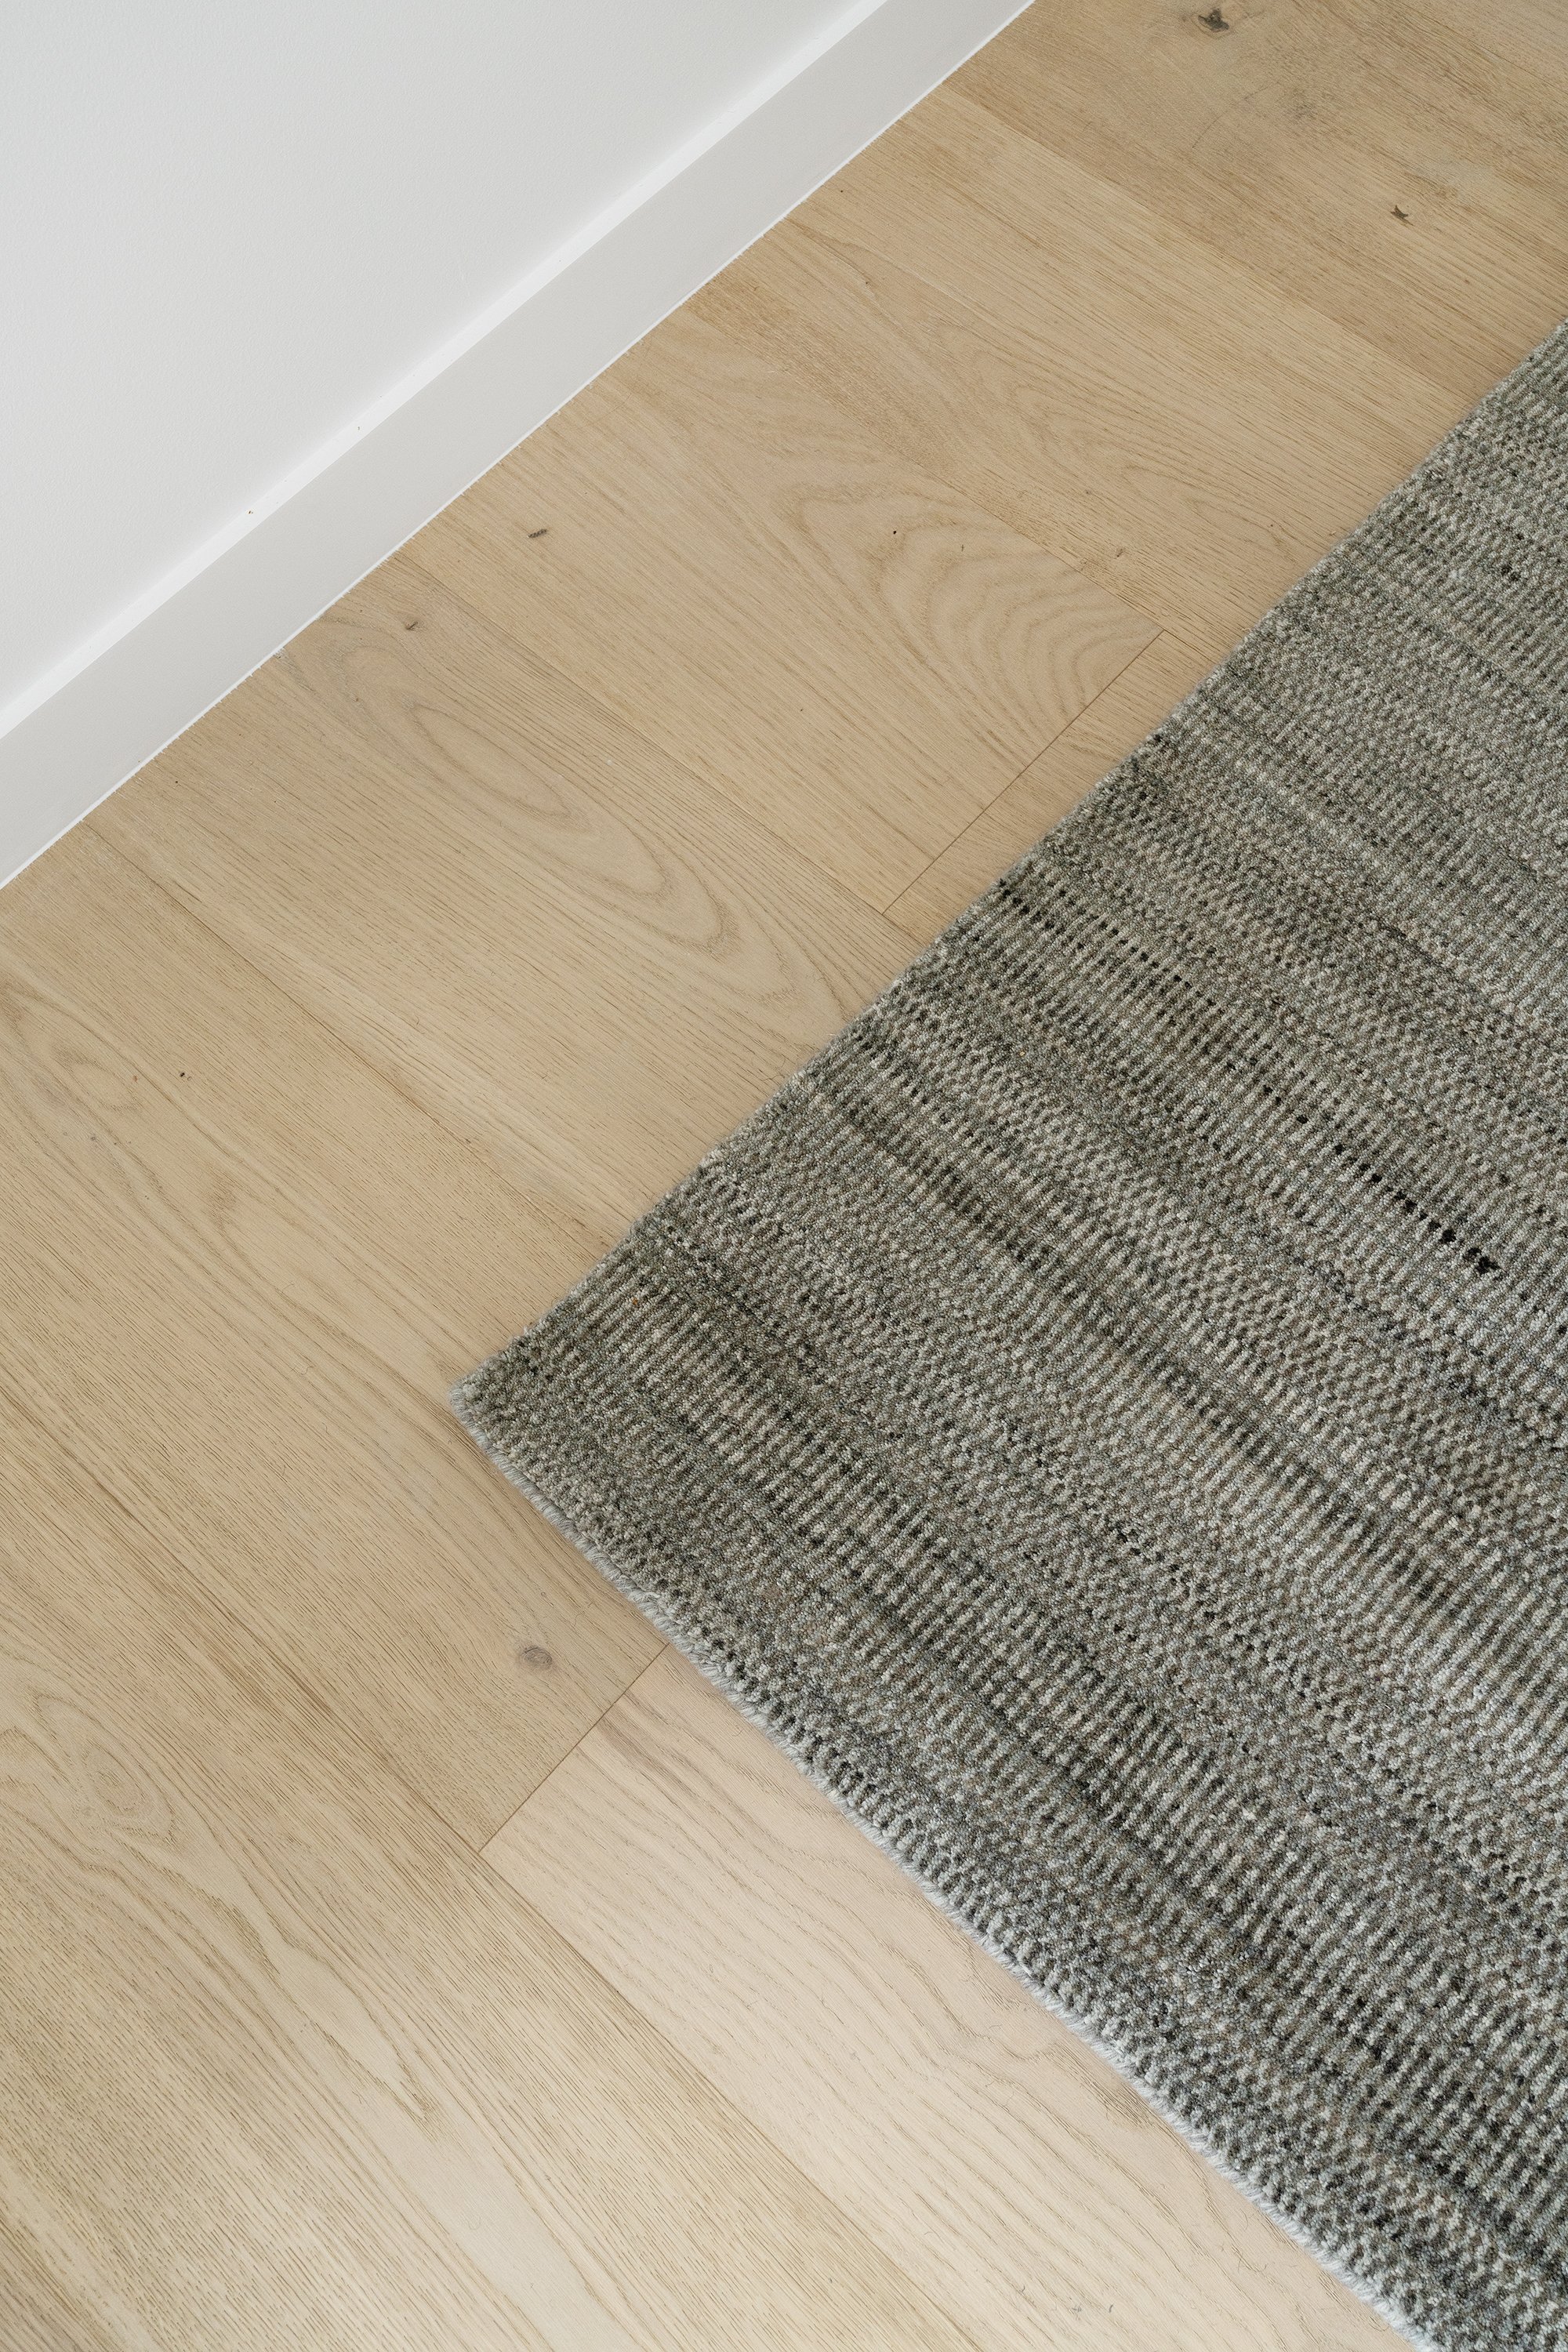
• Zephyr and Stone • Studio Feature Wall painted with Taubmans Endure Low Sheen Interior Walls in colour ‘Barely Beige’
Walls
When it comes to painting any internal walls, a paint that’s durable, easy to wipe clean and provides a smooth finish is essential. For internal walls, a quality Interior Wall Low Sheen paint will provide all these benefits.
Choosing premium paint like Taubmans Endure Interior Walls ensures the life of your paint job so you do not have to repaint with every new small handprint! Premium paints like Taubmans Endure, result in a finished wall surface that’s stain-resistant and easy to clean. Plus Endure has the added benefit of being approved by the National Asthma Council Australia’s Sensitive Choice Program, which makes the product safer for your family whilst also featuring anti-microbial technology to inhibit the growth of mould, mildew and bacteria around the painted surfaces - #essentials!

• Zephyr and Stone • Studio White Walls painted with Taubmans Endure Low Sheen Interior Walls in colour ‘Tahira White’

• Zephyr and Stone • Studio White ceilings painted with Taubmans Easycoat Ceiling, tinted in colour ‘Tahira White’
Ceilings
When it comes to ceilings, paint that minimises the appearance of any surface imperfections and streaks is essential. A Flat Finish paint does just that to provide the perfect result on ceilings.
In the Z+S Studio, we used Taubmans Easycoat Ceiling, which is specially formulated to provide above-average coverage to save time and effort. Plus it has built-in Bacteria Shield Technology to protect your ceilings from mould and ensure a paint finish that looks clean and crisp for years to come.
• Z + S Tip • When painting walls white in any home, tinting your ceiling paint in the same colour as your walls ensures a seamless transition between surfaces #zandstip
Doors, Skirting and Architraves
Doors, skirting boards, architraves and other painted timber surfaces in homes generally see more wear and tear compared to walls. This is where Enamel Paint is essential to ensure longevity.
In our recently completed studio space, we tinted our enamel paint to Taubmans ‘Tahira White’ to match the wall colour. We used Taubmans Water-Based Enamel for its anti-yellowing, easy-to-clean formula in a semi-gloss finish. Both gloss and semi-gloss paint work well for woodwork, with semi-gloss providing a flatter, less shiny finish compared to gloss.
• Z + S Tip • If you’re re-painting previously painted woodwork, it’s vital to check whether the existing paint is water or oil-based. For existing oil-based painted surfaces, you can lightly sand the surface and re-paint in an Oil Based Enamel. When painting over oil-based enamel with water-based paint, sand the surface first and then prep with a product like Taubmans 3 in 1 Prep, before applying the new Water-Based Enamel.
• Zephyr and Stone • Studio Skirting painted with Taubmans Water Based Enamel in colour ‘Tahira White’
Feature Walls
Just like any walls, you’ll want to ensure the paint finish on any feature panelling is smooth, seamless and washable. Feature panelling can generally be painted in an Interior Wall Low Sheen paint, which provides the convenience of easy cleaning of the odd scratch or scuff that daily life might throw.
For our Z+S Studio feature wall, we used Taubmans Endure Interior Walls tinted in the colour Taubmans ‘Barely Beige’. The panelling was painted with a quality paint brush to ensure a beautiful, even finish that highlights the textured material nicely.

• Zephyr and Stone • Studio Feature Wall painted with Taubmans Endure Interior Walls in colour ‘Barely Beige’
Painting your own home is one of the easiest DIY projects you can undertake, and achieving a beautiful, seamless finish is really as easy as arming yourself with the right paint and equipment. We hope we’ve somewhat demystified your next painting project and you feel ready and confident to choose the right paint for every surface!