

Popular Tile Laying Patterns for Floors and Walls
Organise + design your reno with these resources
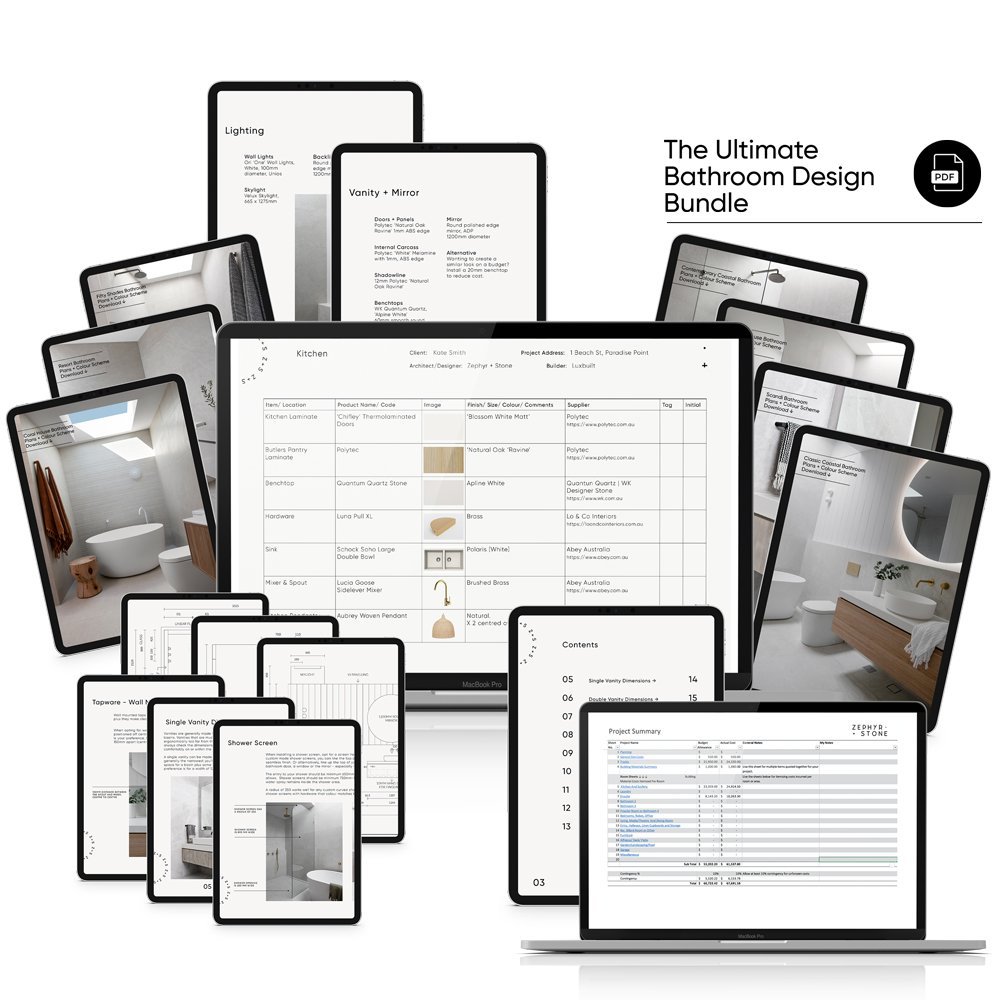
Ready to plan, design and organise your new bathroom renovation or build?
The Bathroom Design + Reno Bundle includes all the resources you need to design a beautiful and functional designer bathroom, including bathroom layouts with dimensions, heights + measurements planning, budget calculator and tracker, your finishes schedule planner and more…
Your Bathroom Bundle gives you access to:
Project Budget Tracker, valued at $97 • Work out how much your bathroom will cost and track spending throughout your project.
Finishes Schedule, valued at $79 • Quick + easy to edit Canva template for planning all bathroom products, colours and details. Record details for bathroom fixtures and fittings, tile details, vanity, mirrors, lighting, paint colours, all sizes and suppliers. The template is designed to be emailed or printed and shared with your project manager, builder or trades — listing all the products + finishes for your bathroom design. Use in the free version of Canva.
Bathroom Design + Measurement Cheat Sheet, valued at $79 • Planning your bathroom layout made easy with all bathroom heights and measurements for a designer bathroom — tap heights, shower head heights, bath, shower and toilet spacing, vanity, mirror + basin heights, plus bathroom planning tips and tricks.
Bathroom Design Bundle, valued at $789 • Plans + colour schemes for 11 interior designed bathrooms, including detailed bathroom floor plan with dimensions and elevations with heights and measurements, all product and colour details.
Backlit Mirror Step-By-Step Guide, valued at $47 • Create your backlit mirrors with this step-by-step mirror design and planning guide.
Niche Step-By-Step Guide, valued at $47 • Create a niche in your bathroom with this step-by-step niche design and planning guide, including dimensions.
With a total value of over $1206, this is our most popular bathroom remodeling and design resource, with everything you need to create the designer bathroom of your dreams.
Ditch budget blow-outs and know exactly what your reno or build will cost.
Most renovators fall in the trap of guesstimating. You can completely avoid this and accurately know what your renovation will cost
Budget blow-outs happen because people missed key trades, materials, or small extras that really add up fast. Or because they choose products at the start of their project, without having a clear picture of all the costs that are to come.
That’s exactly why we created the Budget Tracker.
It comes pre-loaded with every trade, product + supplier — so you know what to include in your budget and don’t miss a thing. There’s no second-guessing. Plan renovation costs with confidence from day one.
Plan one room at a time or your whole home at once — your budget tracker has the flexibility to work how want to.
Why it works:
✔️ No guesswork — know exactly what costs to allow for, room by room
✔️ Pre-loaded categories — every trade, product + supplier your project will need
✔️ Track spend in real time — compare what you planned vs what you’re actually spending
✔️ Quick-start estimates — calculate total renovation costs in minutes
✔️ Customisable — works whether you're planning one bathroom or an entire home
✔️ Built-in contingency + quote tracking — so nothing slips through the cracks
✔️ Use it again and again — perfect for this project and future renos
It’s for you if:
➡️ You don’t know what your project will actually cost
➡️ You’ve started planning but feel like costs are getting out of control
➡️ You want to avoid budget blowouts and know exactly what you’re in for
➡️ You’re juggling quotes and need one place to track everything
➡️ You want total clarity — not chaos and cost surprises
Use your budget tool your way and get a full cost breakdown of your project in minutes, with every dollar tracked from start to finish.
Ready to take control of your reno costs without budget blowouts? Download your Renovation Budget Tracker to find out your real reno cost now.
You’ve finally found the perfect tile, but your job doesn’t end there! Now you need to decide the best tile pattern for your space… There are endless ways to lay tiles and the same tile laid in different design tile patterns can result in completely different looks.
Tiles can also be laid to make your bathroom look bigger or smaller, ceilings look taller, a wall look narrower or wider, and to add a WOW factor and style to your design. So we’ve compiled the most popular tiling patterns for floor and wall tiles to make it super-easy for you to compare your options — and choose the best tile laying pattern to suit your new bathroom, restroom/toilet, kitchen, laundry or home design. #letsgo
Raunik Design Group • Curved Modern Bathroom Design with White Mosaic Kit Kat Tiles
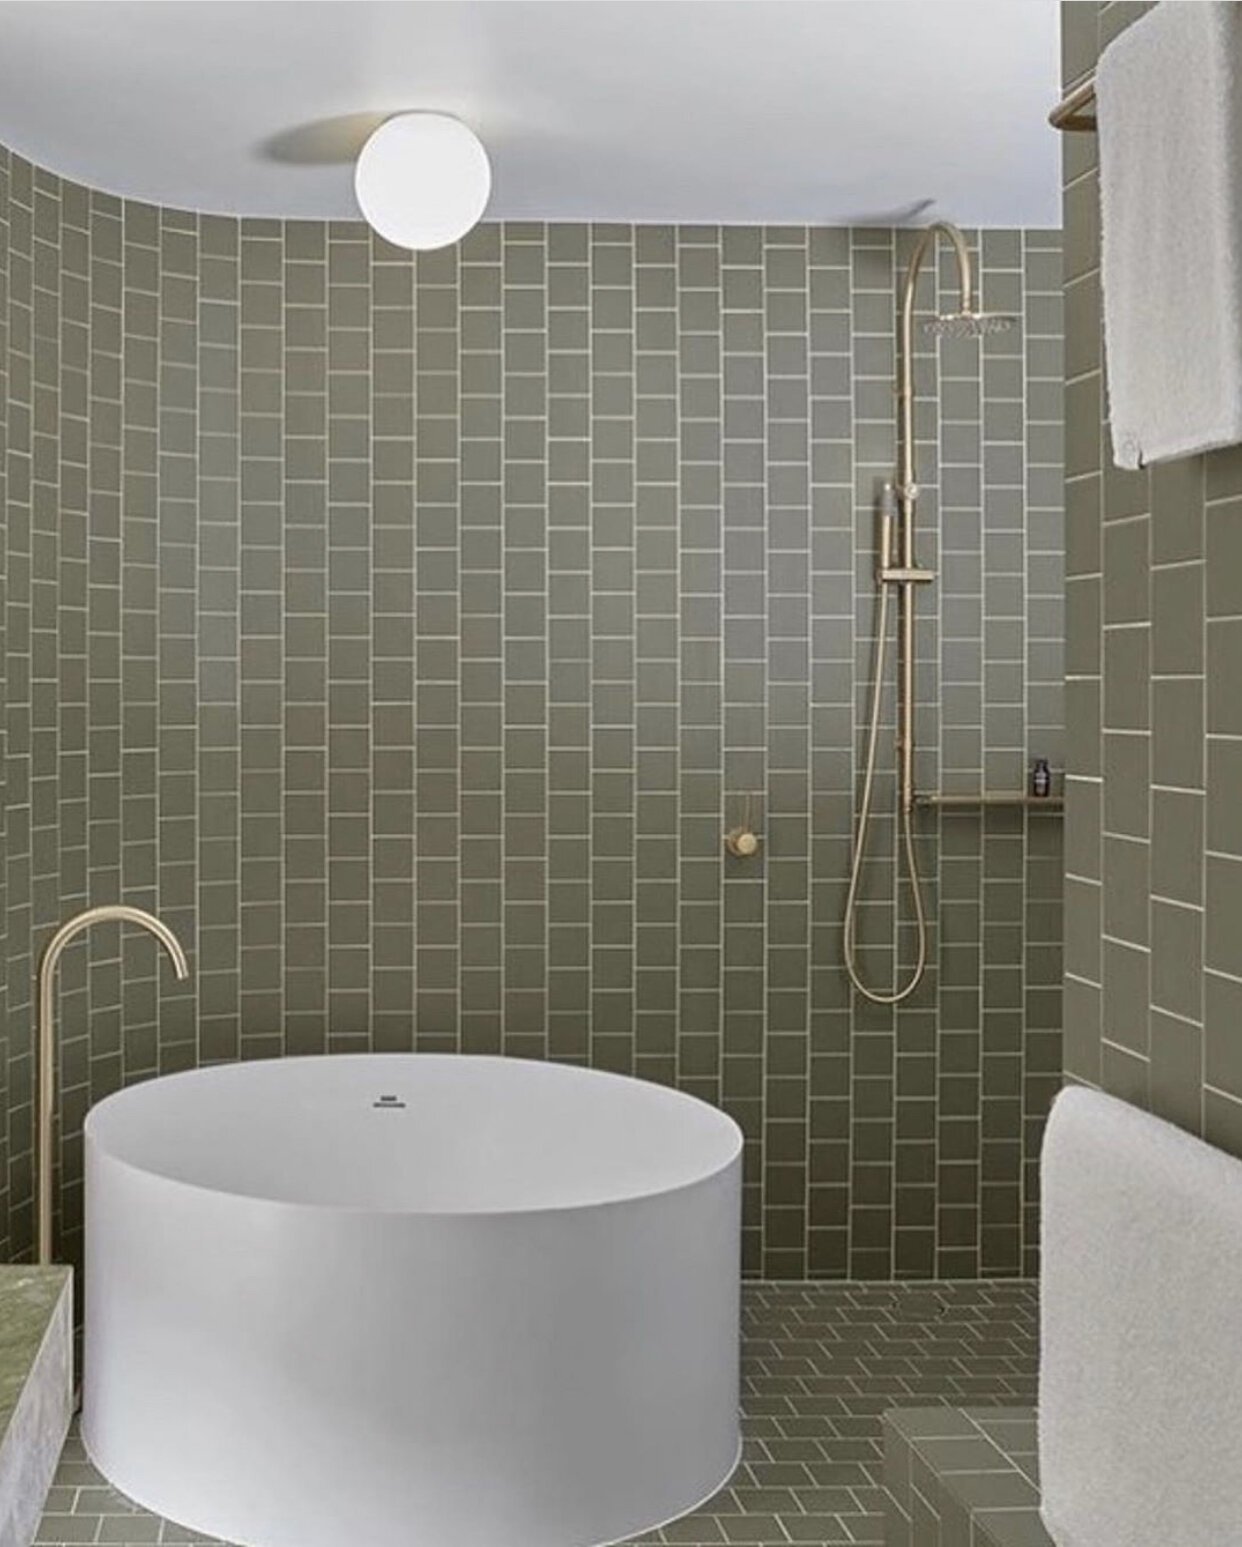
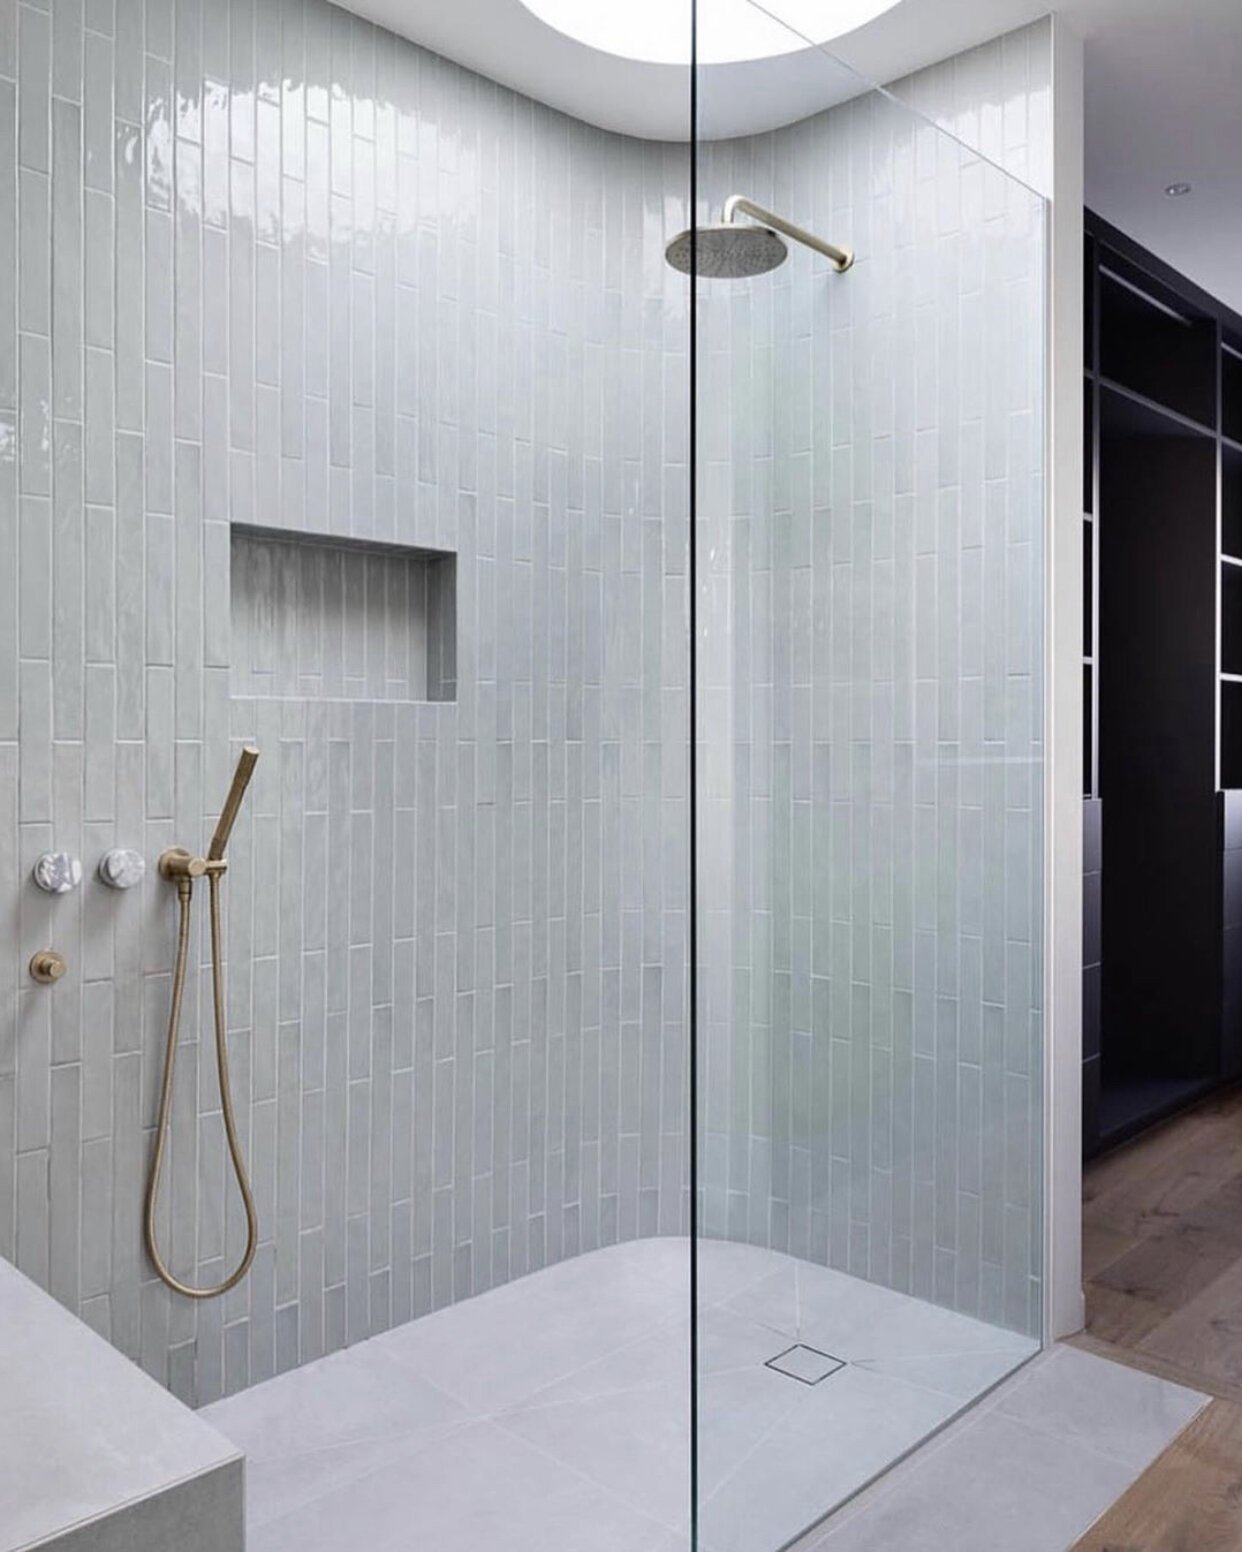
Straight, or Stack Bond Tiles
By far the simplest tiling pattern design, a straight or stack bond is when tiles are laid side by side in neat lines to form a linear grid pattern. This tiling pattern suits both square and rectangular-shaped tiles and is the easiest tile pattern to lay if you’re tackling your own tiling job… especially if you’re a first-timer or your tiling skills are questionable, or non-existent 😜
You can choose a contrasting grout colour to really emphasize and make the pattern on your floor or wall tiles pop, or match your grout to your tiles for a more seamless and minimal bathroom design.
Z+S Tip • Lay linear or rectangle-shaped tiles vertically on a wall to make ceilings appear taller, or horizontally to make a narrow bathroom wall appear wider.
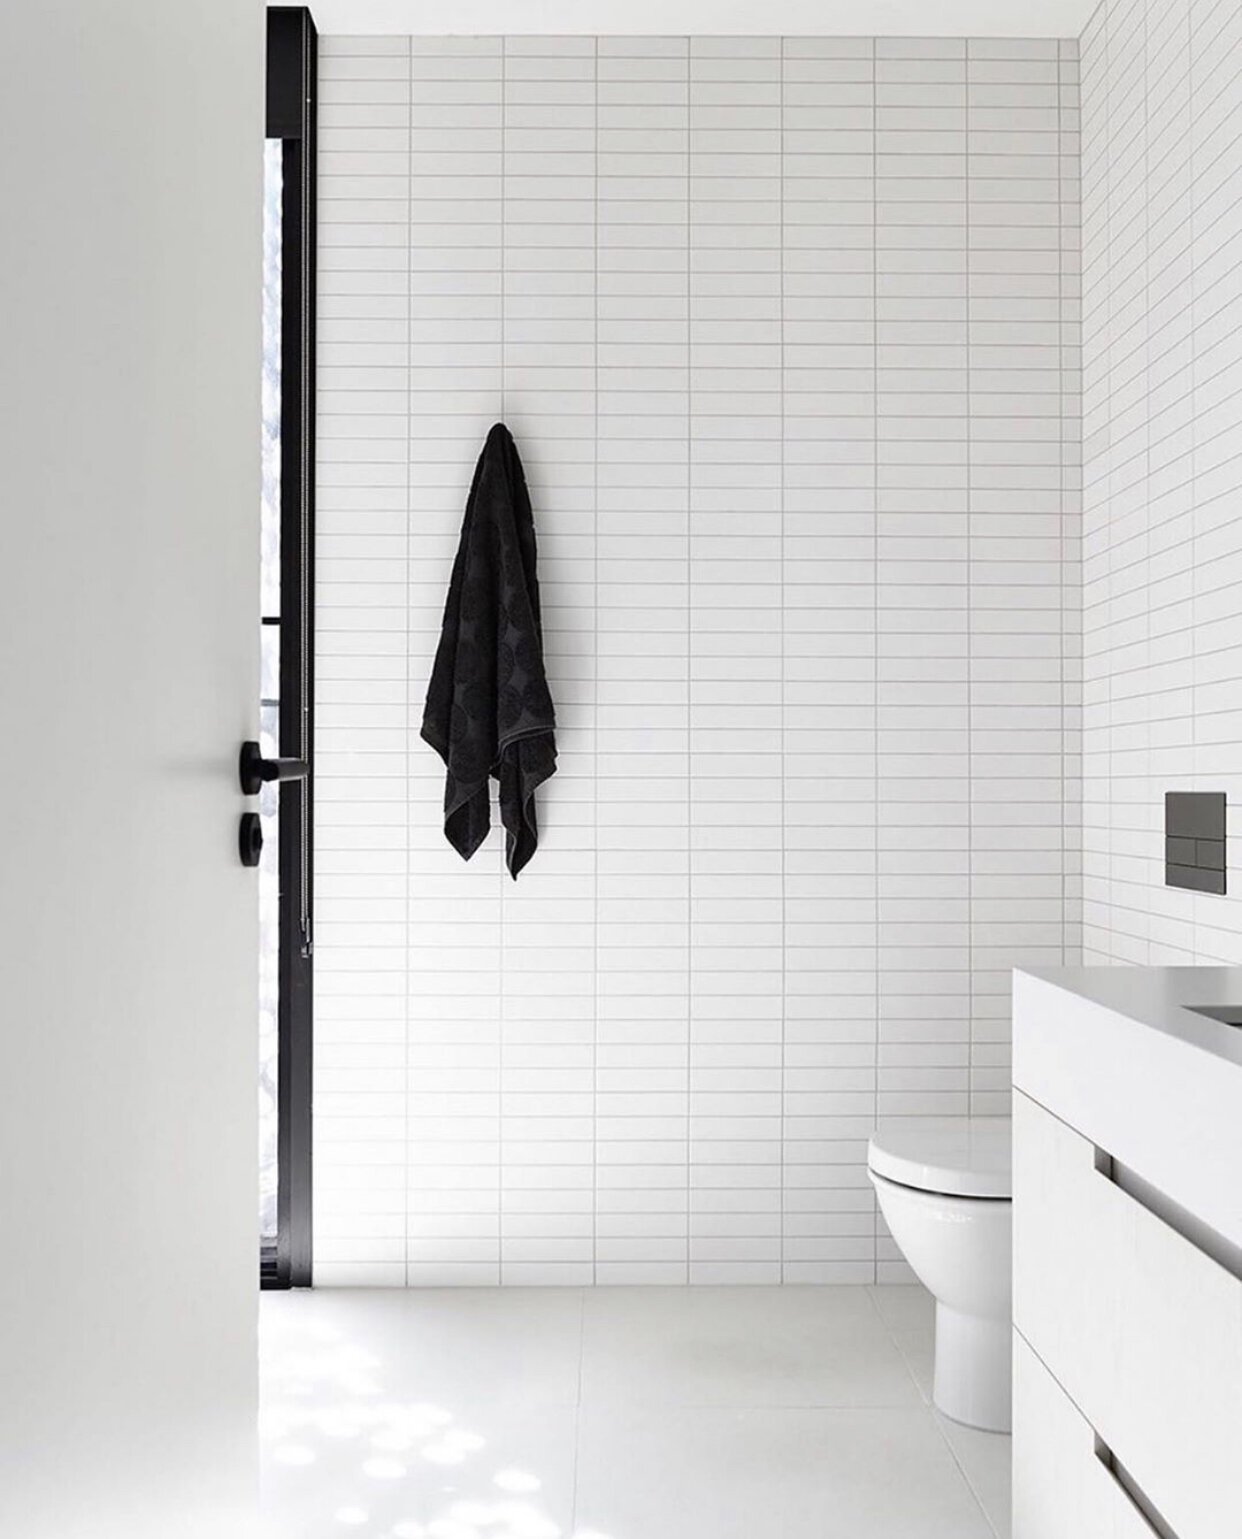
Imperial Builders • Stack Bond Wall Toilet Tiles Design with White Kit Kat Tiles Laid Horizontally
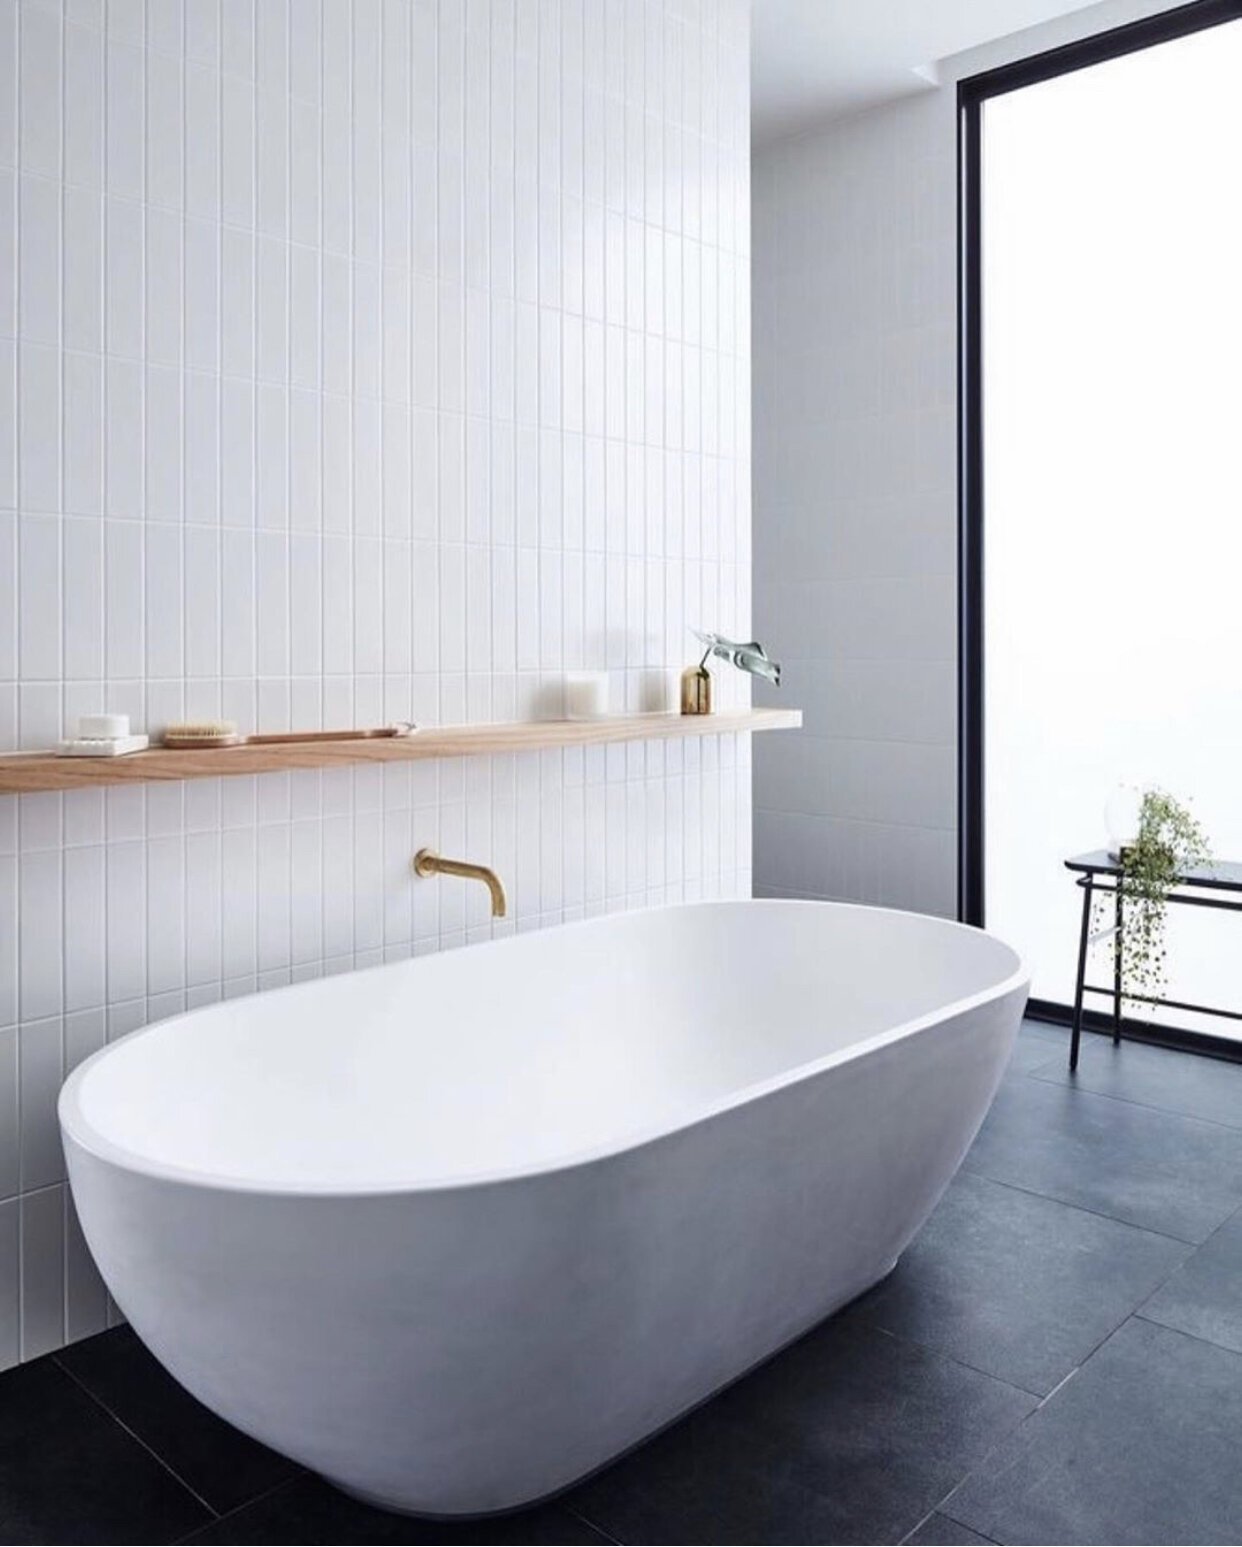
Auhaus • Stack Bond Tiling with White Rectangle Tiles Laid Vertically Behind Bath
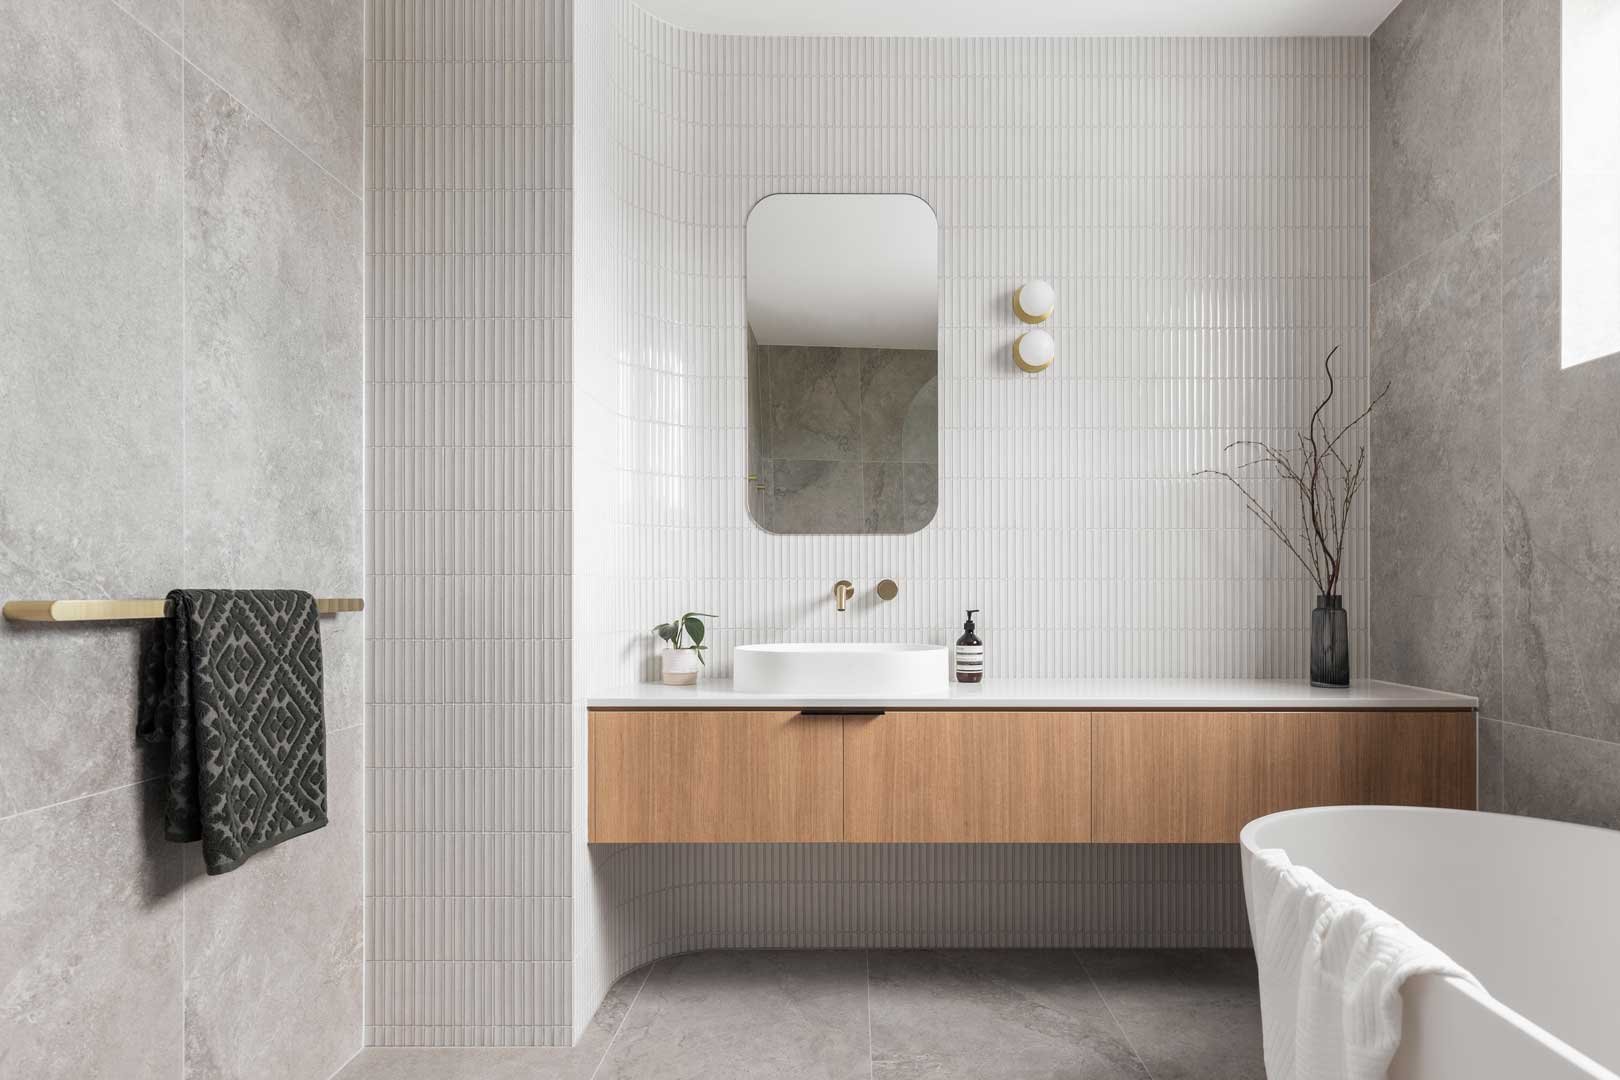
Stretcher Bond, or Brick Bond
A Stretcher bond is a traditional brick tiling pattern design, where square or rectangular tiles are laid with an equal offset.
Essentially each tile overlaps the tile above and below by half, resulting in non-linear grout lines. Offsetting grout lines can help hide imperfections in tiling, and walls which are not perfectly straight. It’s also a great way to give the illusion of space and height and create a more patterned look to your bathroom design. Stretcher bonds can be laid horizontally, vertically or diagonally on floors and walls perfect for your restroom design.

Baldwin Bagnall • Marble Tiles in Brick Pattern
Calile Hotel • Green Square Tile Laid in Brick Bond on Floors + Walls
1/3 Stretcher Bond
A 1/3 Stretcher bond is our favourite way to lay large format rectangular tiles, like 600mm x 1200mm sized tiles.
This laying pattern is similar to the Stretcher Bond, except tiles overlap the tile above and below by one-third instead of half the tile length. An overlap of 2/5 Stretcher Bond also works well, especially for smaller rectangular tile dimensions, such as 400mm x 800mm tiles.
Zephyr and Stone • Scandi Bathroom with 1/3 Stretcher Bond
Nectaar • Offset Shower Tile Pattern Design
Diagonal Tile Pattern Design
A diagonal pattern is when square or rectangular-shaped tiles are laid on a 45-degree angle, giving them a diamond-shaped appearance. This is an effective tile installation for emphasizing a wall and can make a small room appear larger. Diagonal patterns require more cuts when it comes to the corners of a room, so ensure you allow enough waste.
Studio Griffiths • Dark Grey Tiles Laid Diagonally on Bathroom Wall
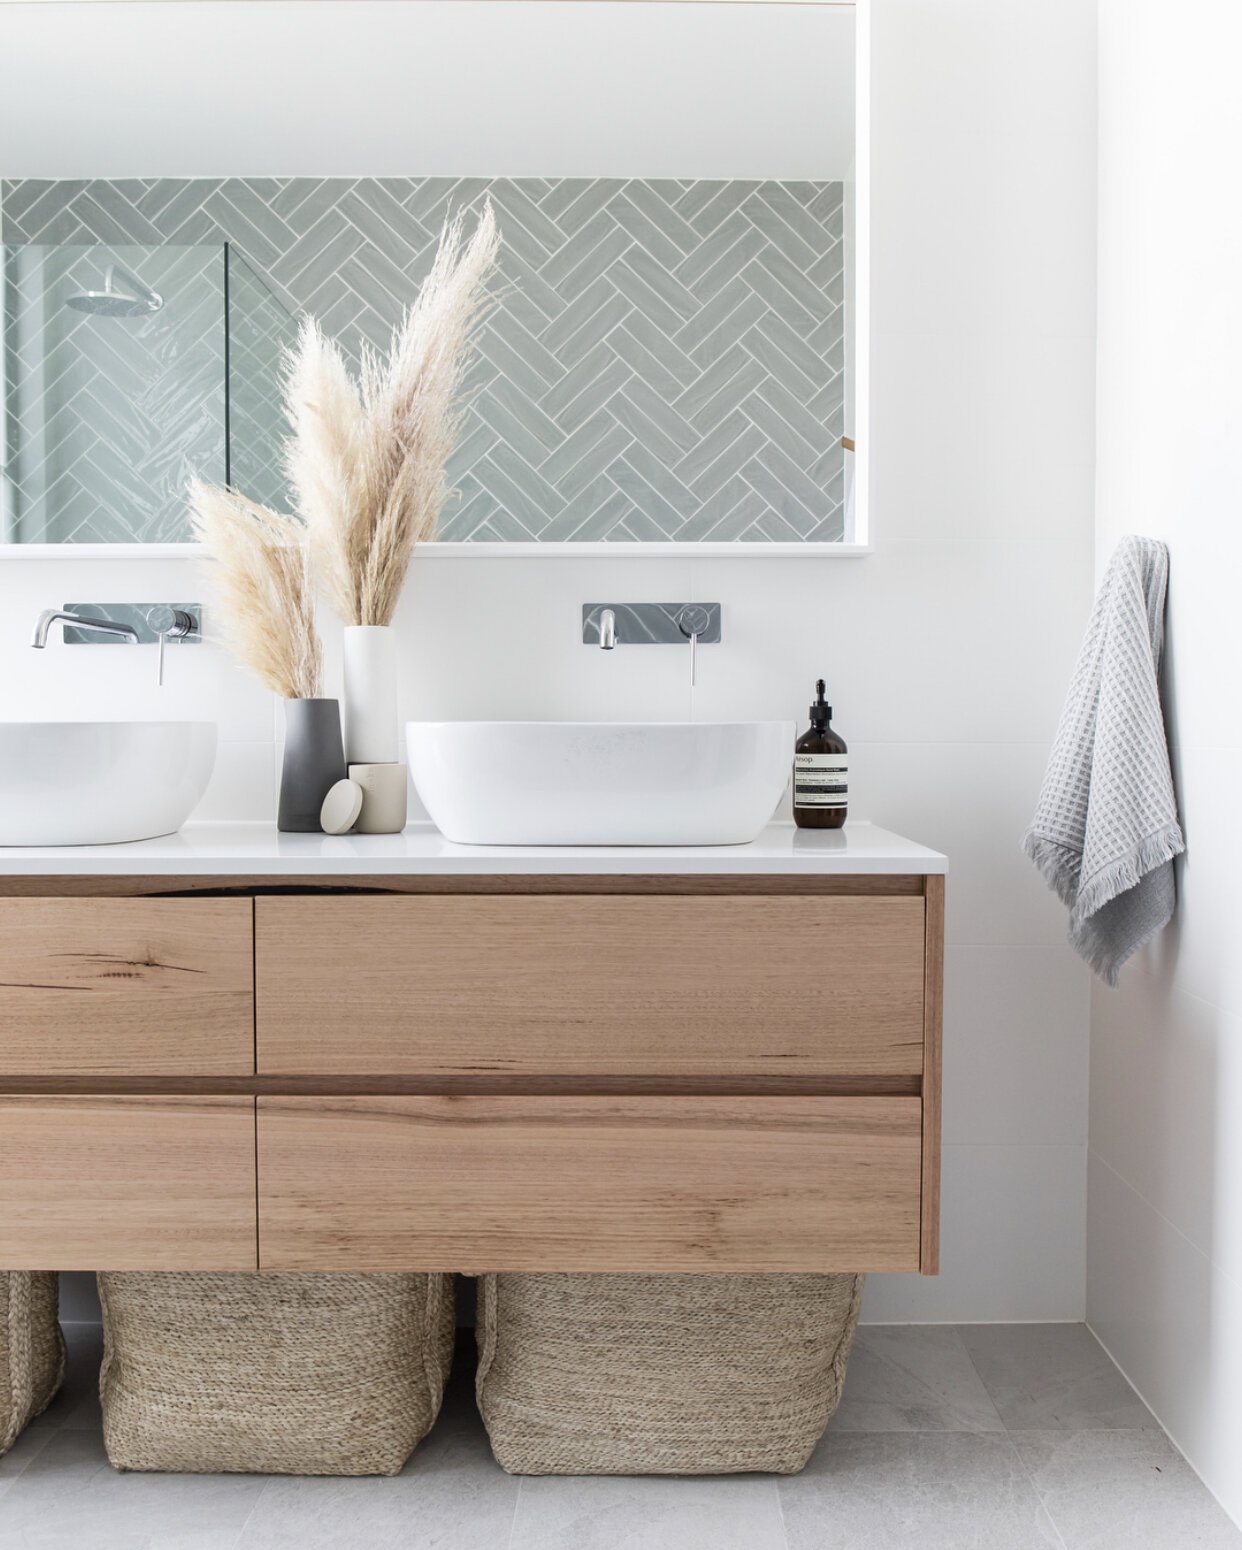
Herringbone Pattern Design
A herringbone tile pattern is achieved by installing rectangular tiles in a zig-zag pattern to each other.
It has the benefit of creating the visual illusion of more width, as the V-shape draws the eye horizontally and outwards. A herringbone pattern is perfect for traditional or classic bathroom tile designs, as it is elegant and timeless, and works equally well in contemporary or modern bathrooms, especially when opting for a simple and neutral colour palette.
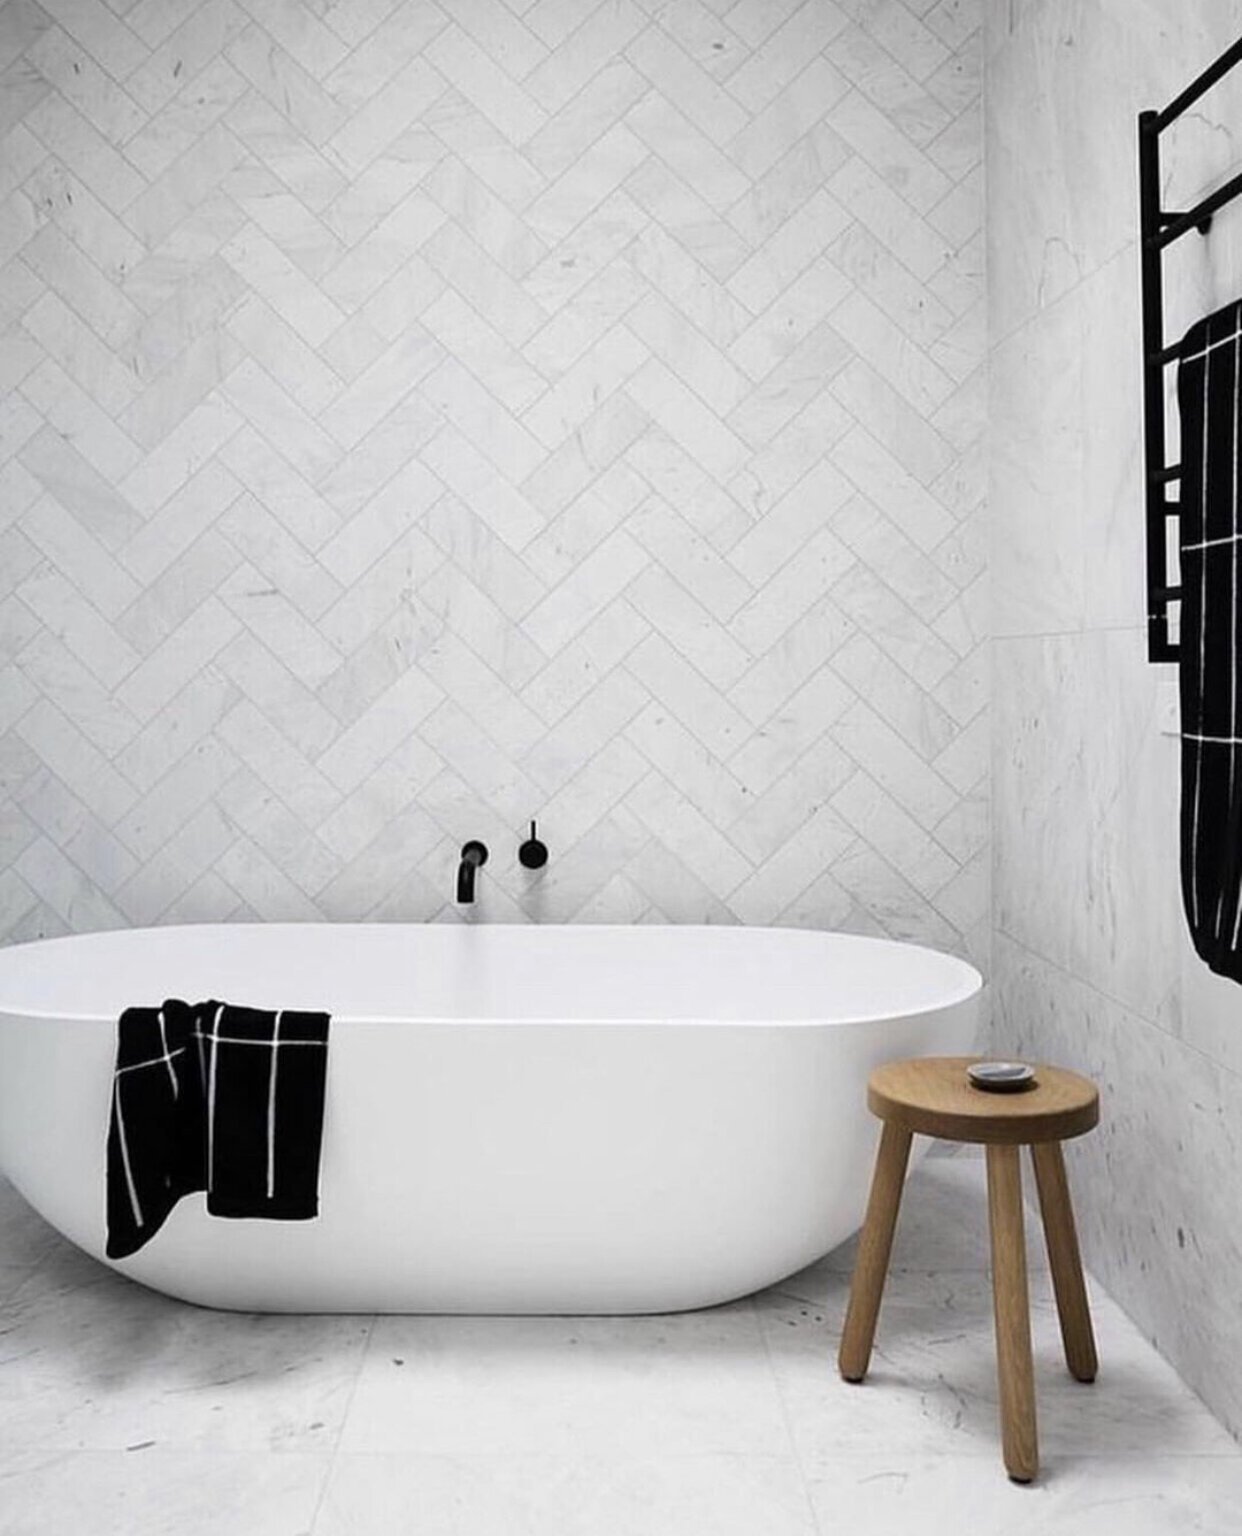
Studio Griffiths • Large Rectangular Kit Kat Shaped Tiles Laid in Herringbone Pattern on Wall in Marble Bathroom
Basket Weave
Similar to a herringbone pattern, a Basket Weave tile pattern is when two rectangular tiles are laid side by side, with the next pair of tiles laid at a 90-degree angle from the first pair.
This laying pattern is repeated with the pairs alternating. When laid, the tiles appear to be woven, much like a basket.

The Stables • Sage Green Wall Tile Design laid on Bath and Shower Wall in Basket Weave Pattern
The Stables • Sage Green Wall Tiles Design Reflected in Bathroom Mirror
Chevron Tiling Pattern Design
Another of our favourite laying patterns, the Chevron pattern is created with rectangular tiles that have an angular 45-degree cut to each end.
The tiles are laid stacked, with each row a mirror image of the adjacent row, resulting in a V or arrow shape that alternates pointing up and down along the wall or floor surface. The pattern resembles a zigzag that can look extremely elegant and understated.
Melissa Ambrosini • White Tiles in Shower laid in Chevron Pattern
Les Pavillions • Warm Neutral Bathroom Design with Chevron Tiles
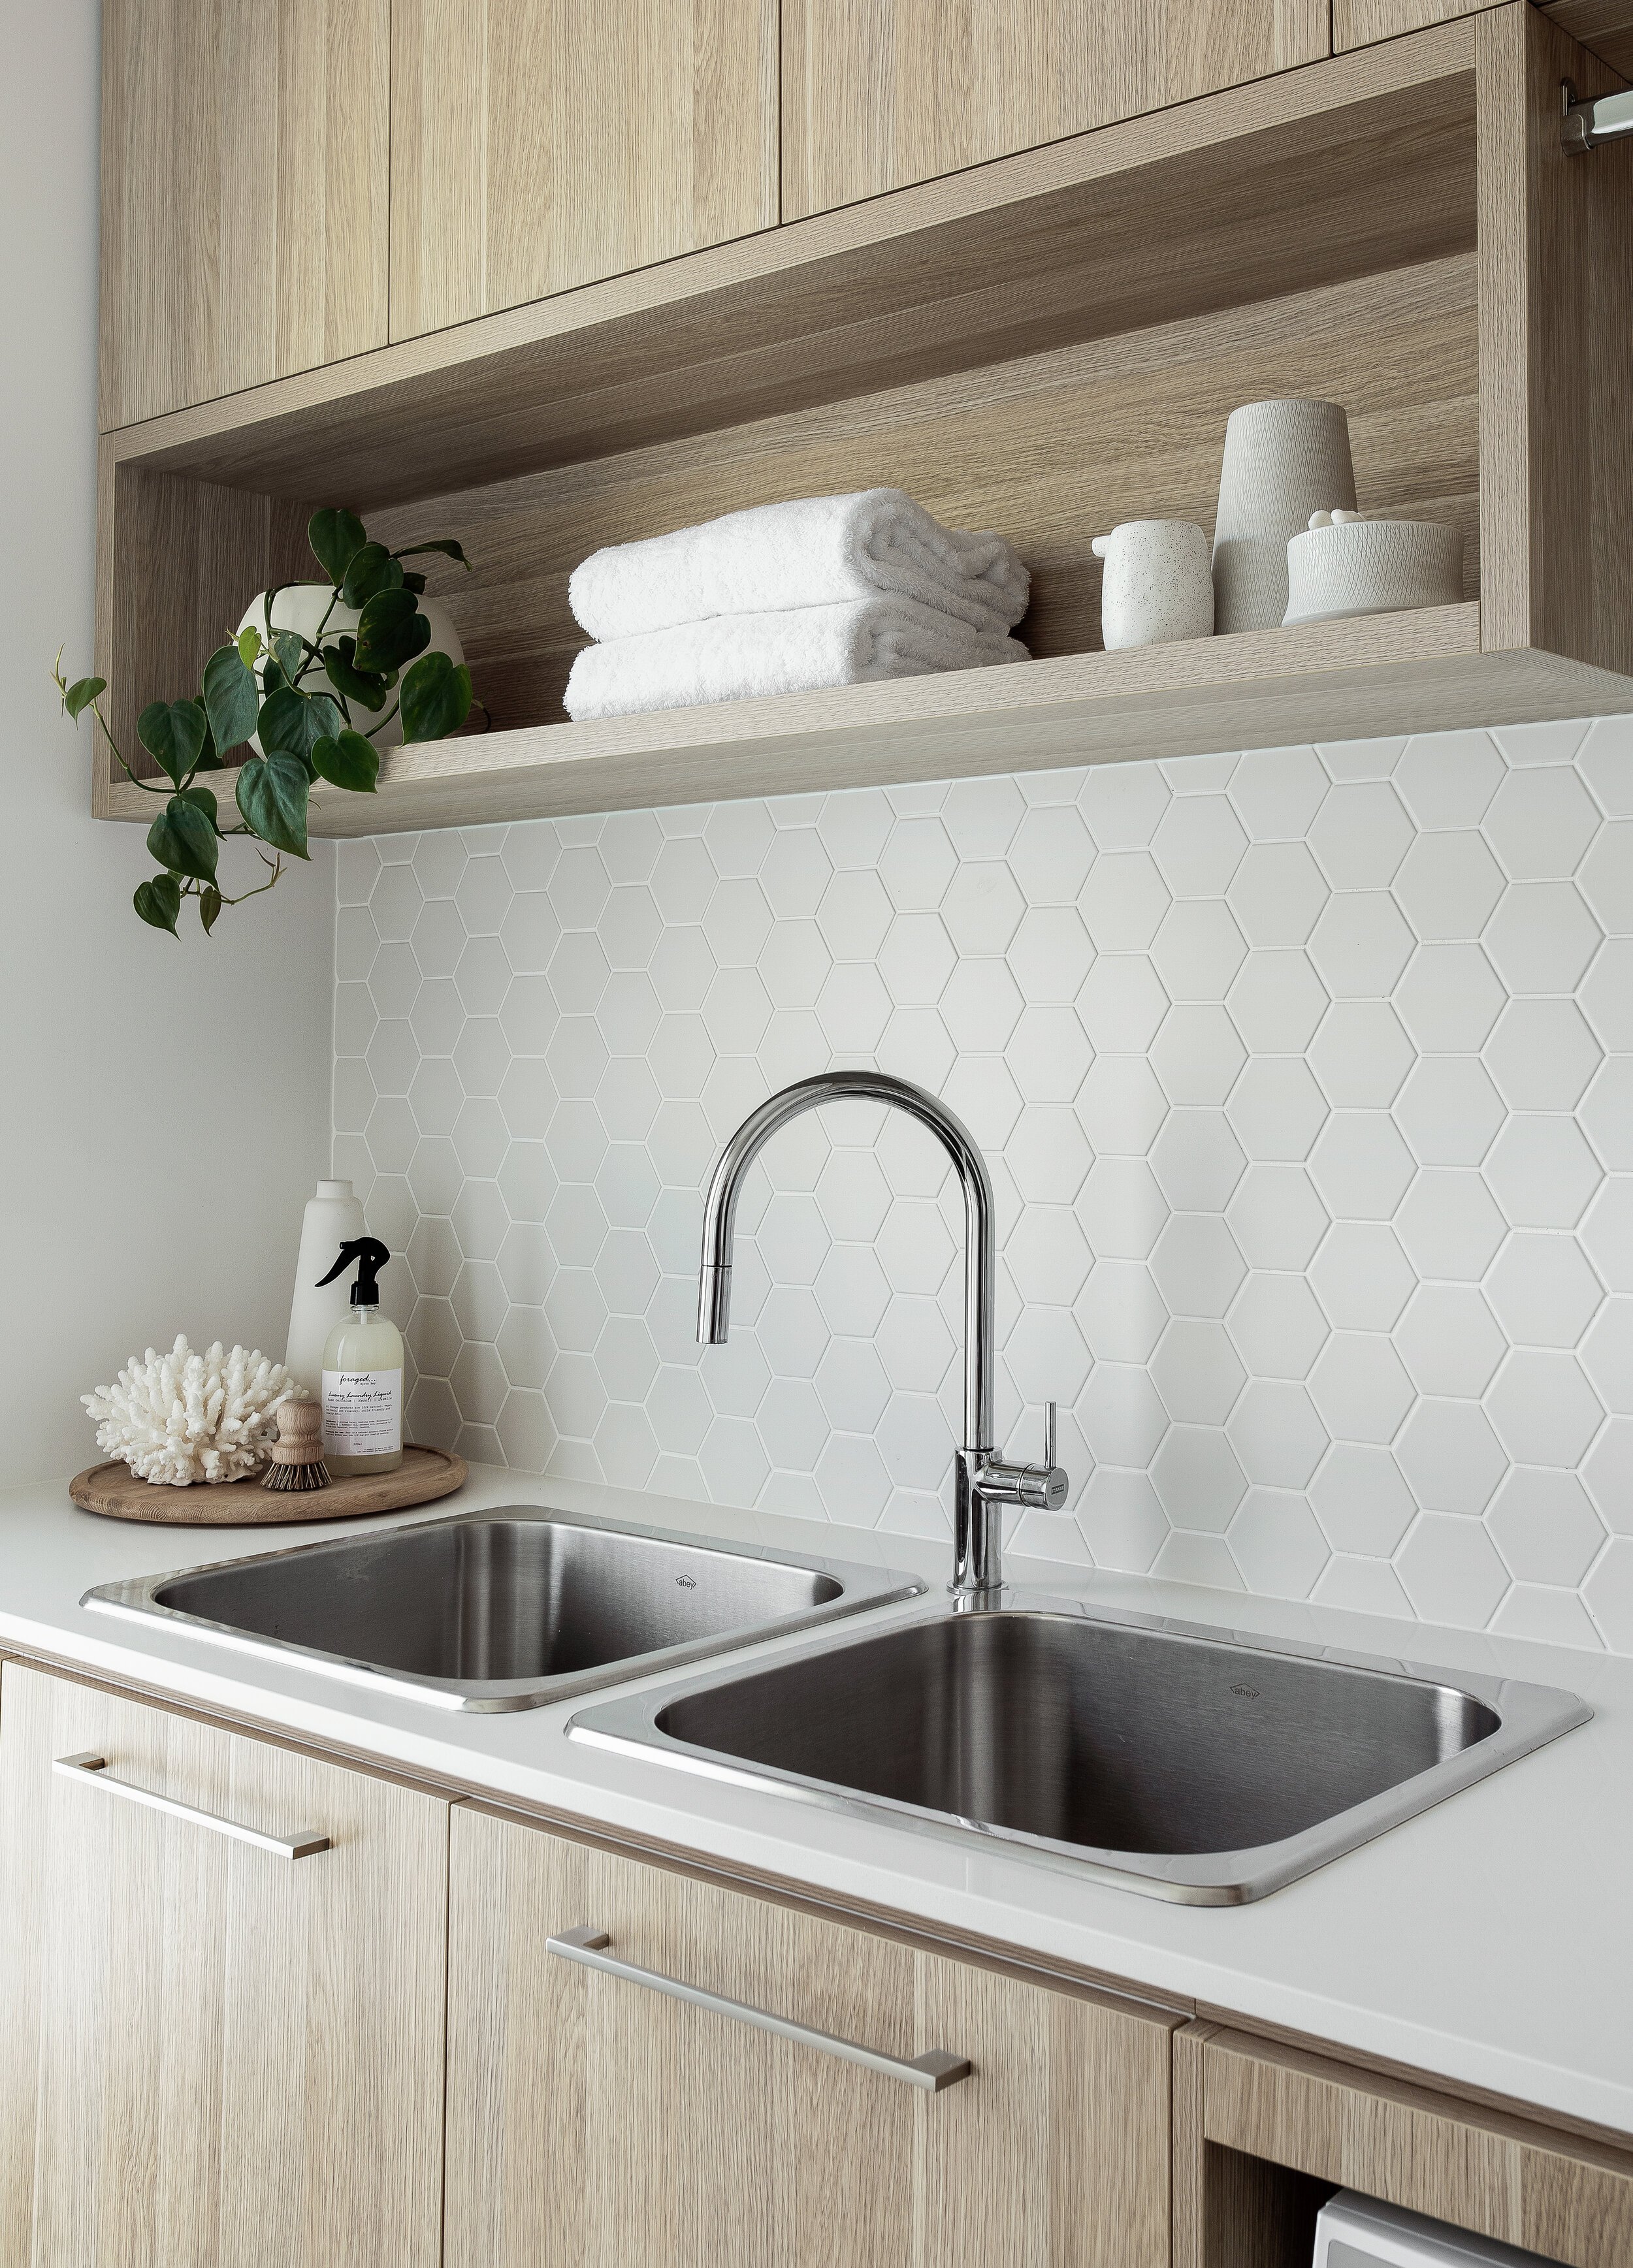
Hexagon Design Tiles
A hexagon laying pattern is when hexagon-shaped tiles are laid so the straight tile edges align to form a hexagon pattern on the tiled surface area.
Smaller hexagon tiles are ideal for adding pattern and texture to a room or design and can be used to tile a floor, feature walls and splashbacks. Larger hexagon-shaped tiles work best on feature walls and for floor tiling. Hexagon tiles can create a classic, traditional or relaxed aesthetic and are a timeless option for homes.
Zephyr and Stone • Interior Designer in Brisbane
Mosaics
Mosaics are smaller tiles that are laid together to create a pattern on a wall, floor or surface. Mosaic tiles can comprise a single repeated colour and shape, or differing colours and shapes to create a larger pattern or image. Typically, mosaics are sold glued to a mesh-like sheet or mat, which provides support, keeps tiles uniform, and makes them easier to lay. Expect to pay a premium for mosaic tiles and their installation.
Z+S Tip • Mosaics are a great option for extra-long splashbacks because the pattern can be continued for any length required, unlike large slabs of stone where you’ll have to contend with a join between butting slabs together. Always engage a quality tiler who has experience laying mosaics to ensure the joins between tile sheets aren’t visible once grouted.
Zephyr and Stone • White Penny Round Mosaic Tiles in White Coastal Kitchen scullery
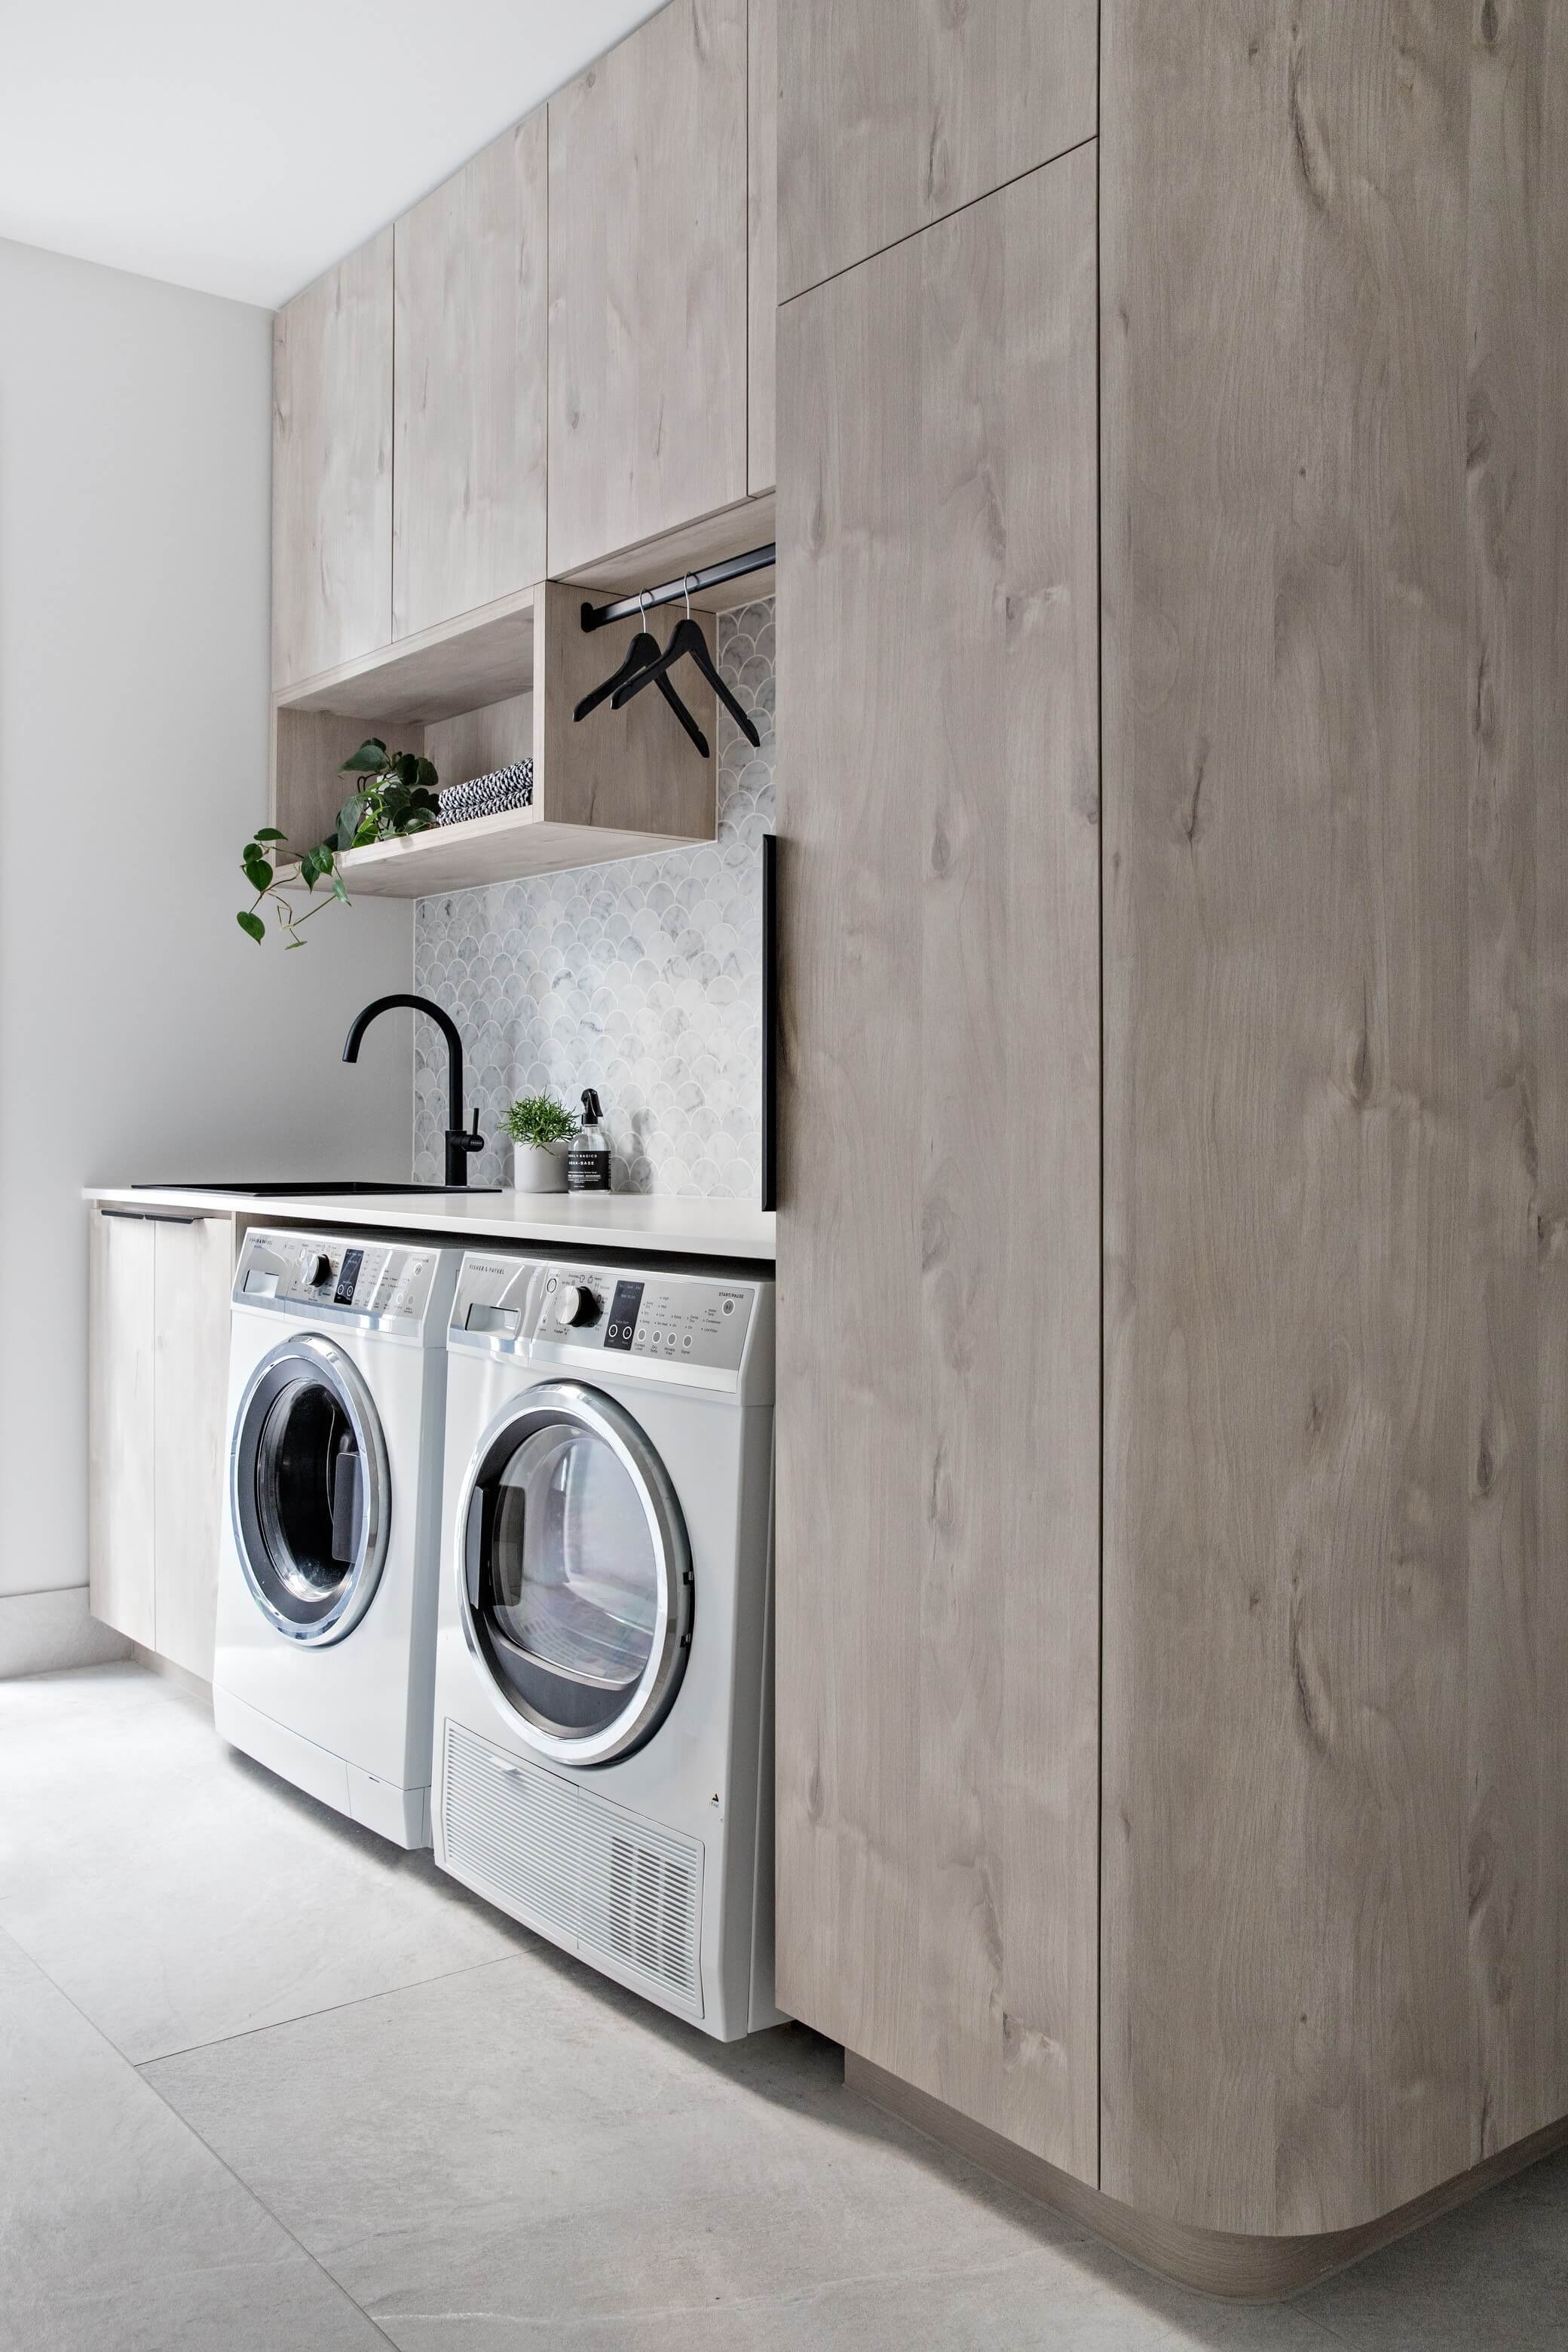
Zephyr and Stone • Grey Fish Scale Tiles in Contemporary Laundry Design
Communicate Your Tiling Designs
Never assume your tiler knows which tile pattern you have in mind or the look you’re hoping to achieve! When organising your tile quote or meeting with your tiler on site, clearly communicate any tile laying patterns, ideas or instructions, and provide images that clearly visualise the tile installation and design you’re after.
Want more tiling or home design tips and ideas? Sign up to get the latest resources and free tip sheets delivered to your inbox, or download your FREE Tiling Tip Sheet now.