

Our Top Tips and Tricks for Designing the Ideal Laundry
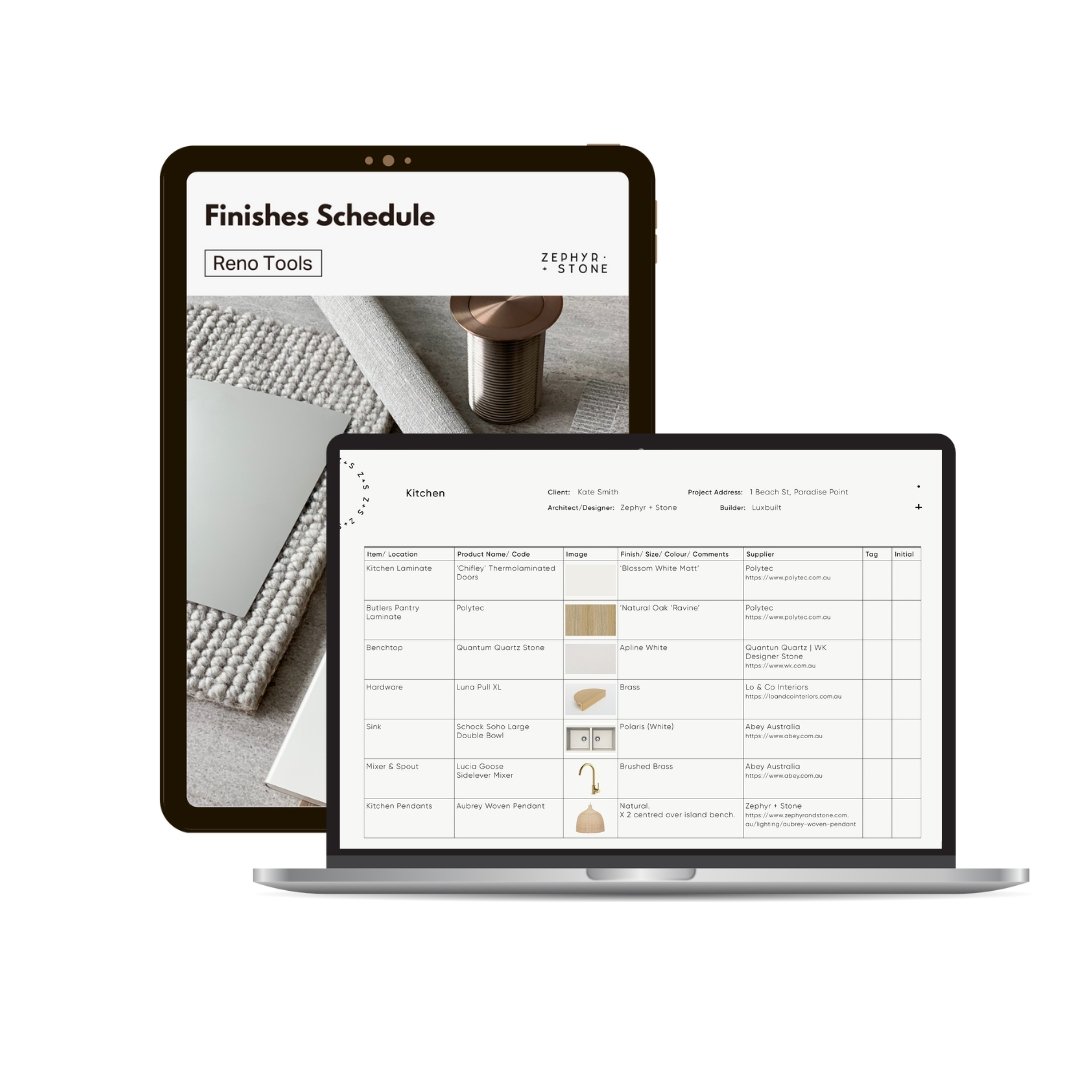
Organise + design your reno with these resources

Whatever the size of your laundry, and whether you’re building or renovating, it’s vital that its design is both practical and functional. So where do you start and what are the essentials? We’ve put together a list of our top tips for creating the ultimate laundry.

Zephyr and Stone • Beach House Laundry featuring concealed ironing board
Zephyr and Stone • Hamptons Project Laundry design flows from Scullery
1. Location, Location, Location
So, first things first — where is the perfect place to locate your laundry? Our favourite choice is flowing directly from the kitchen or butler’s pantry, with a second access from a hallway in your home. That said, it’s not always practical or possible to relocate a laundry here, particularly if you’re renovating an existing home. Ideally, your laundry should be placed in a services area, away from bedrooms and living areas, so that when your washing machine or dryer is in use, it doesn’t resonate throughout resting or entertaining zones. If you’re building on a small lot and space is a commodity, it can be practical to locate your laundry off your garage so that it serves as an access or hallway from your garage into your home.

Zephyr and Stone • Floor plan showing laundry where kitchen flows into pantry and then adjoins the laundry
If you don’t have the luxury of a dedicated laundry room, consider integrating your laundry position into a bathroom or kitchen, or within cabinetry off a hallway away from living areas. Whichever way you go, ensure your laundry has reasonable access to a clothesline or external drying area.
2. Appliances
Your next step in your laundry design is to choose your appliances. Although many washers and dryers come in standard sizes, there are just as many which are extra wide, tall or deep. You don’t want to create a fabulous new laundry to find that your dream appliance doesn’t fit, or that there are large gaps on either side of your washing machine when you want an integrated look. So decide:
Do I want a front or top-loader washing machine?
Will I have a separate washer and dryer or an all-in-one?
Do I want my appliances concealed in cupboards (this will require adequate ventilation and perhaps mechanical ventilation like an exhaust fan)
It’s vital you choose your appliances before moving on to the next step.

Style Curator Laundry

Image via Publications Kvik
3. Layout
Your next step is to consider how you use your laundry space and what items will you store there. Design your space to reduce double handling, and streamline the washing, drying and folding process to save you time. Consider the workflow and ensure there is enough space to move around safely and comfortably. Who will be using the laundry? It may be appropriate to elevate appliances to reduce bending or crouching.
If possible, consider positioning your washing machine between your sink and laundry baskets, allowing you to transfer clothing directly between these areas. Positioning the dryer next to or above the washing machine reduces double handling, and ensuring you have bench space close by means clothing can be folded or sorted directly from your dryer.
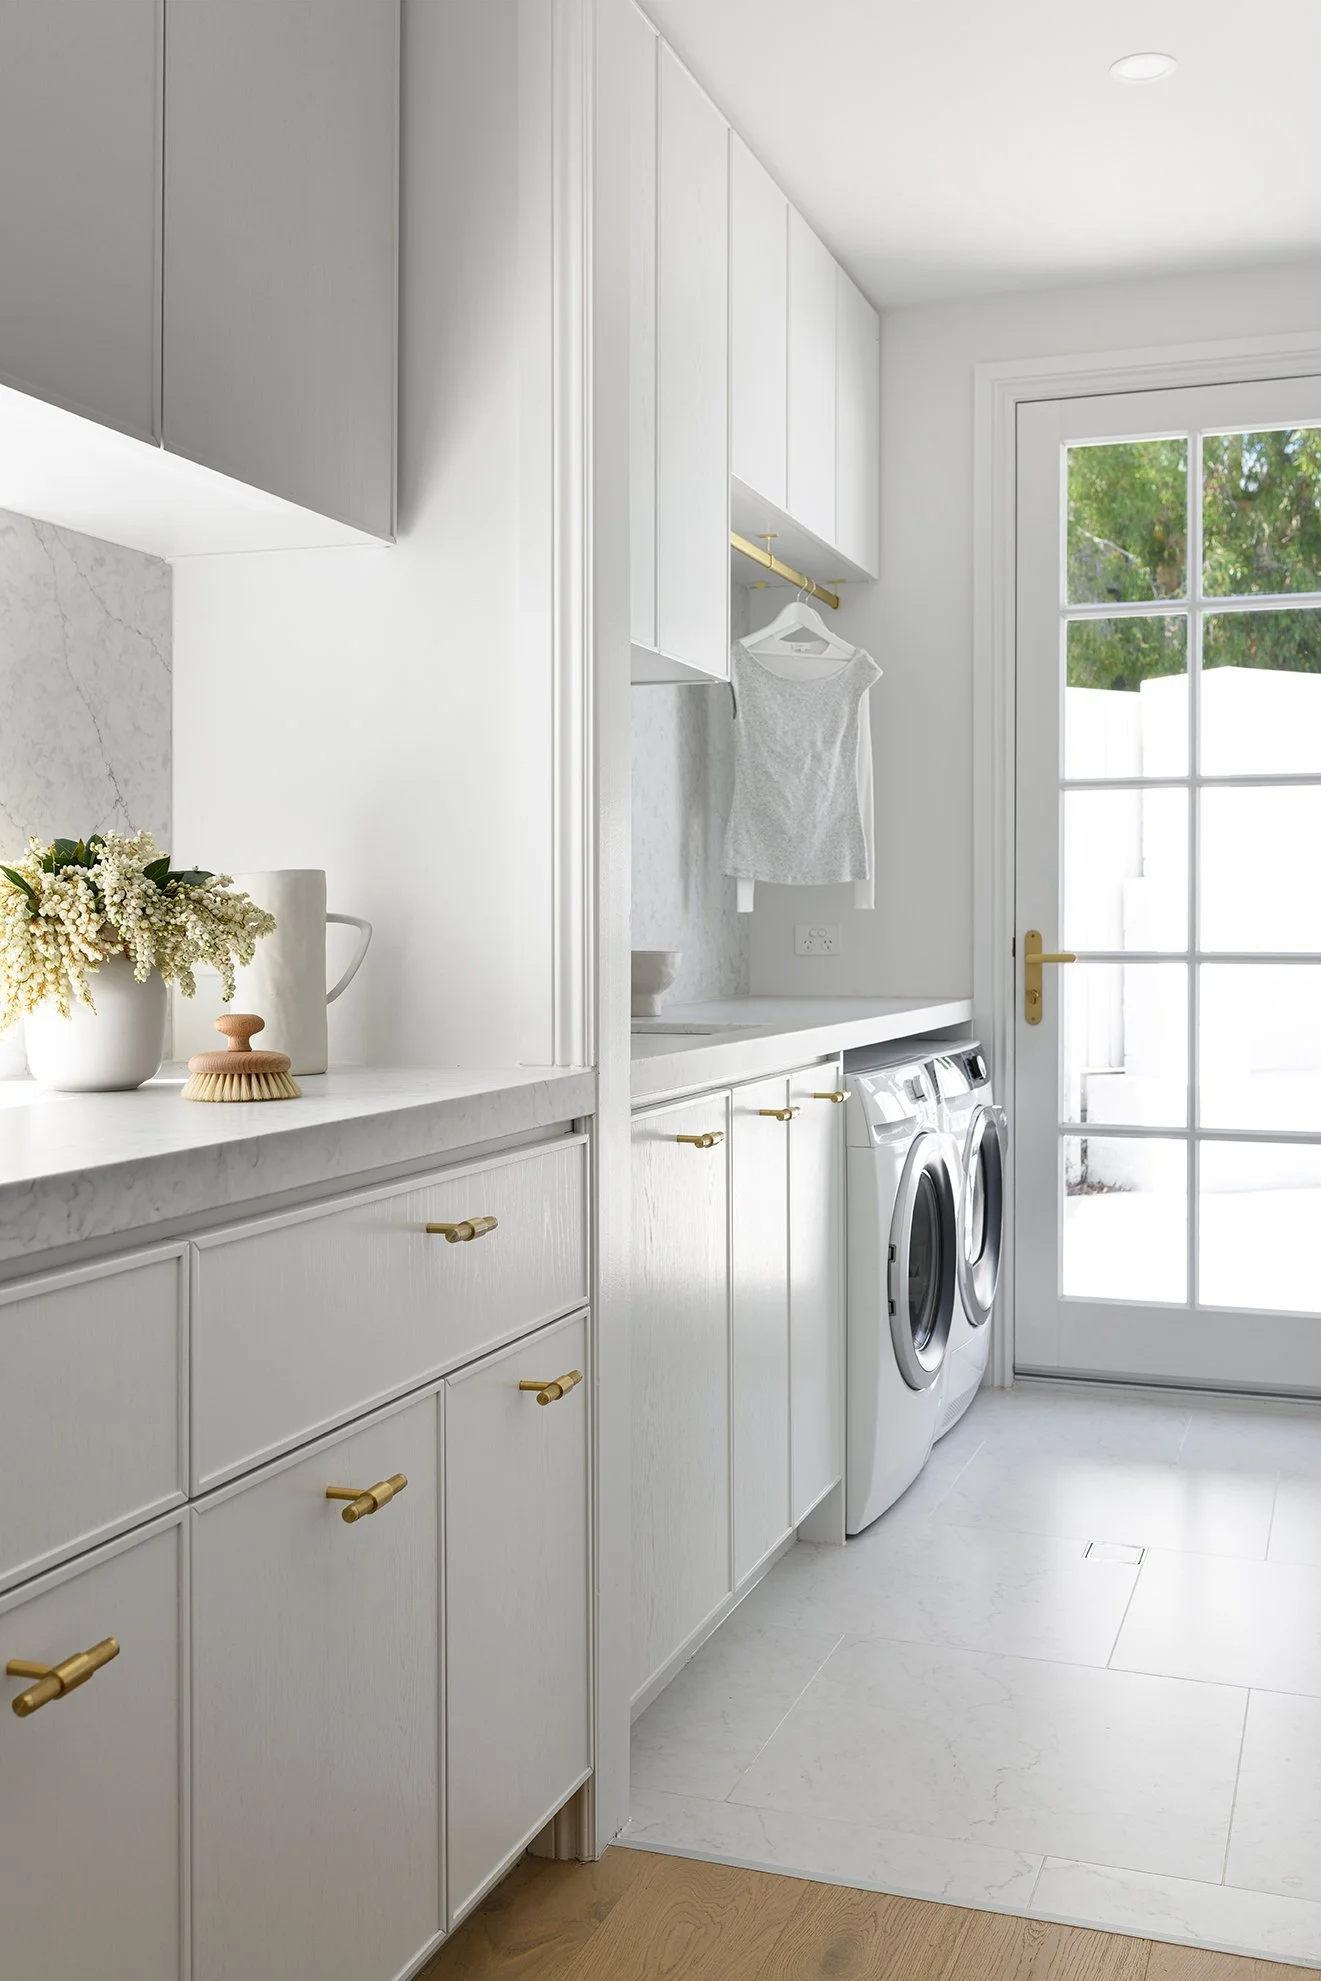
Include a space to store an air dryer if you use one, or a rail to hang wet clothes. In the laundry below, we allowed for both shorter clothing and full-length items to be hung up to air dry, and ready for ironing. The Ironing Station is positioned on the wall adjacent to this area where it can be easily accessed.
4. Storage
Ample storage is gold in your laundry. Include a combination of cupboards, overheads, drawers and benchtop space for the ultimate storage hub. Overheads are ideal for storing chemicals up high out of reach of children and the inclusion of a tall cupboard allows you to store brooms, mops and vacuum cleaners out of sight.
Opting for custom, built-in cabinetry is the best way to maximise and optimise the space you have but is more costly than flat pack or standard storage options. Either option can result in a functional and aesthetically pleasing space, so consider what’s best for you and your budget.
Installing a rail to allow clothes to dry on hangers reduces ironing, and the addition of open shelves allows you to display plants, vases, candles, soaps or fresh towels - finishing touches which give your laundry that designer look.
5. The juicy bits
So now you’re almost ready to design your new laundry! But wait, what about all those little do’s and don’ts, and luxuries that you just must have?
Here’s our list of top tips to take your laundry from fab to extraordinary!

Zephyr and Stone • Laundry Design featuring clothes hanging rail and ironing station

Image via Canny
6. Bench depth
Make sure your bench is deep enough for your appliances and sinks! 600mm is the standard depth of a kitchen bench, however, this is often not enough for a laundry. Remember that laundry sinks are generally bigger than kitchen sinks and you’ll have hoses tucked in behind your washing machine. We opt for a minimum 650mm deep benchtop in laundries.
7. Sinks and taps
There is a variety of both undermount and drop-in sink options on the market. If you have the space, opt for two sinks side by side, as we did in the laundry below. Make sure you have enough bench room behind your sink to fit your tap mixer, or you can place it to the side if space doesn’t allow it. A mixer with a pullout spray allows for easy cleaning of your sink and washing items.
8. Include an Ironing Centre
We opt for the Robinhood IC1300. These are fabulous as they have a built-in light and safety timer which switches power off to your iron once the timer is done. The ironing board is height adjustable and folds away effortlessly into its purpose-designed cabinet. We install these into a 90mm thick wall recess to ensure we achieve a neat finish. Ensure your wall cavity frame is deep enough and suitable for installation and allow for an electrician to run suitable power for this.

Transitional Laundry by Glenda Roff

Image via Fisher and Paykel
9. Include pull-out laundry bins
A pair of large slide-out bins will take your laundry to next level. We use Hideaway Bins, which can be integrated into your cabinetry and allow you to sort whites and darks separately. The strong plastic bins lift out easily so they can be hosed or washed out occasionally to avoid odour buildup. If you opt for a stand-alone laundry basket, make sure you allocate space in your laundry design under the bench or in a corner to allow for this.
10. Ventilation, external access and lighting
Include direct external access to your clothesline where possible, and ensure you have adequate ventilation through a window and/or an exhaust fan. Ensure there is adequate lighting through windows or a skylight and consider installing task strip LED lighting within your cabinetry.
11. Drying
You may also want to consider incorporating a drying cupboard, particularly if you live in a cold area. This will speed up the rate at which your clothing will air dry, and keeps drying clothes out of sight. Just ensure you consider ventilation to prevent moisture or mould buildup.

Zephyr and Stone • Beach House Laundry featuring double sink
12. Hide your washing machine taps
Washing machine plumbing taps and power points can be hidden away in a cupboard next to the washer. Ask your cabinetmaker or handyman to drill a large hole at the back of your cabinet next to your washing machine, to pass your cables and hoses through.
13. Flooring and splashbacks
Make sure your flooring is suitable for a wet area and is non-slip when wet. If you’re tiling, consider running a short tile band skirting up the wall to ensure against damage in case of water leaks. Use a feature splashback above your bench top and sink for ease of cleaning, and to give your laundry that designer look.
14. Laundry Chute
If you are building or renovating a double-storey home, incorporating a laundry chute is essential! It can be installed inside a wardrobe or hidden behind cabinetry off a hallway, directly above a laundry cupboard. We use a cabinetmaker to construct the chute out of the laminate board and always install the chute high enough so that young children cannot climb into it.
As with any modifications in your home, be sure to check for any local building regulations before commencing.

Zephyr and Stone • Beach House Laundry featuring concealed ironing board

Zephyr and Stone • Beach House Laundry featuring pull out bins